How do I create an item-based assessment?
In Mastery Connect, you can create assessments using items from available item banks. Teachers can create item-based formative assessments and admins can create item-based formative and benchmark assessments.
Assessments can align to single or multiple standards and can be kept private, shared with your school, or across your district.
In the Analysis tab of the Assessment Editor, you can view an analysis of the assessment's balance, rigor, and question distribution based on metadata, and view a detailed answer key for the items in the assessment.
If your district has purchased the Mastery Item Bank (MIB) or Mastery Item Bank Supplemental (MIBS) item banks, you can flag items that require review for issues like typos, factual errors, standard misalignment, bias, or scoring issues in the Assessment Editor.
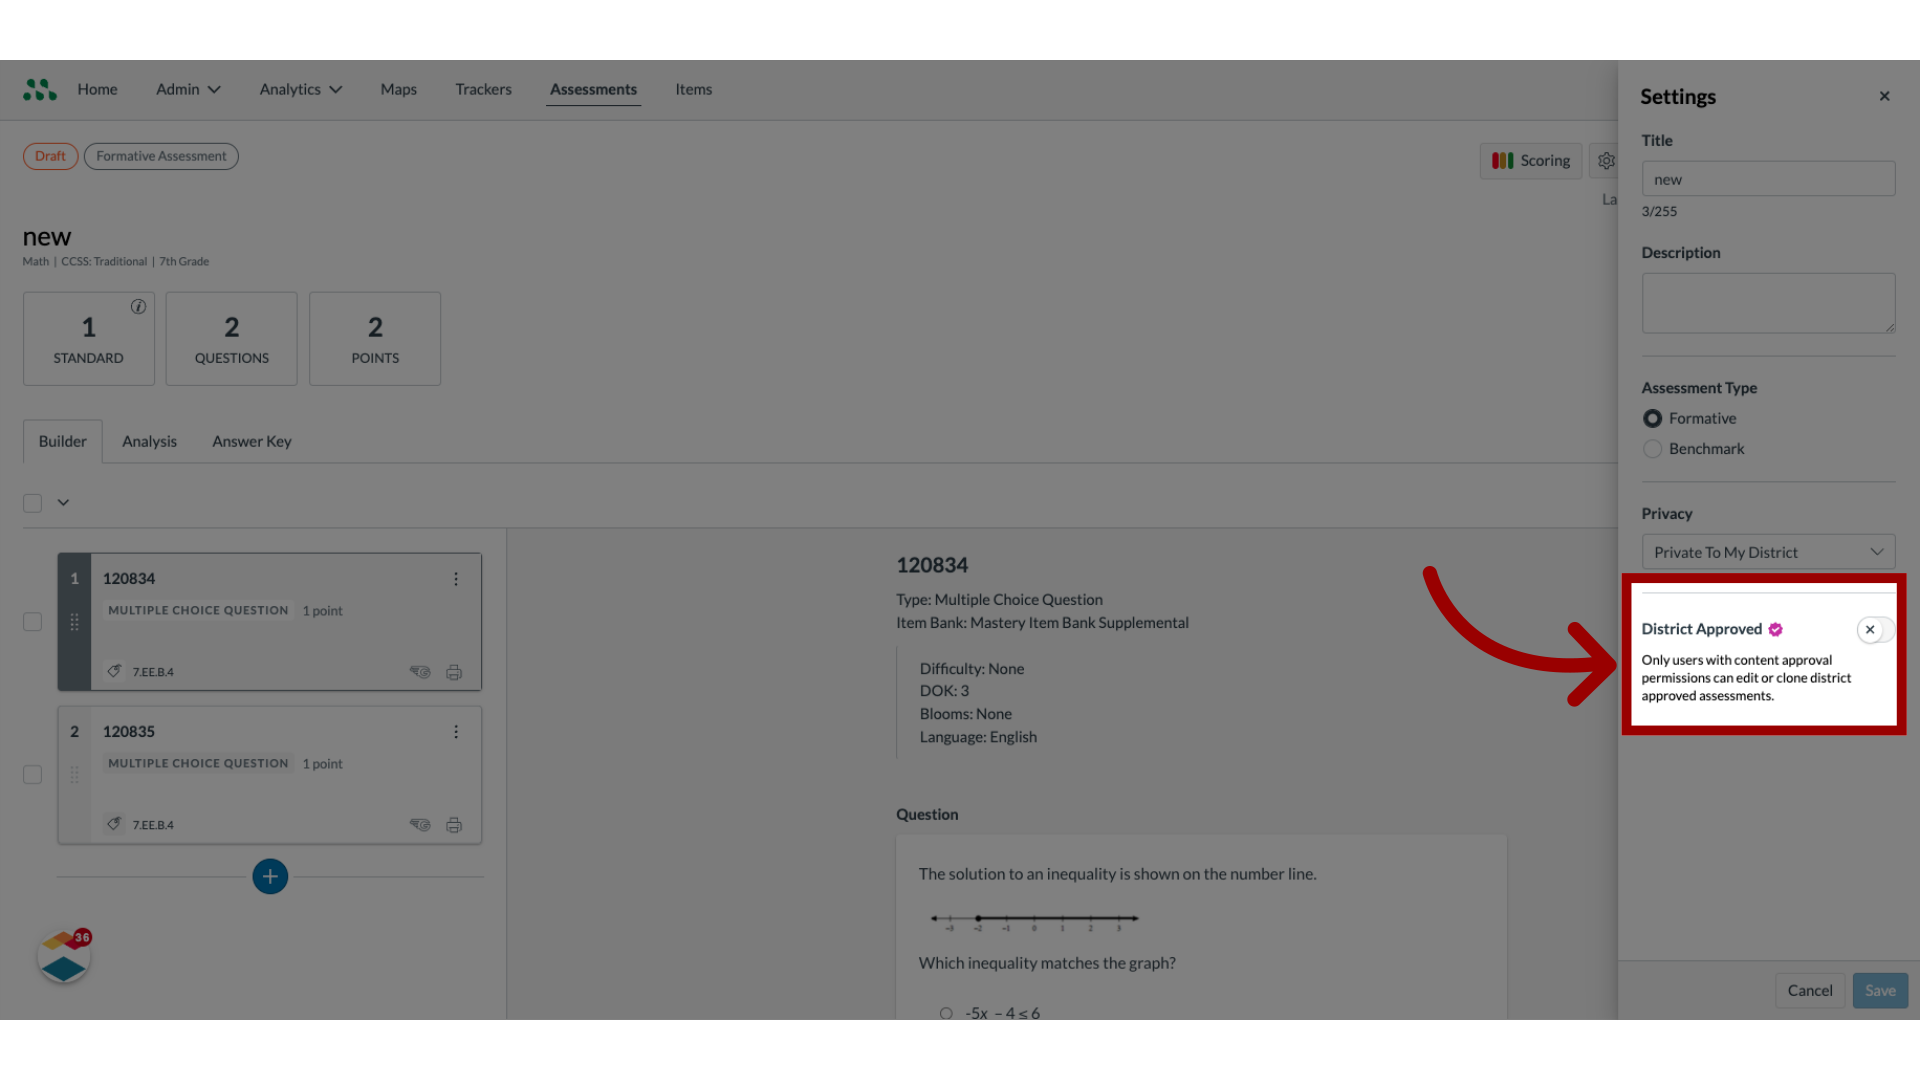
Note: Admins can designate item-based assessments as District Approved assessments
How do I create an item-based assessment?
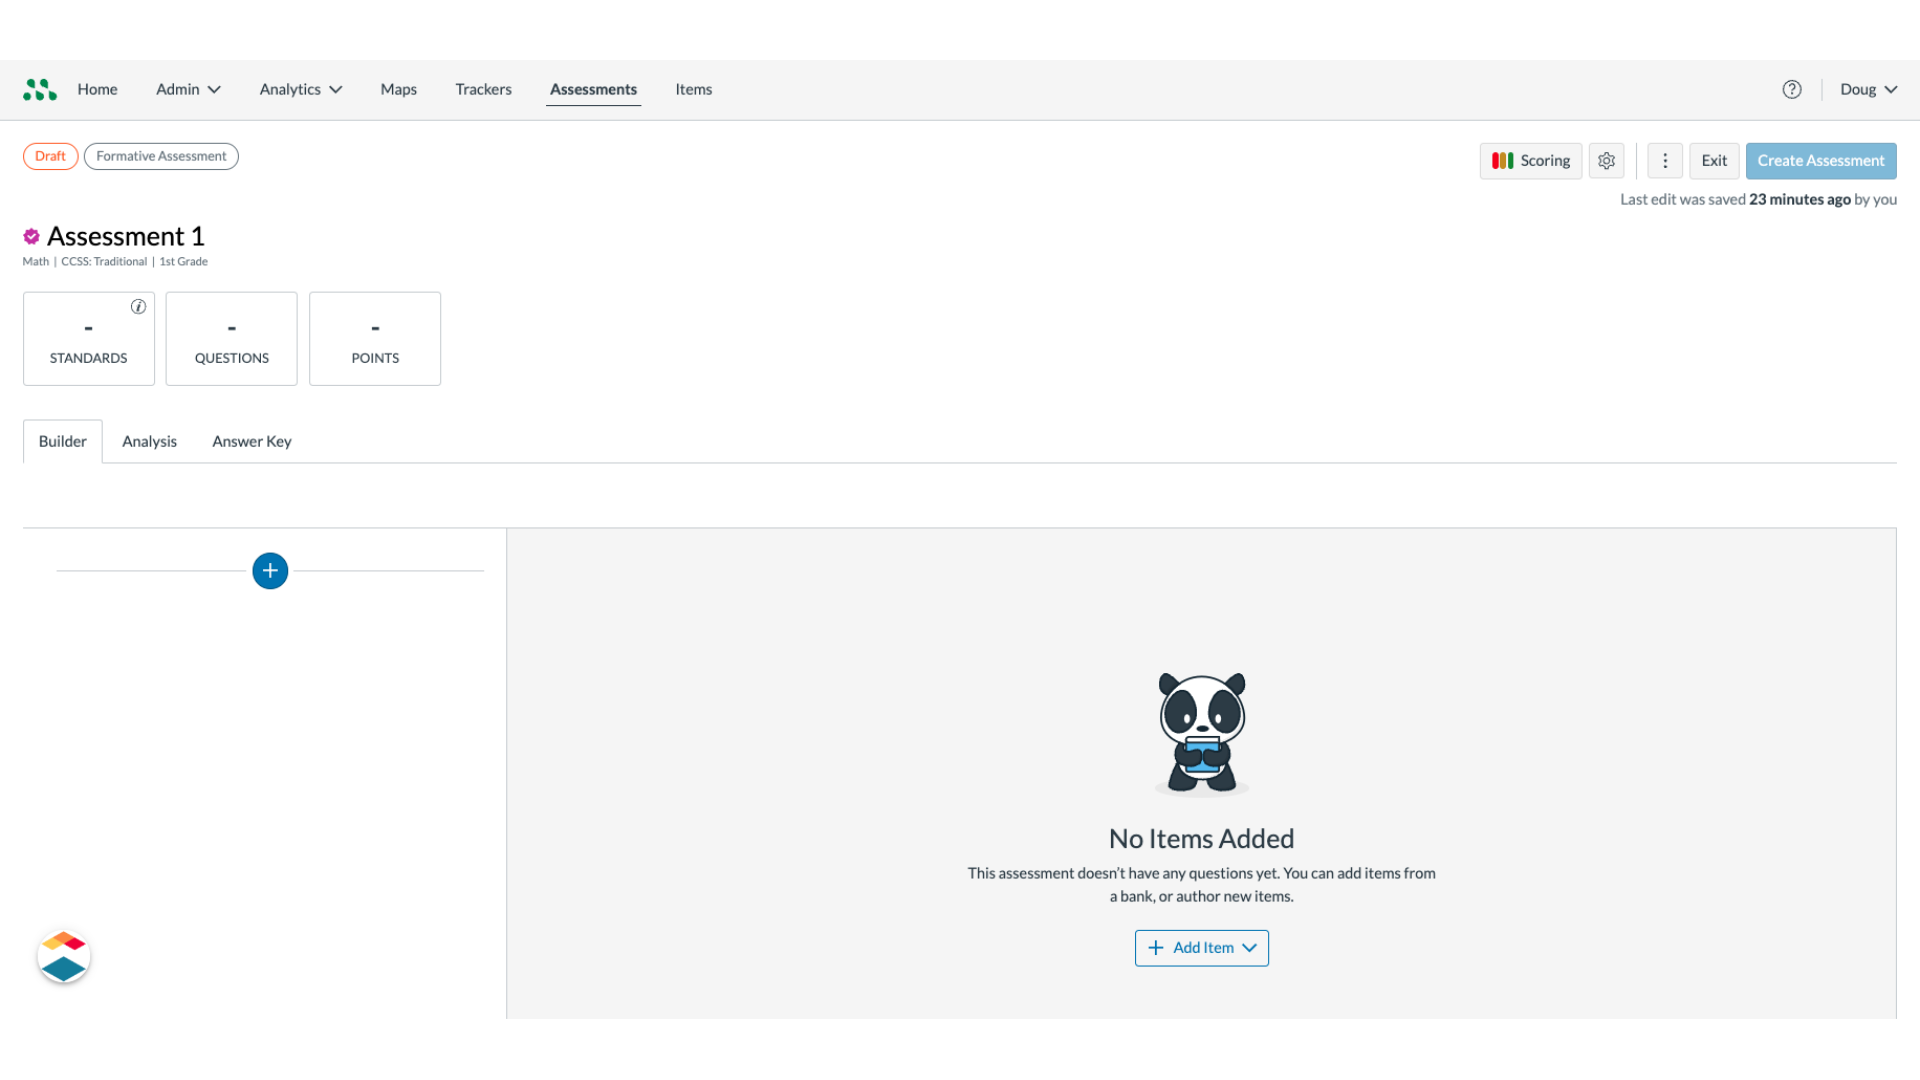
1. View Assessment Editor
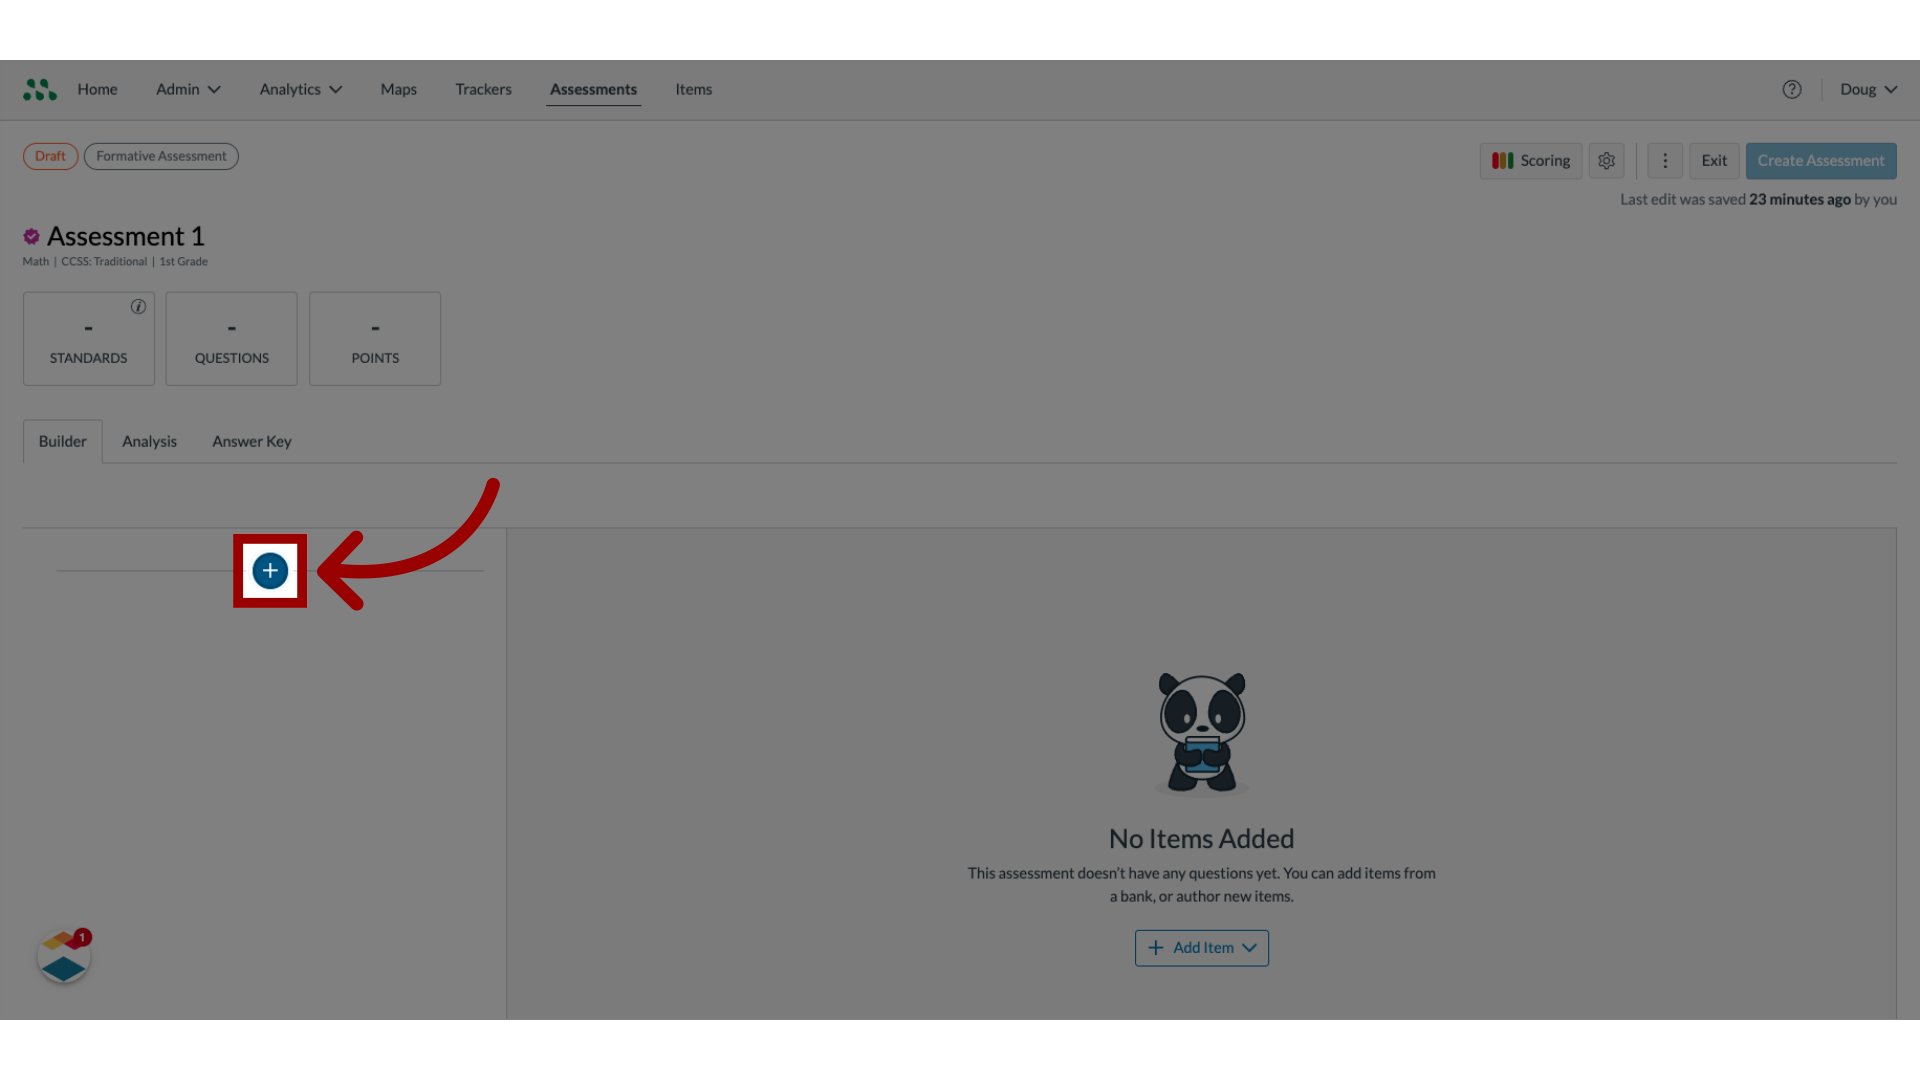
2. Add Items
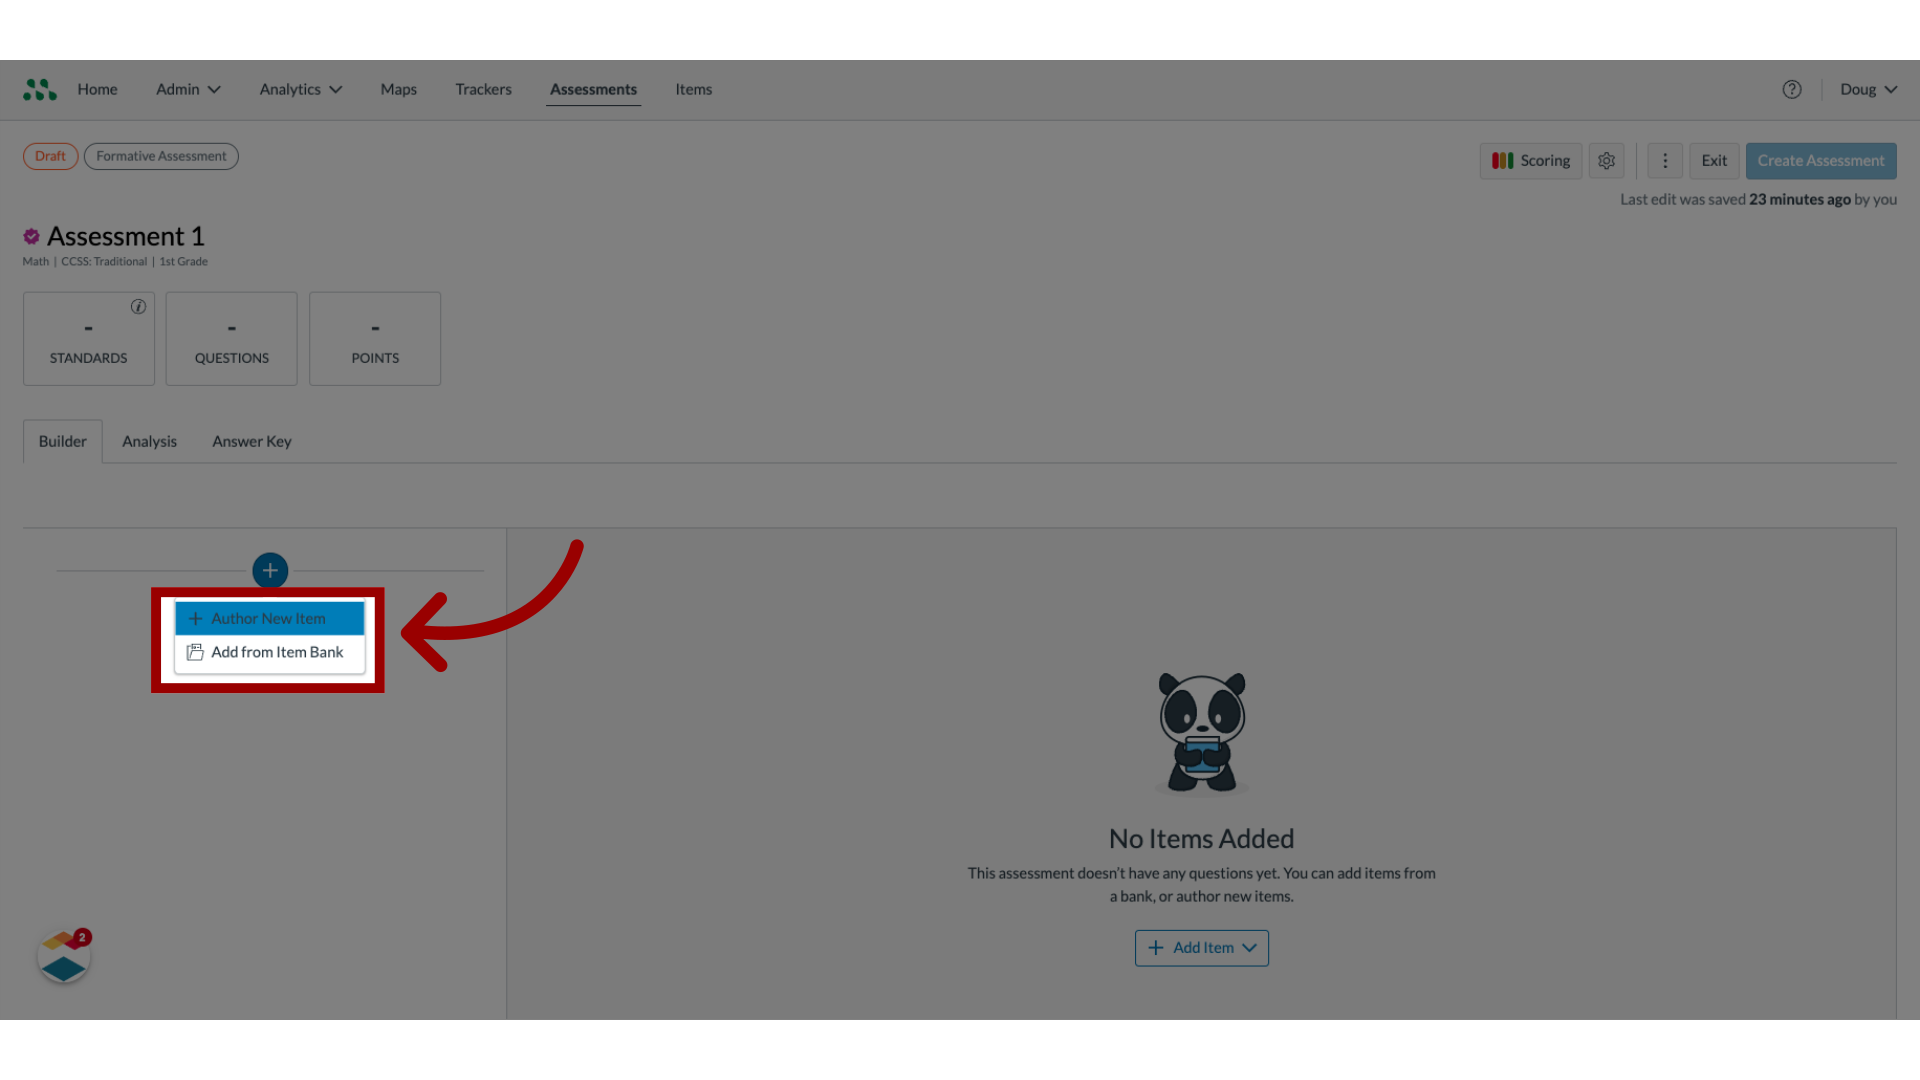
3. Select Item Source
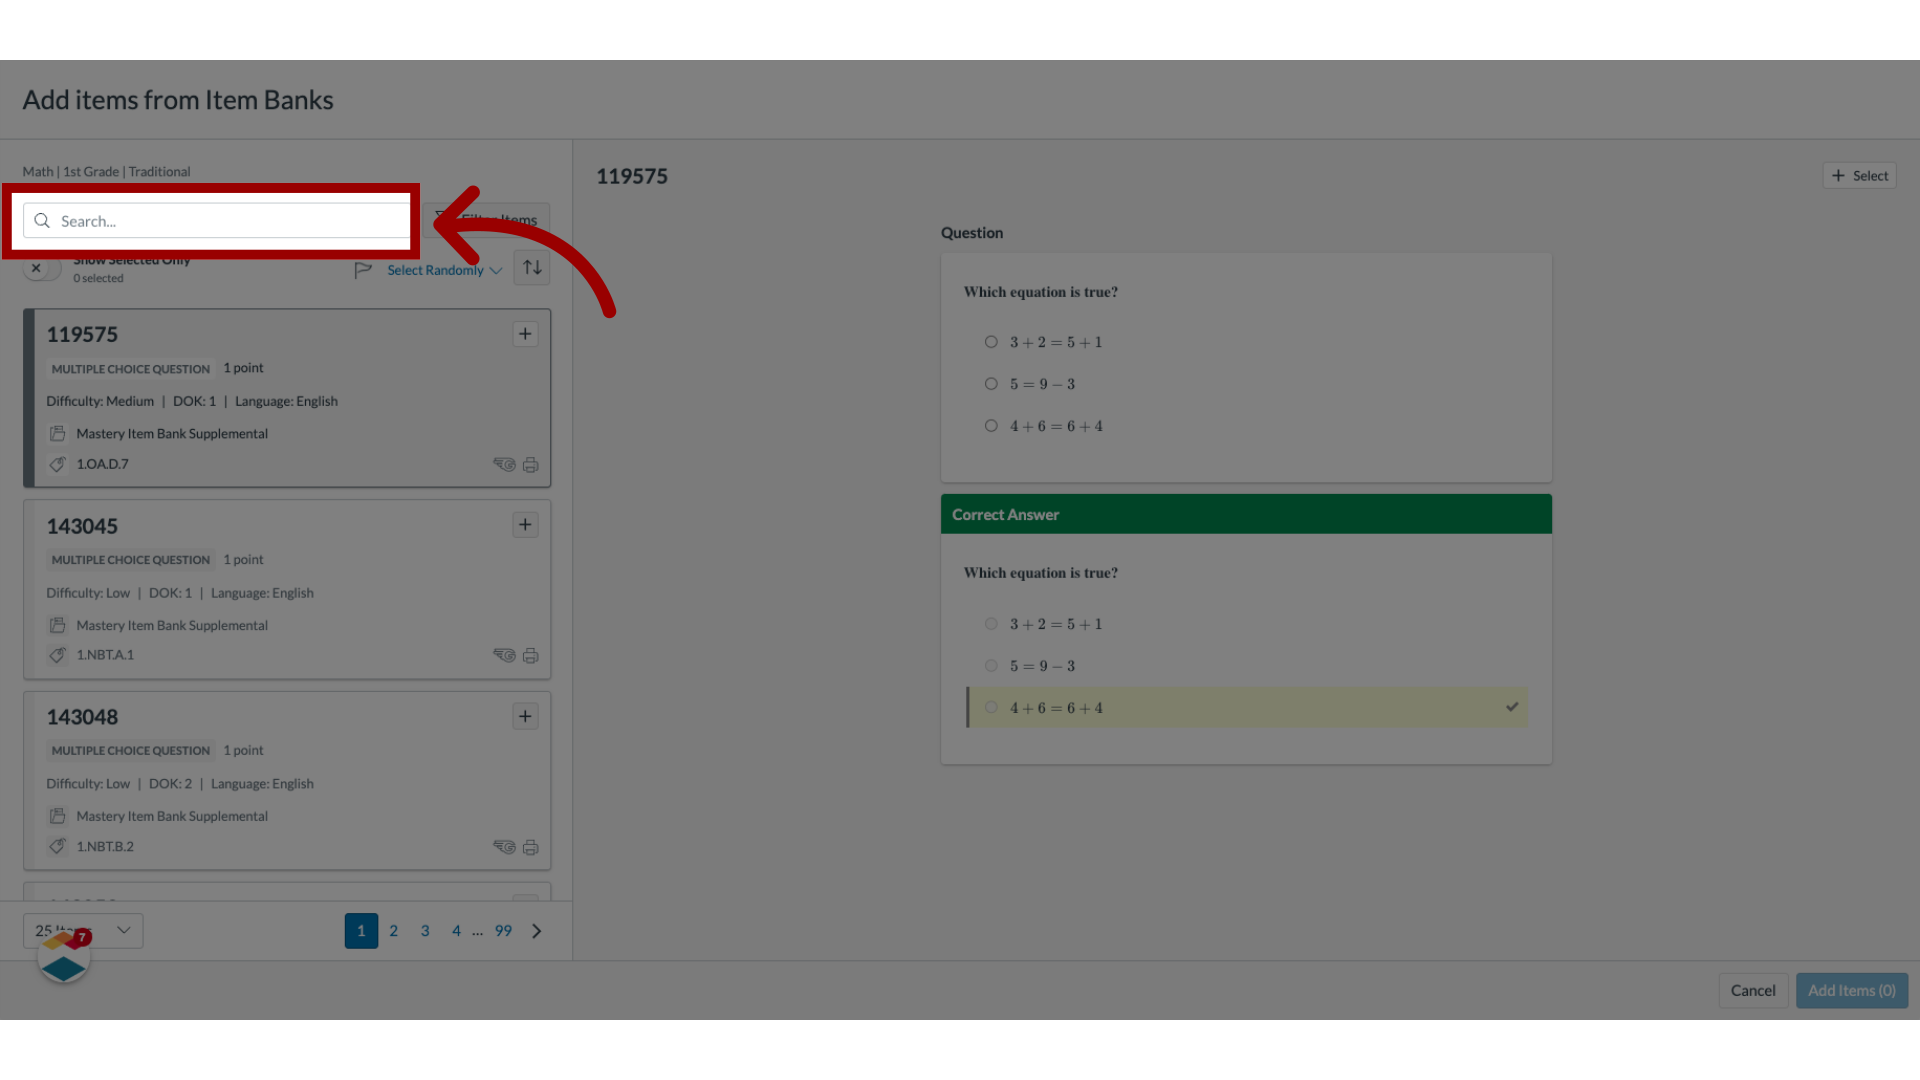
4. Enter Search Text
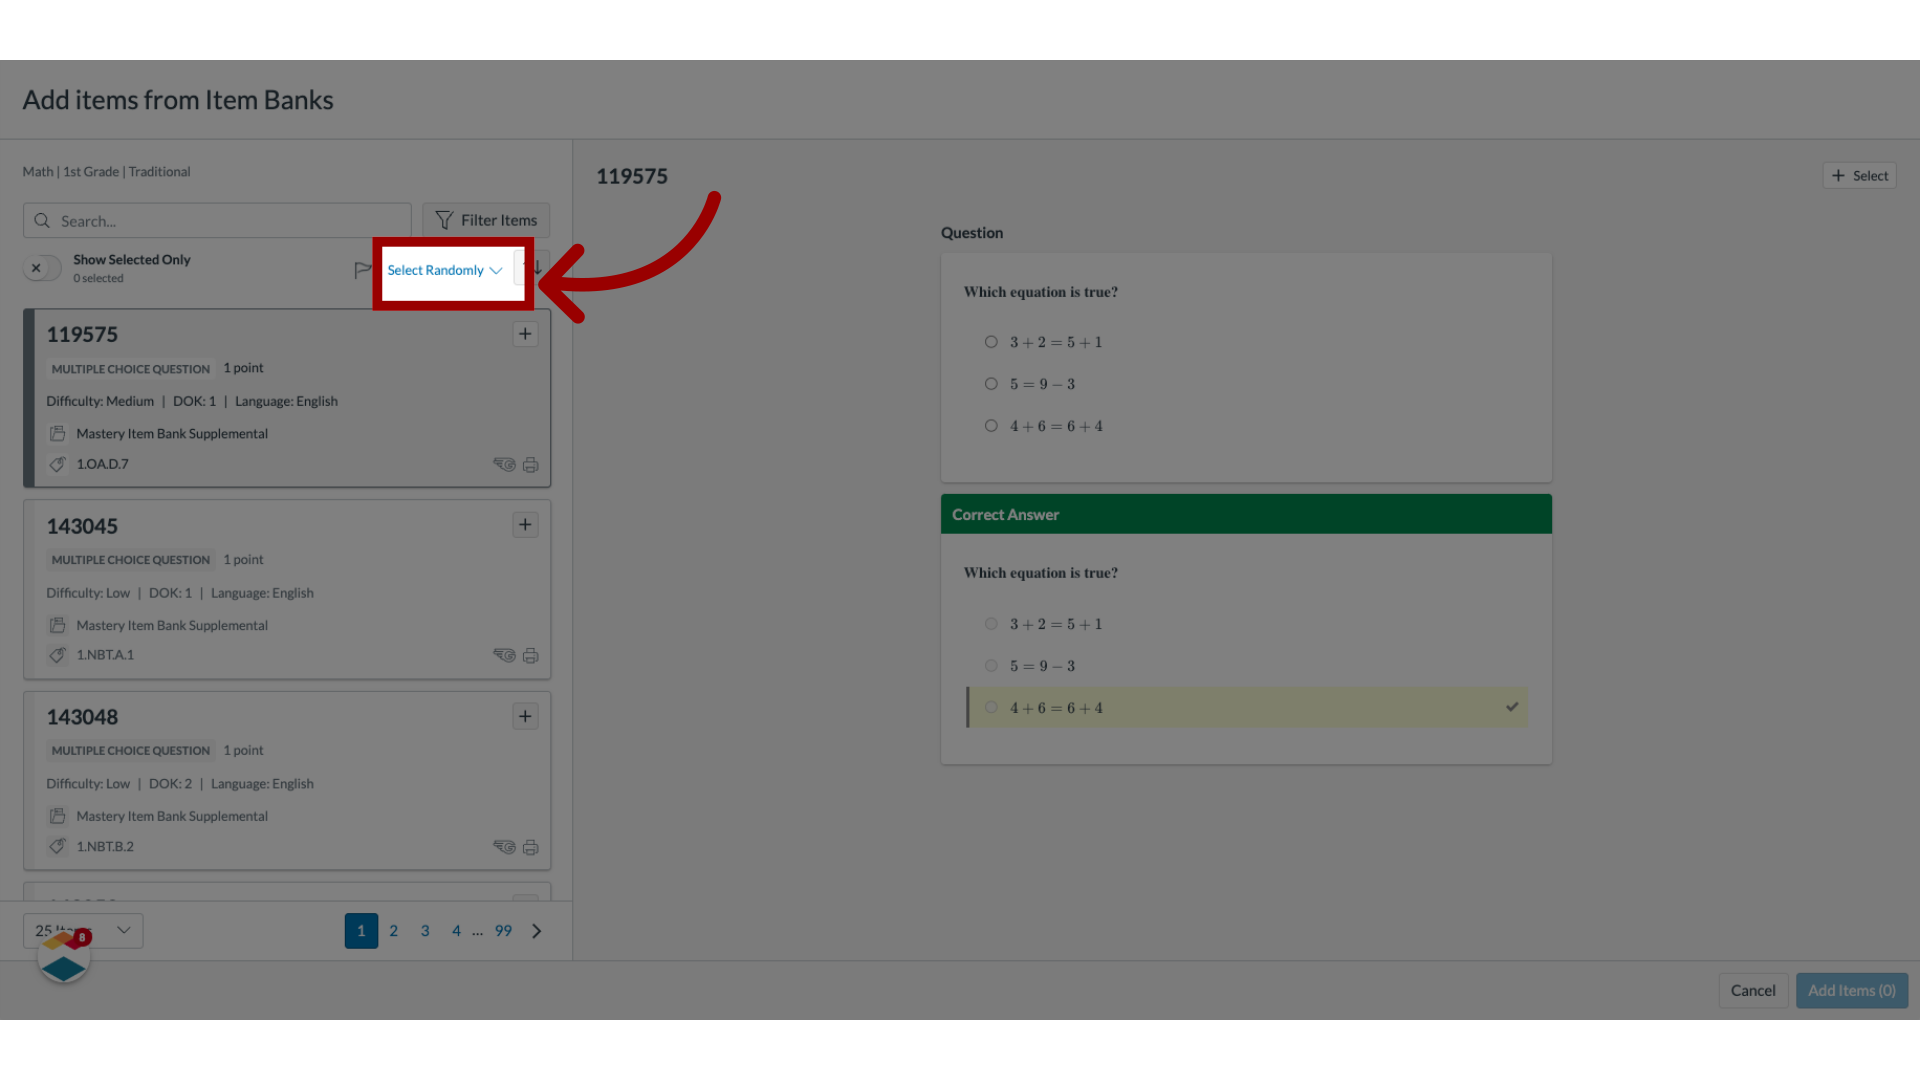
5. Select Items Randomly
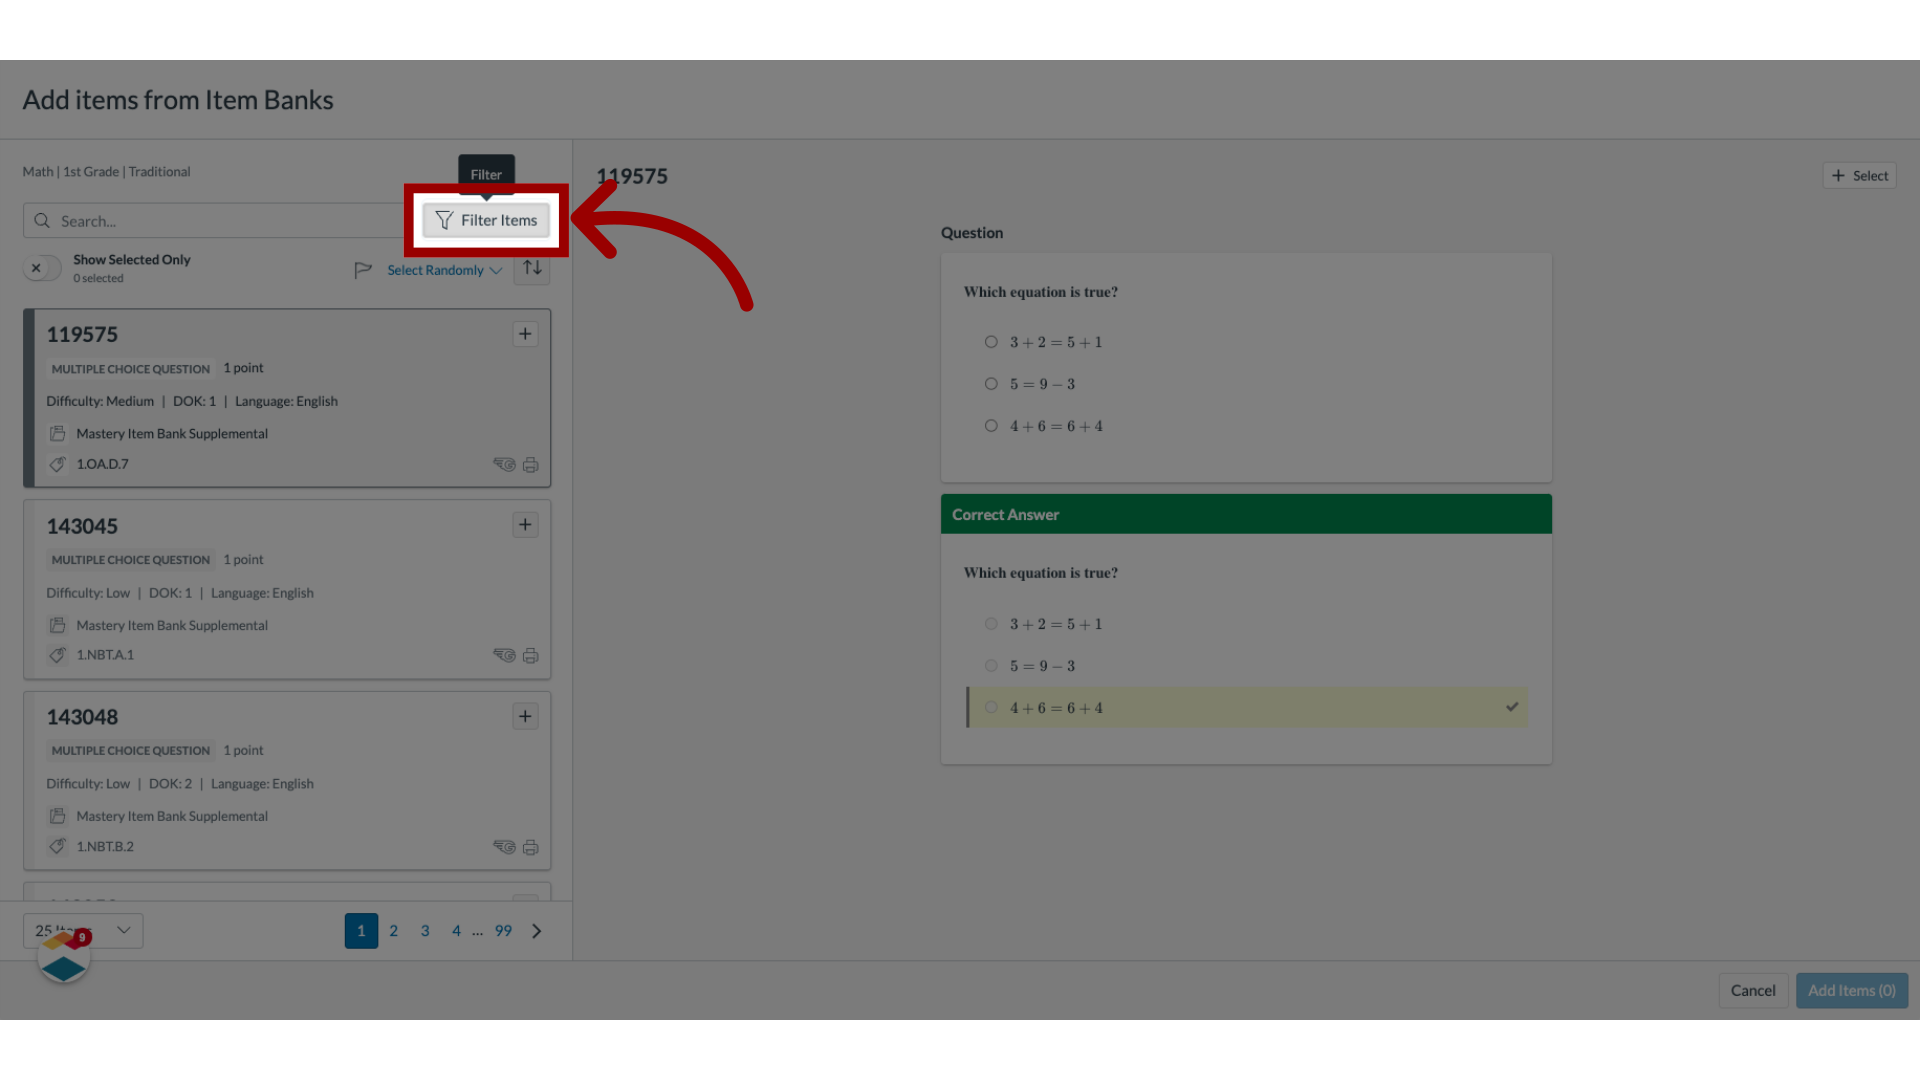
6. Filter List Items
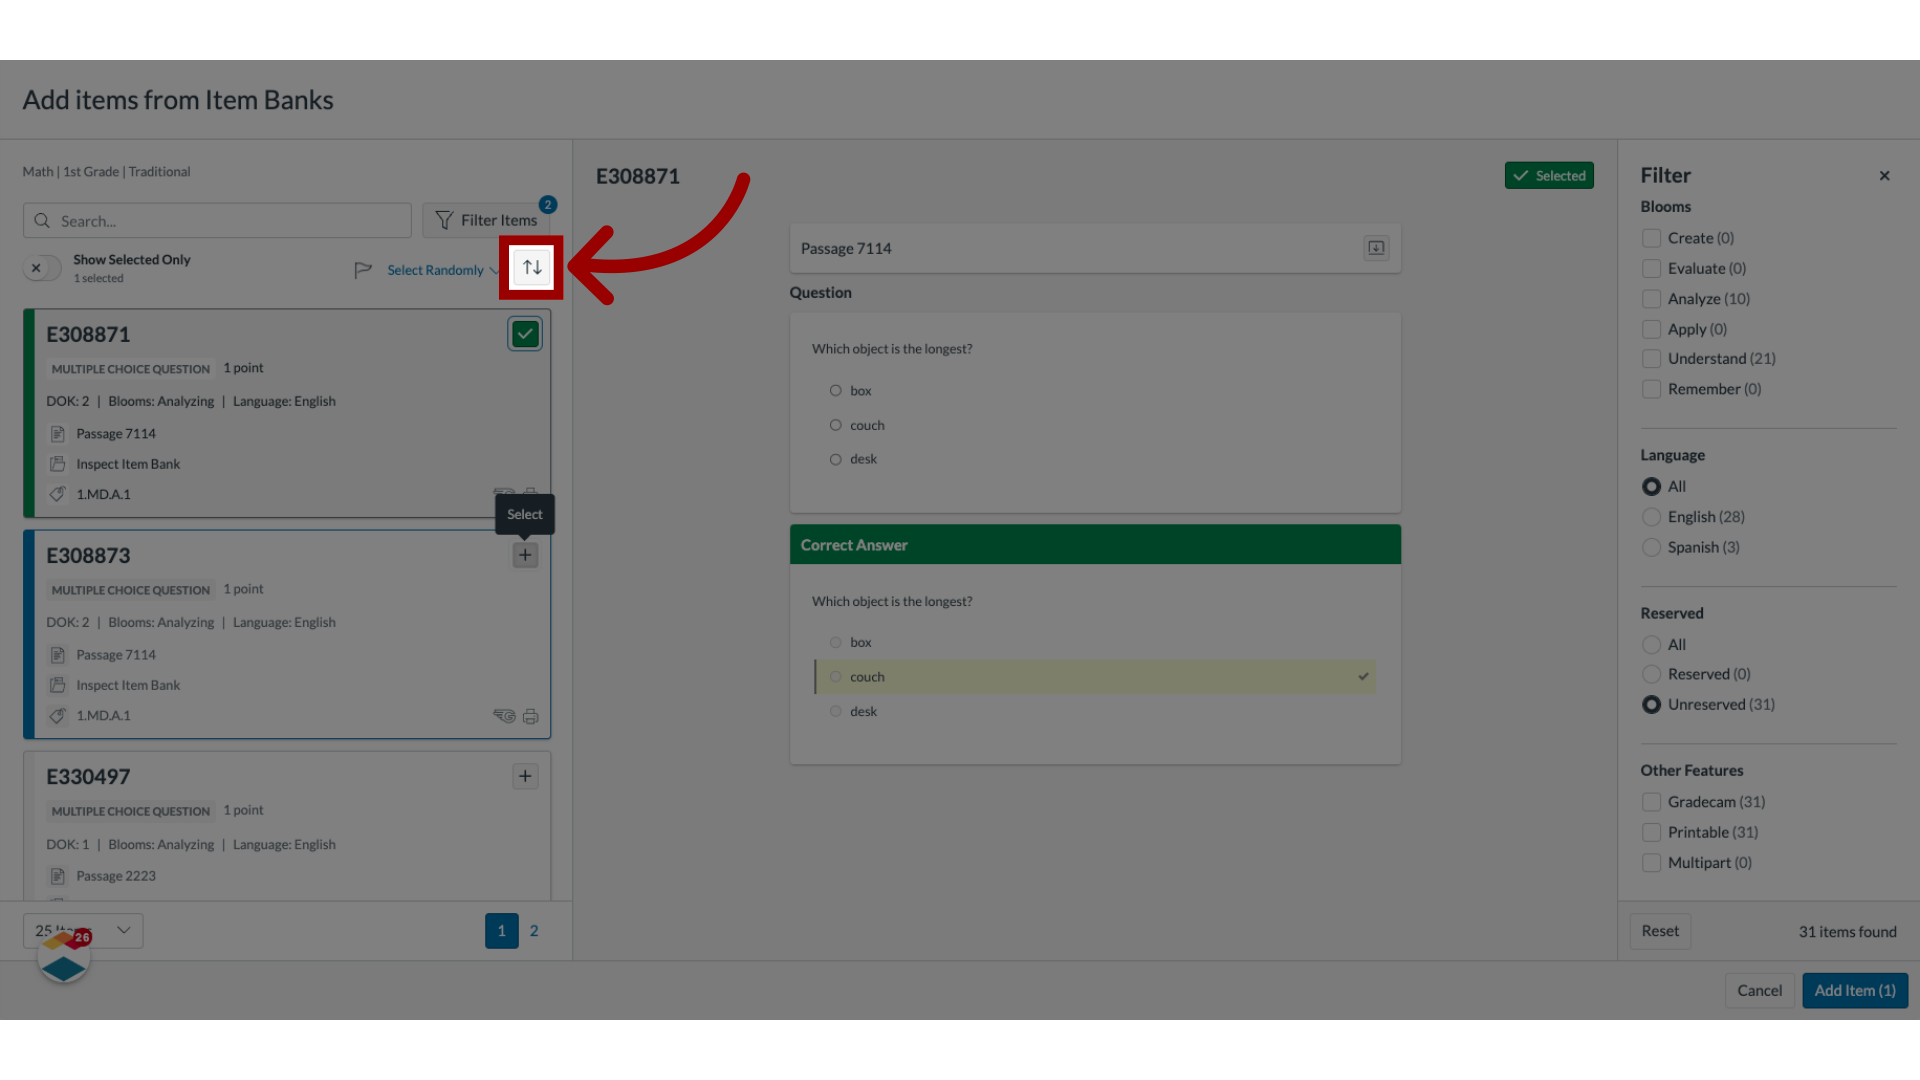
7. Select Filters

8. Sort Items and Select Sorting Method
9. Add Item

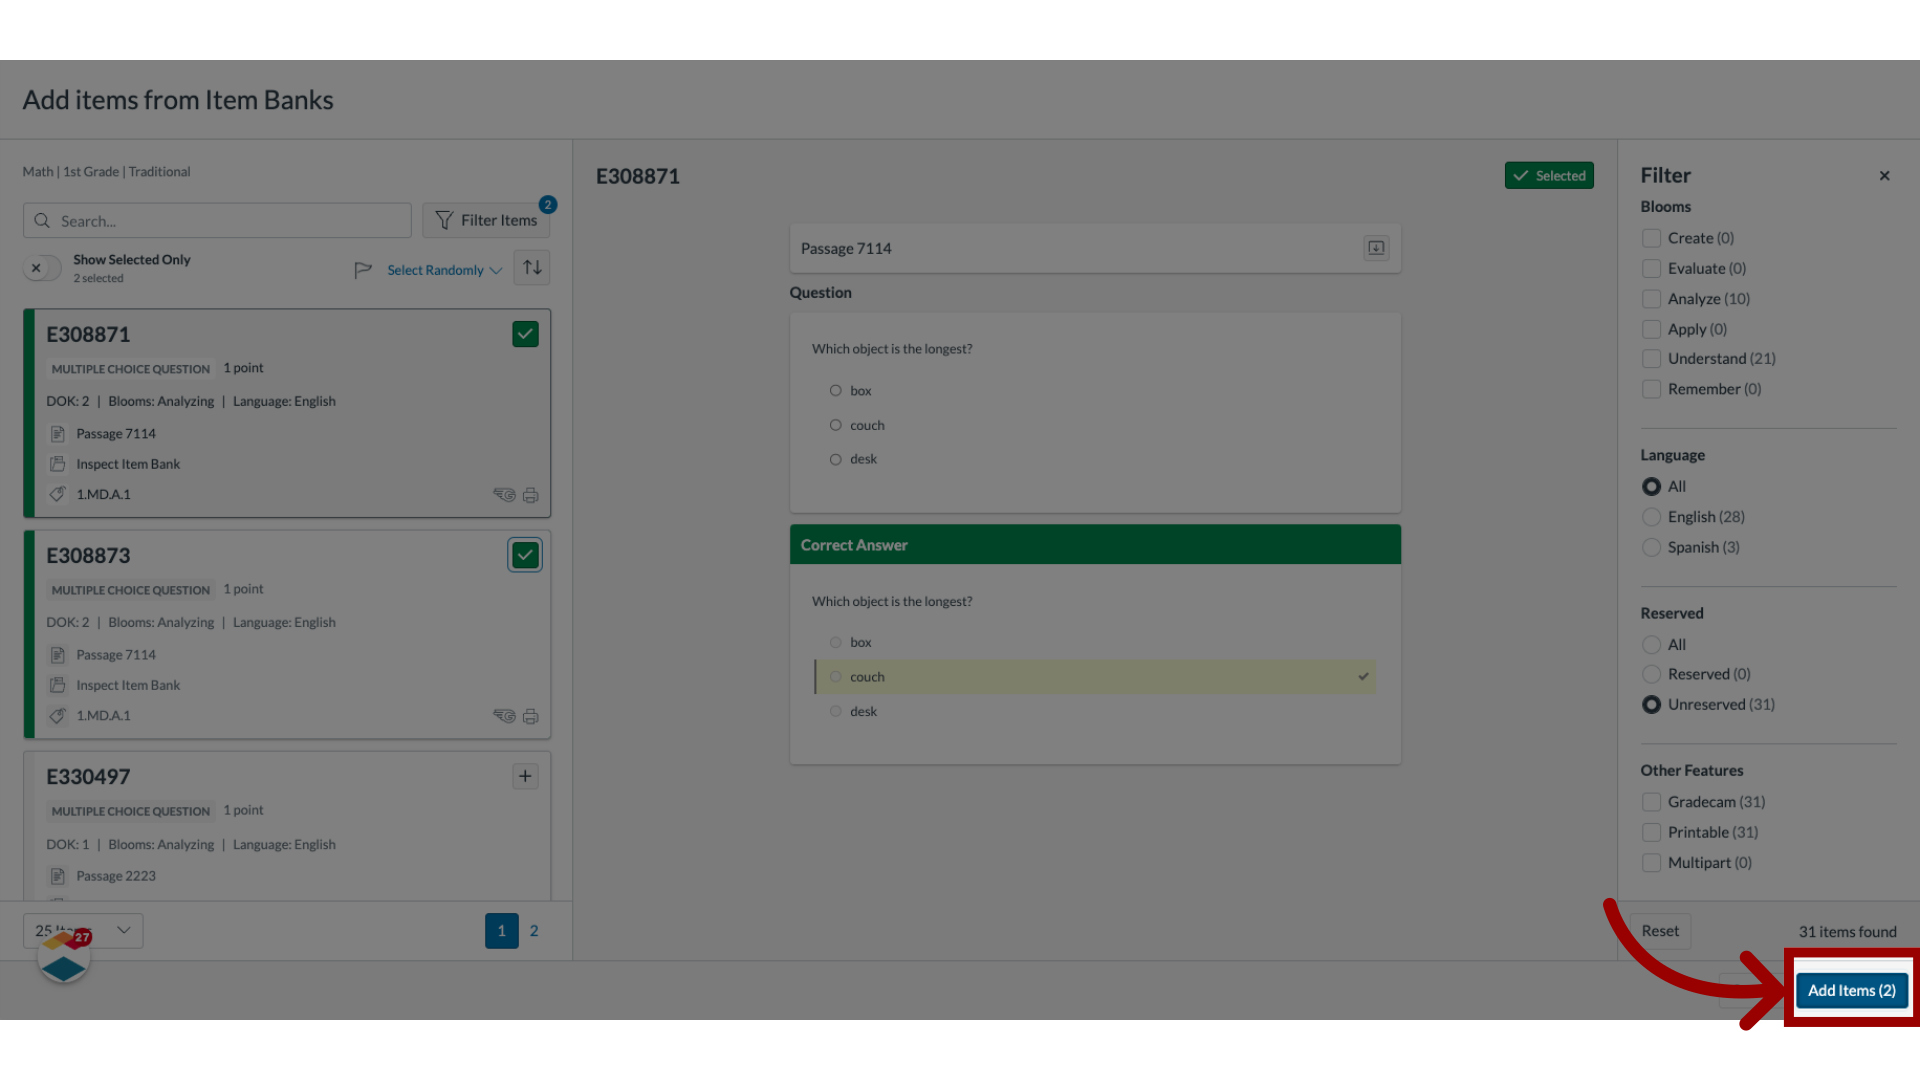
10. Add Selected Items to Assessment
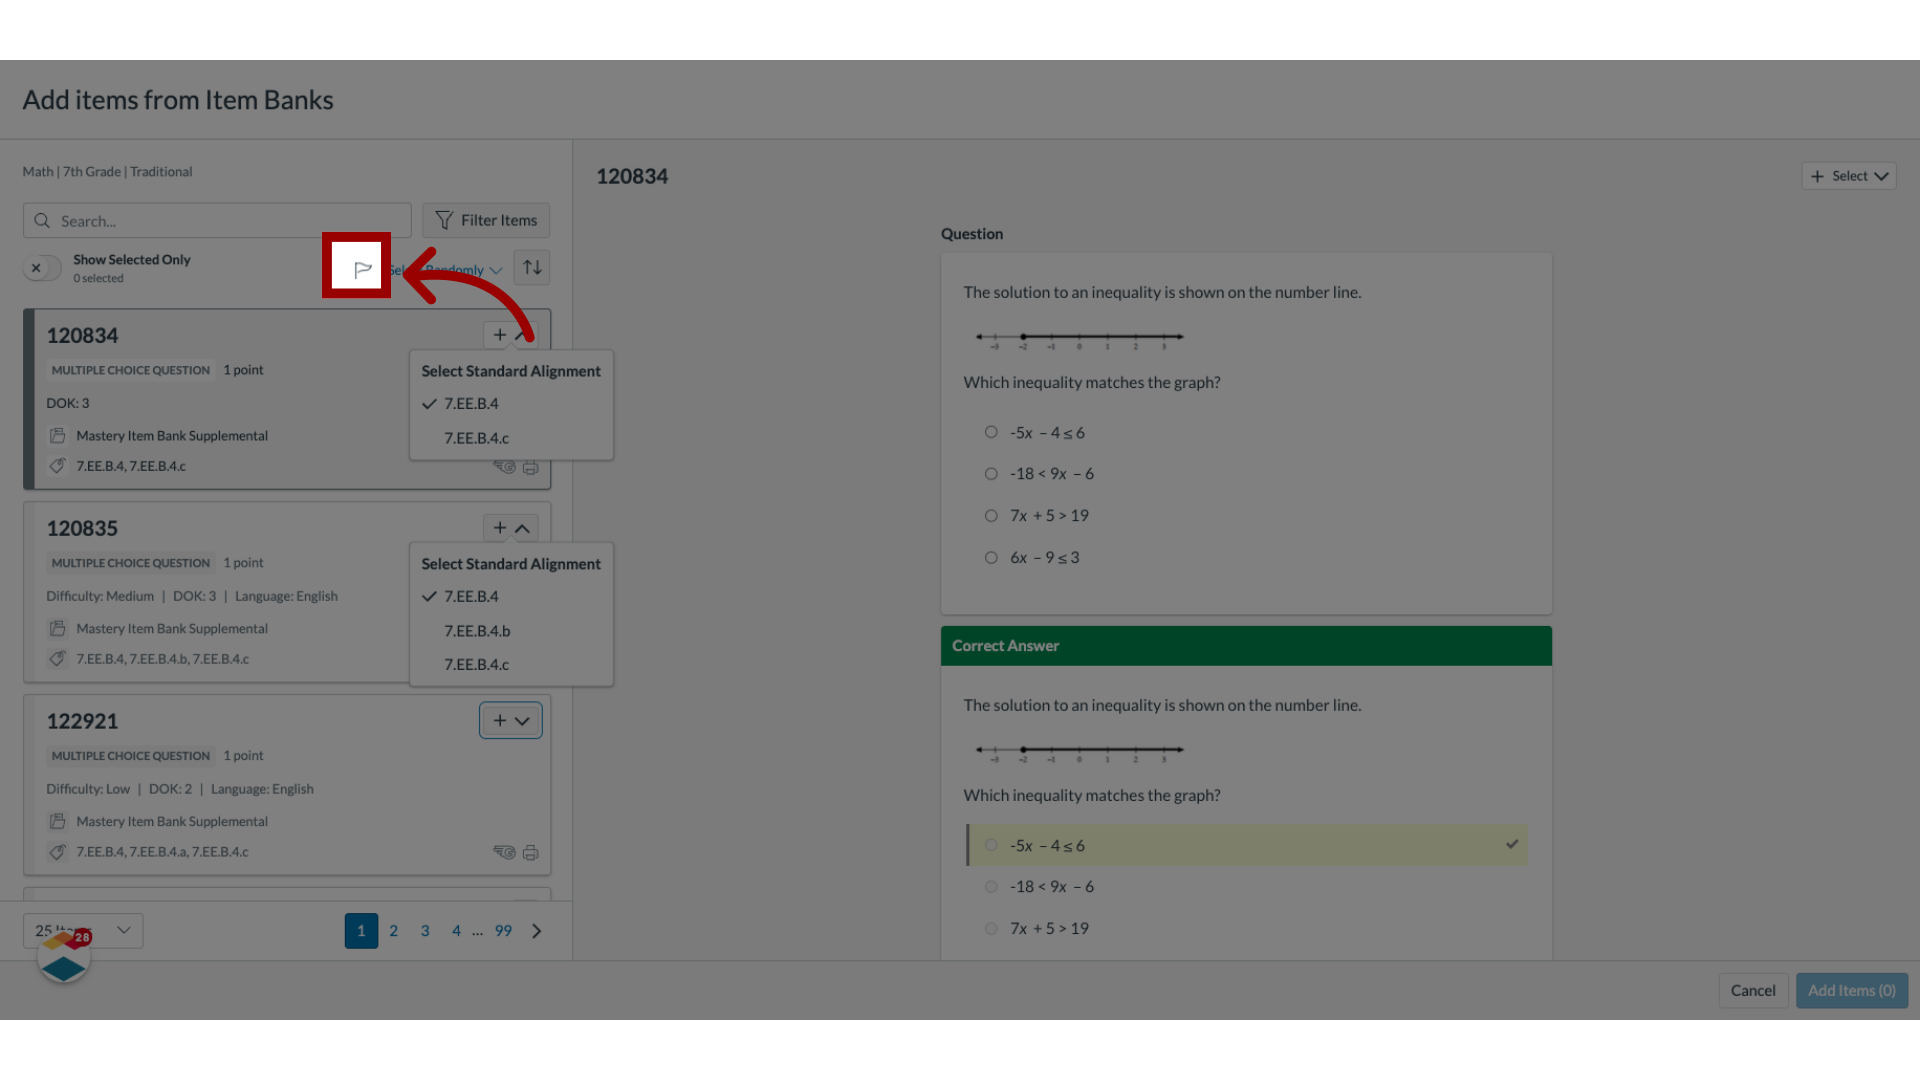
11. Flag Item
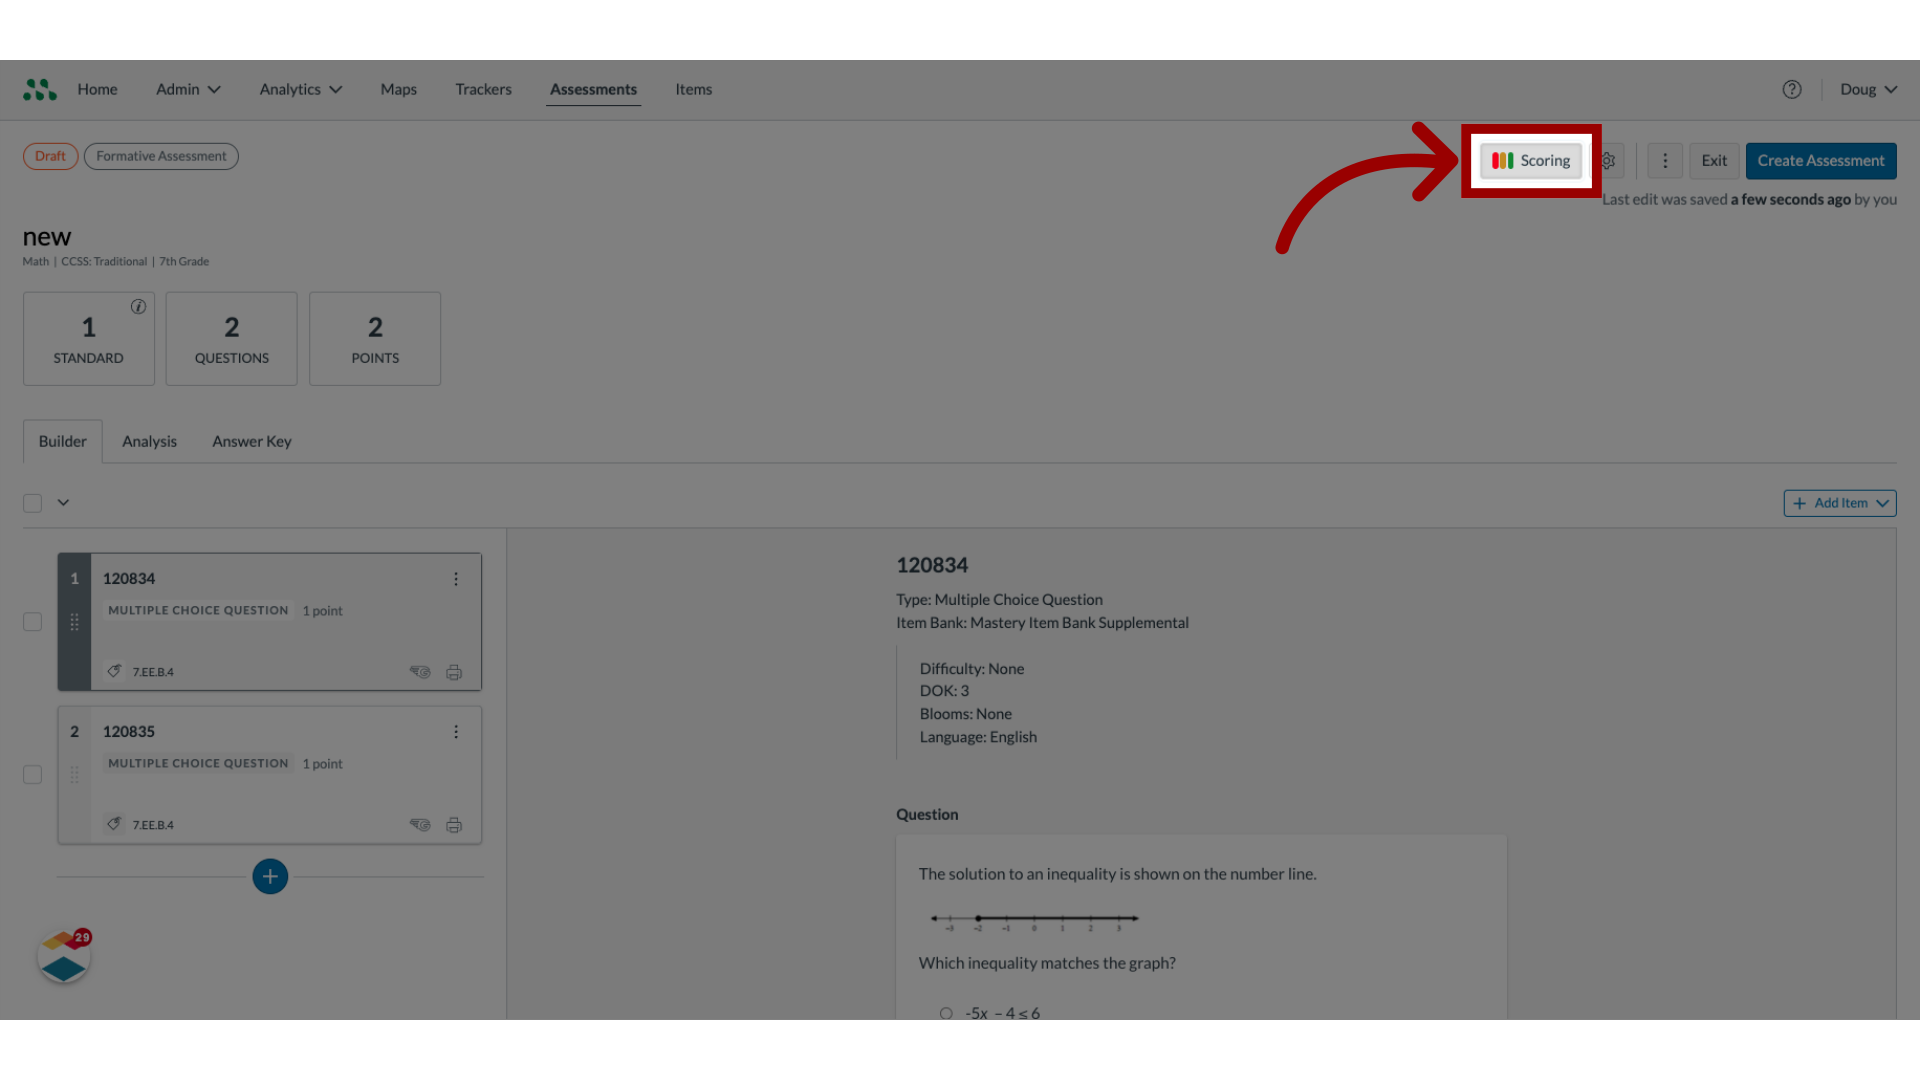
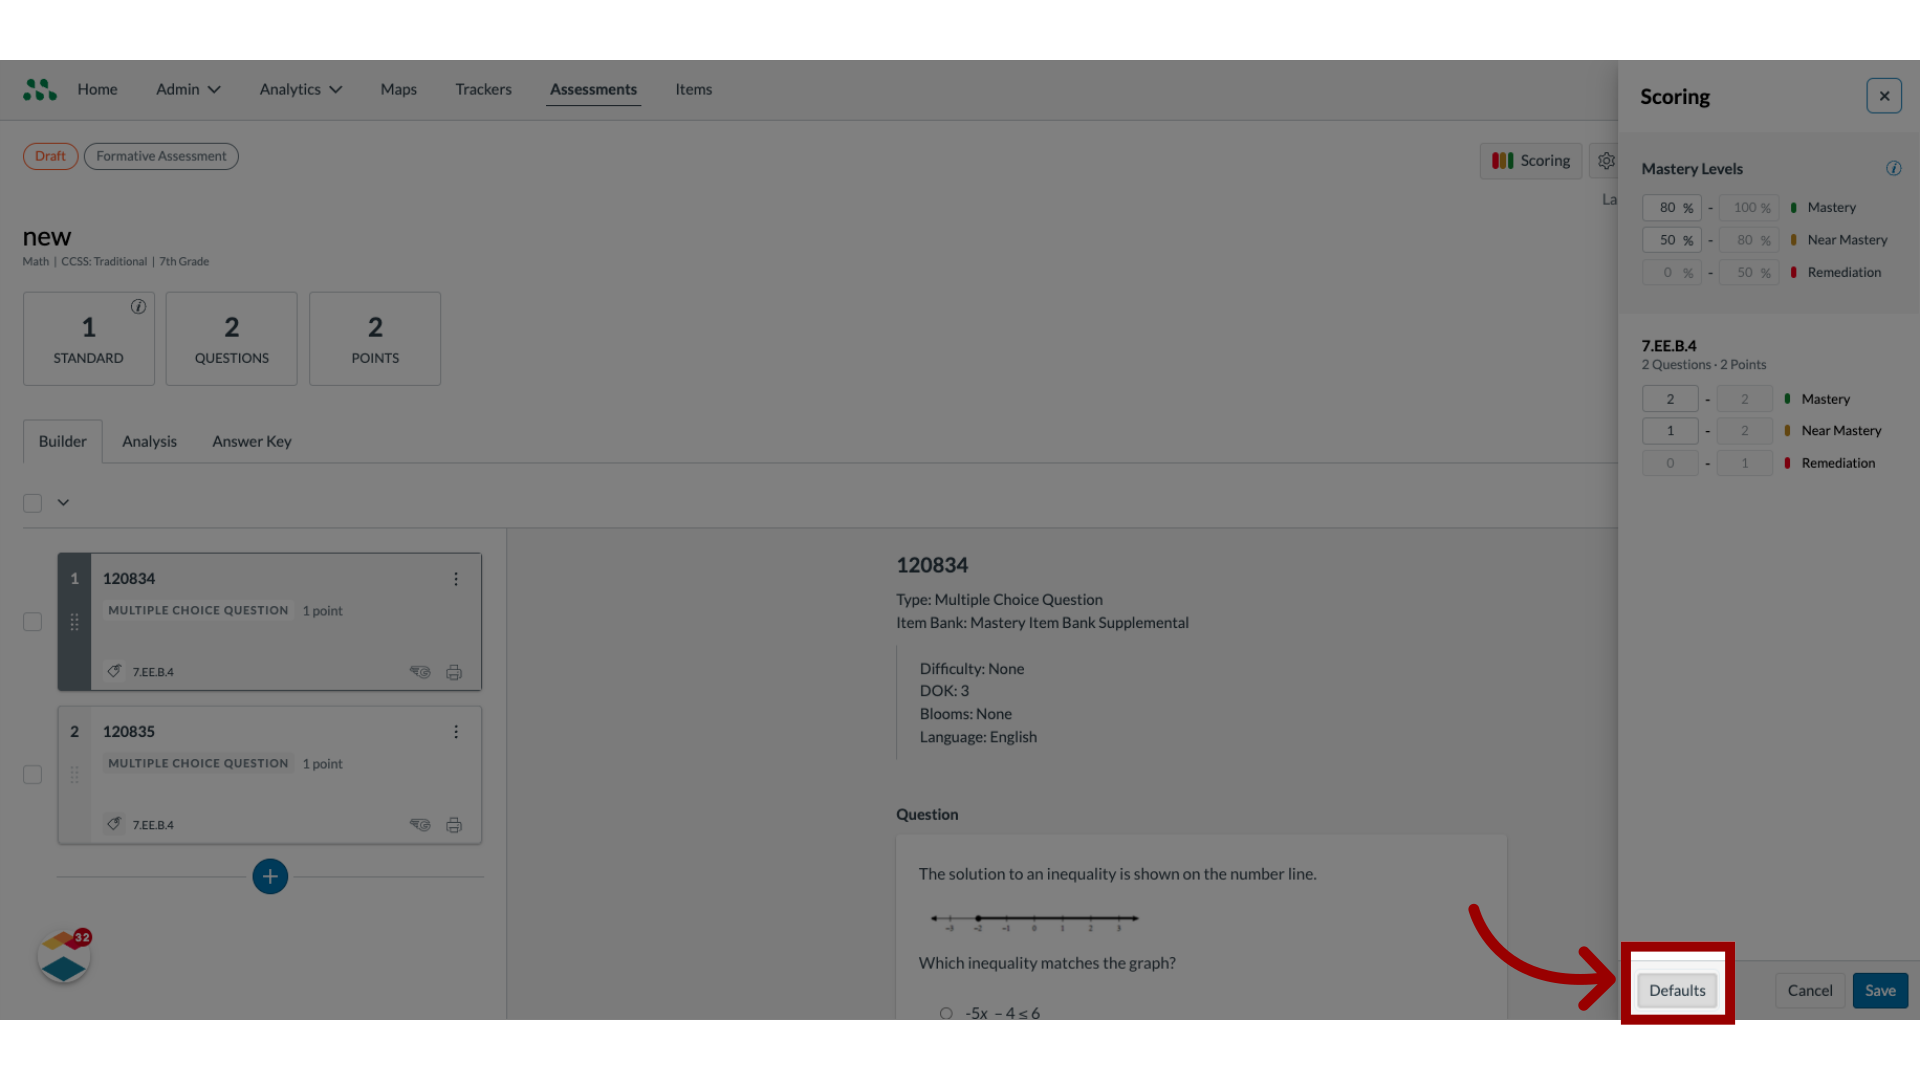
12. Edit Mastery Levels
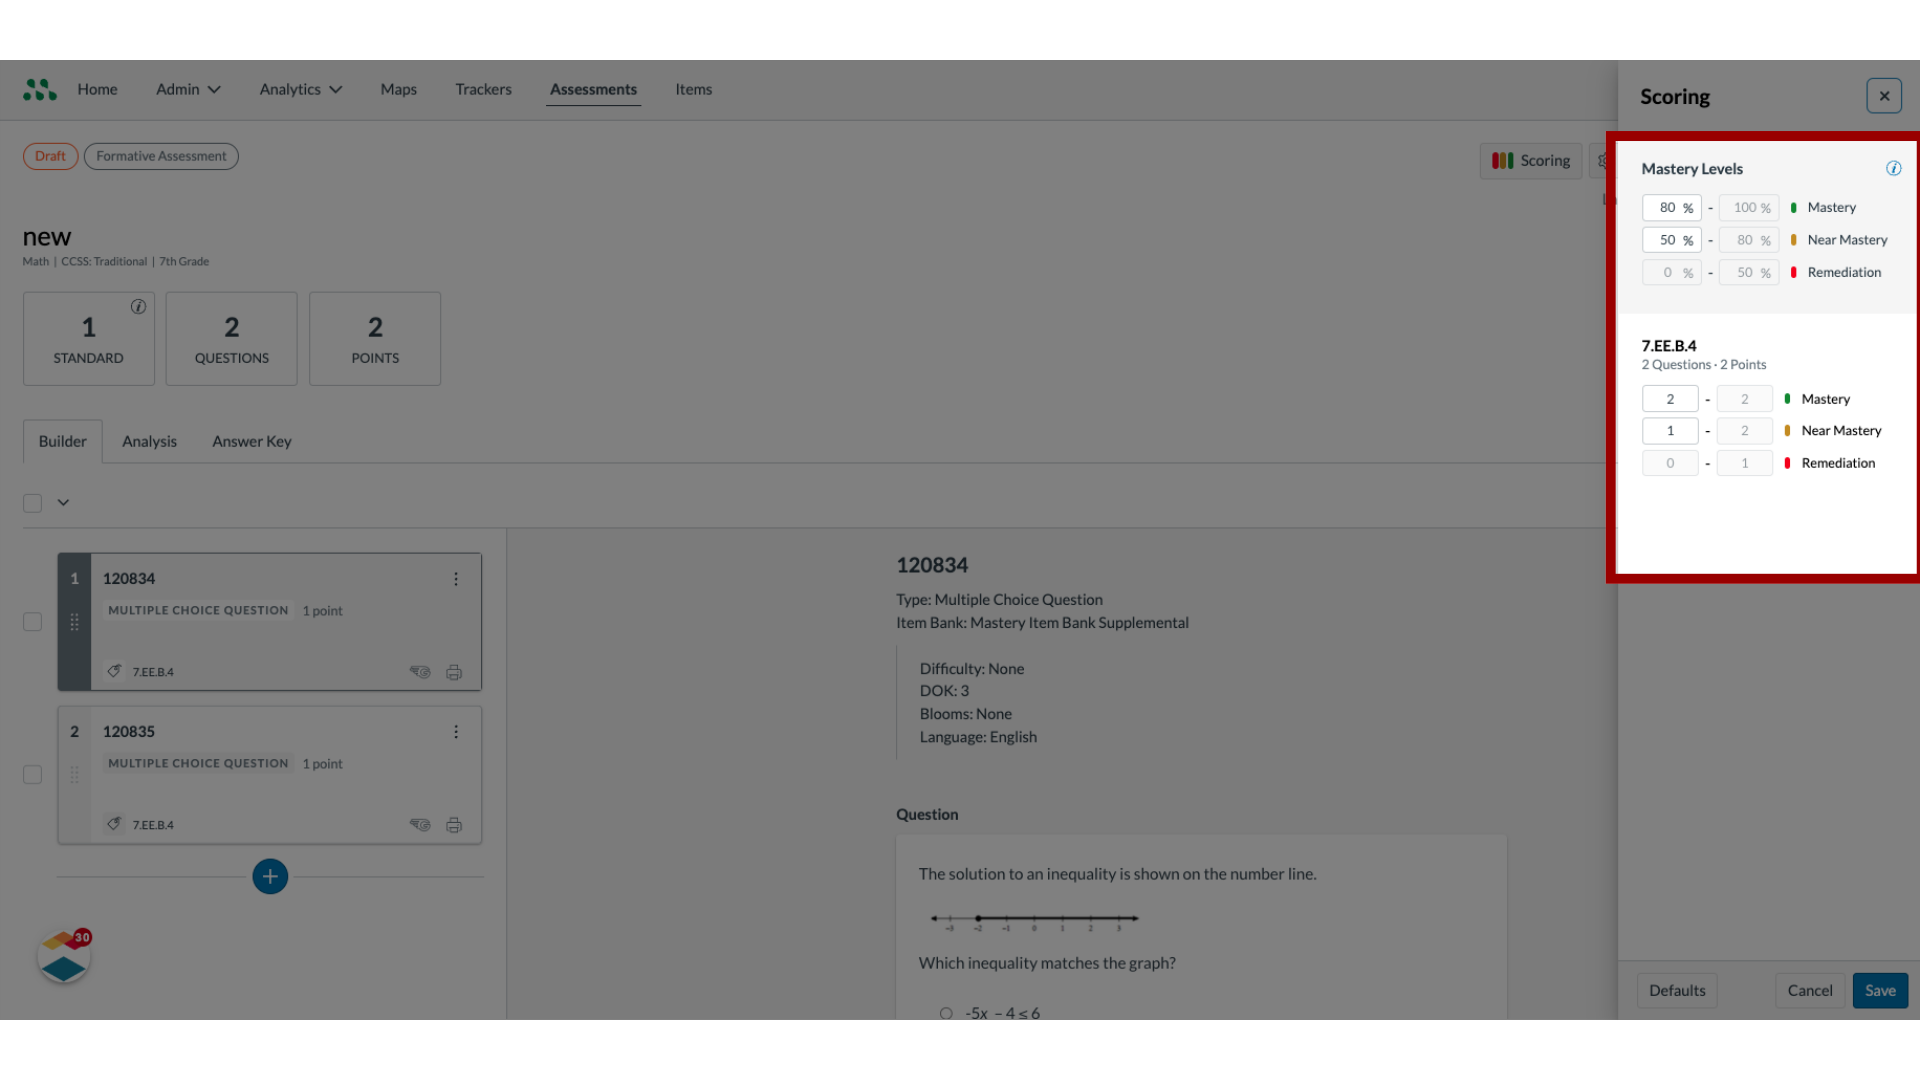
13. Enter Mastery Levels
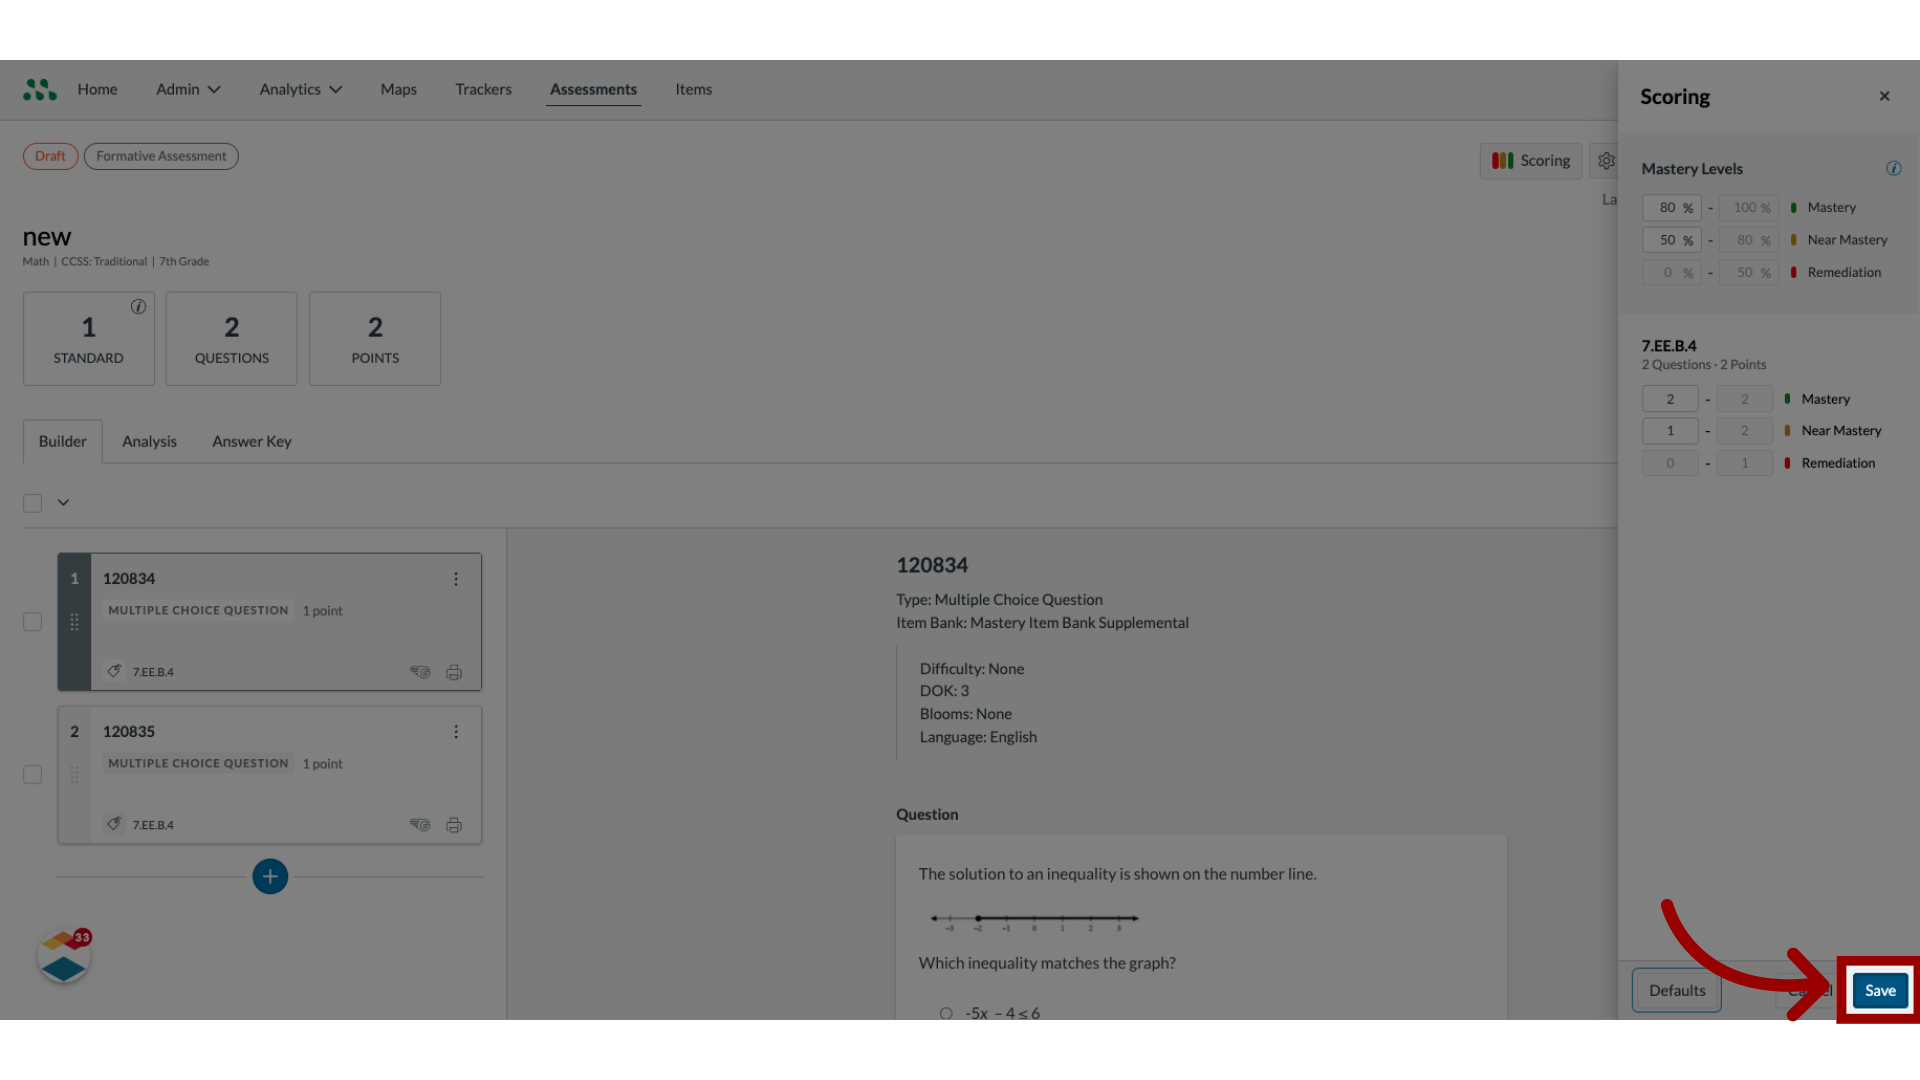
14. Save New Mastery levels
15. Reset Default Levels
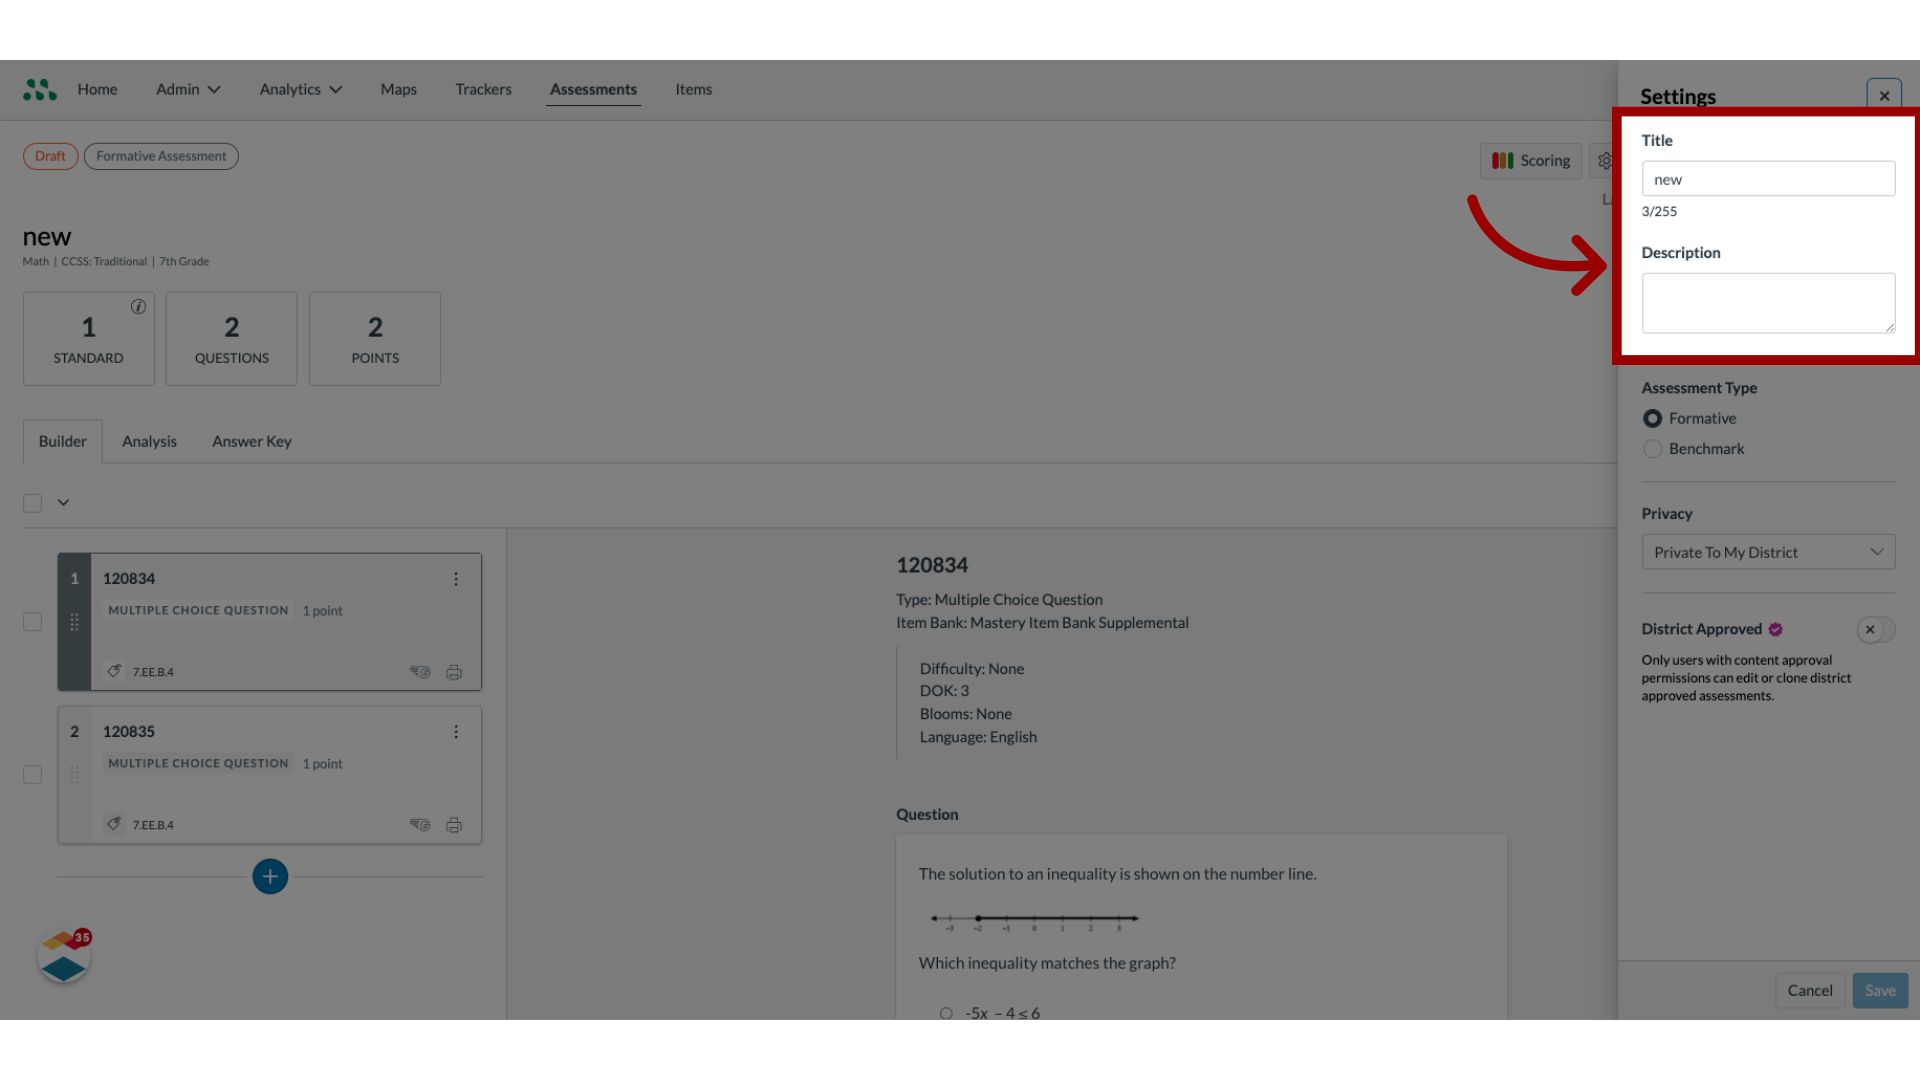
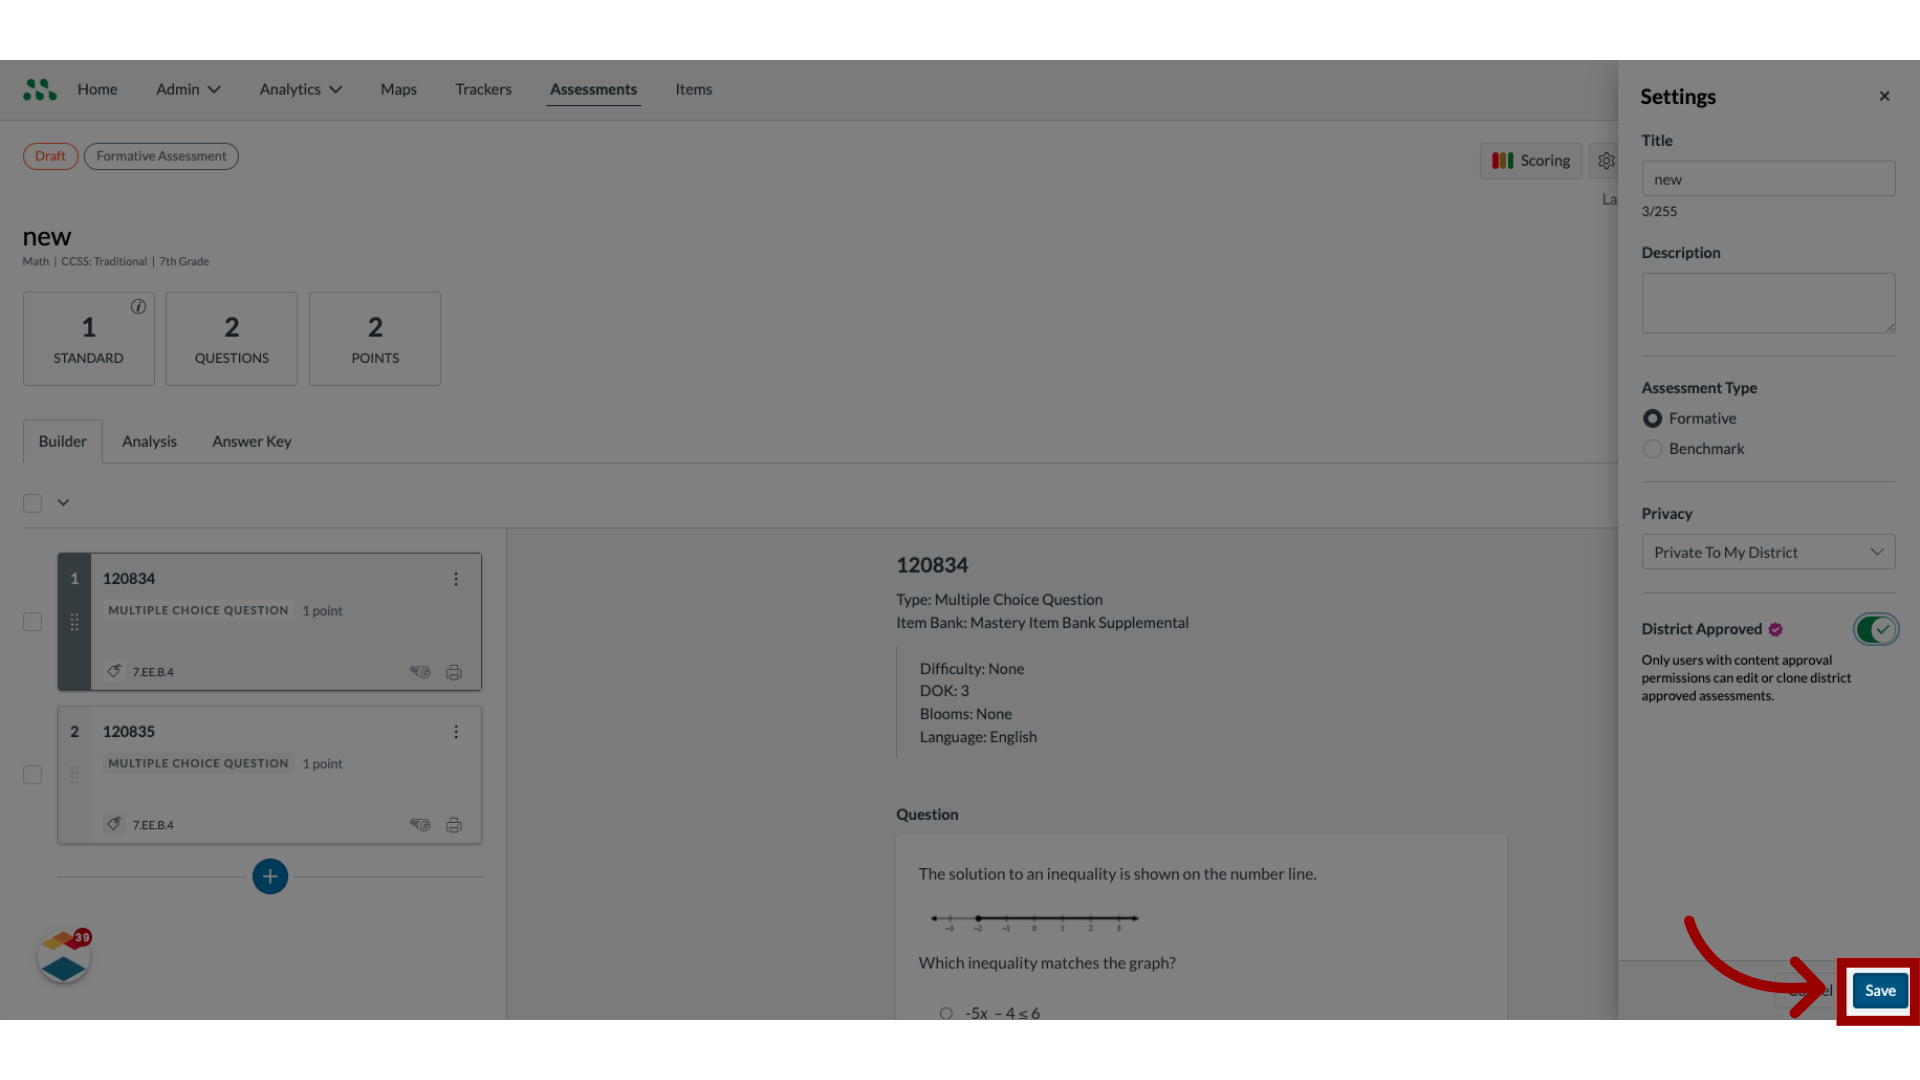
16. Edit Assessment Settings

17. Enter Title and Description
18. Select Privacy Settings
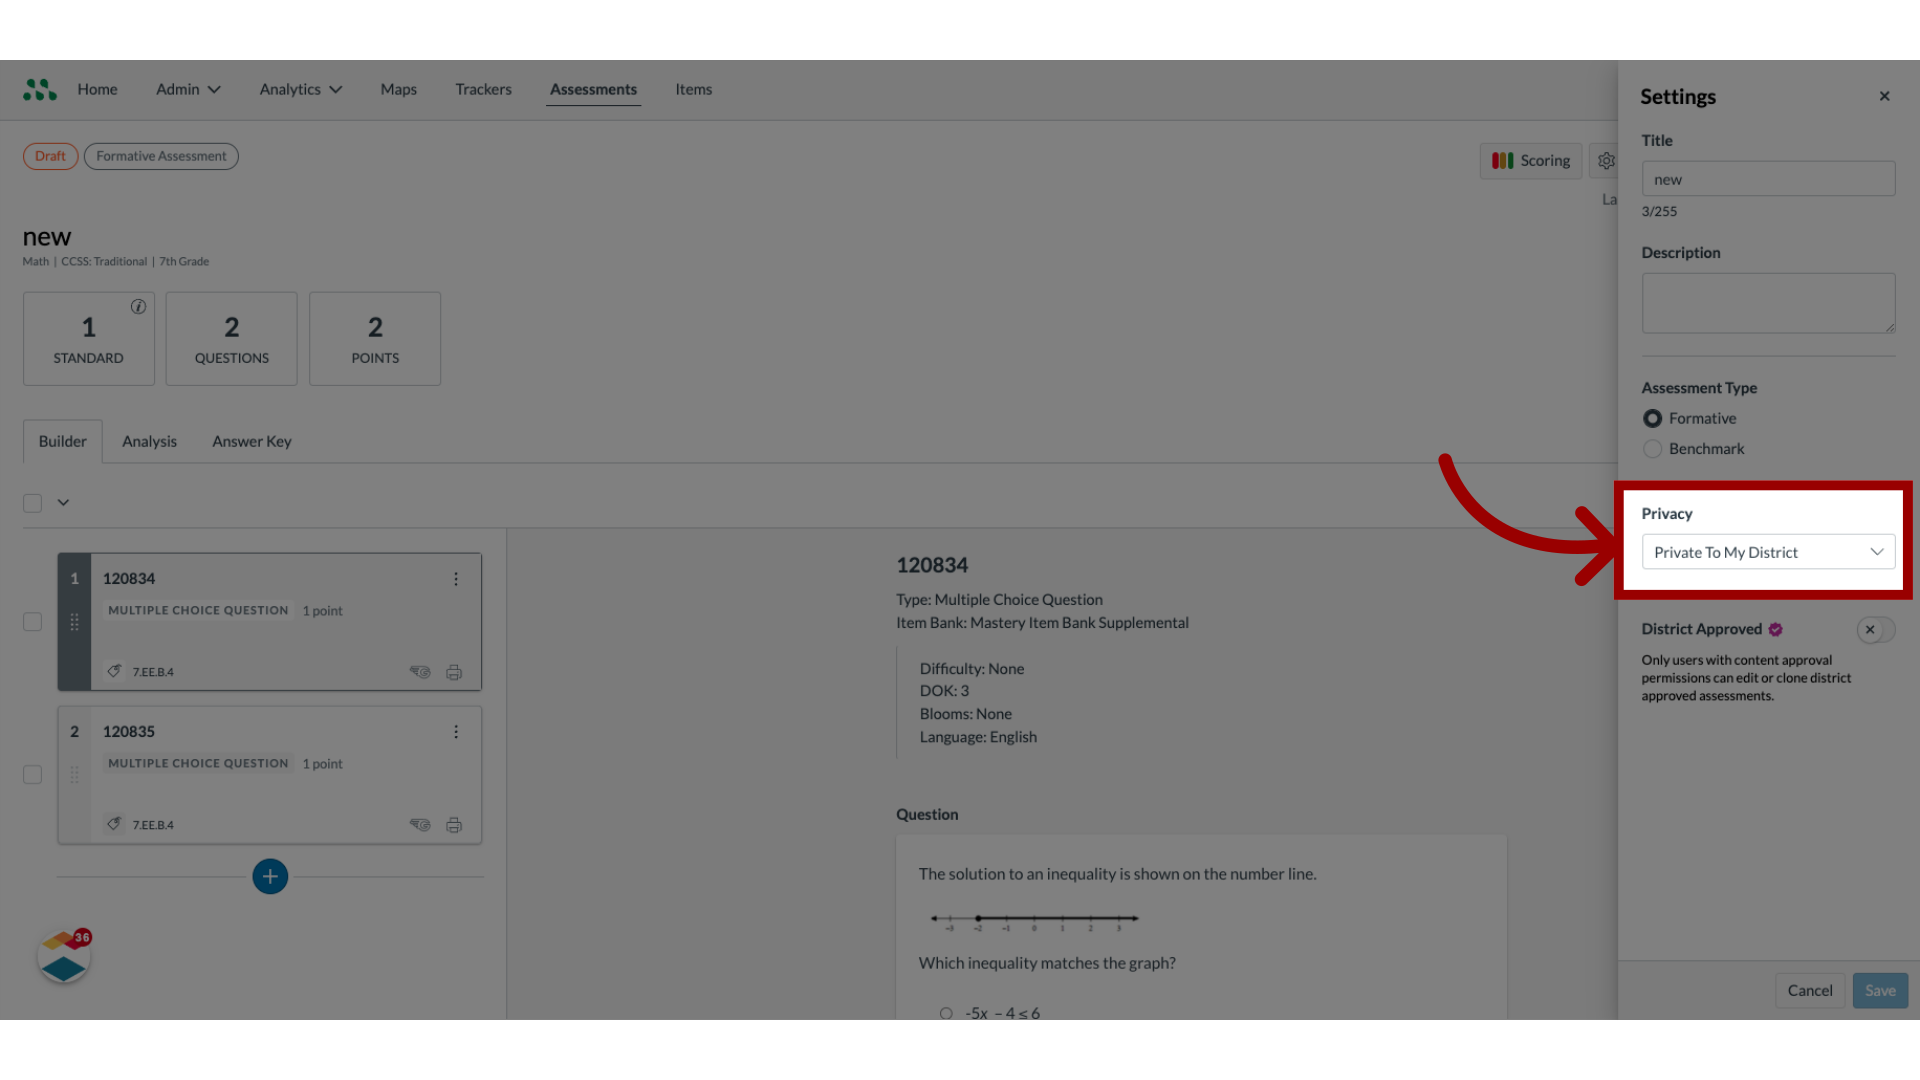
19. Select Assessment Type

20. Create District Approved Assessment
21. Save Changes
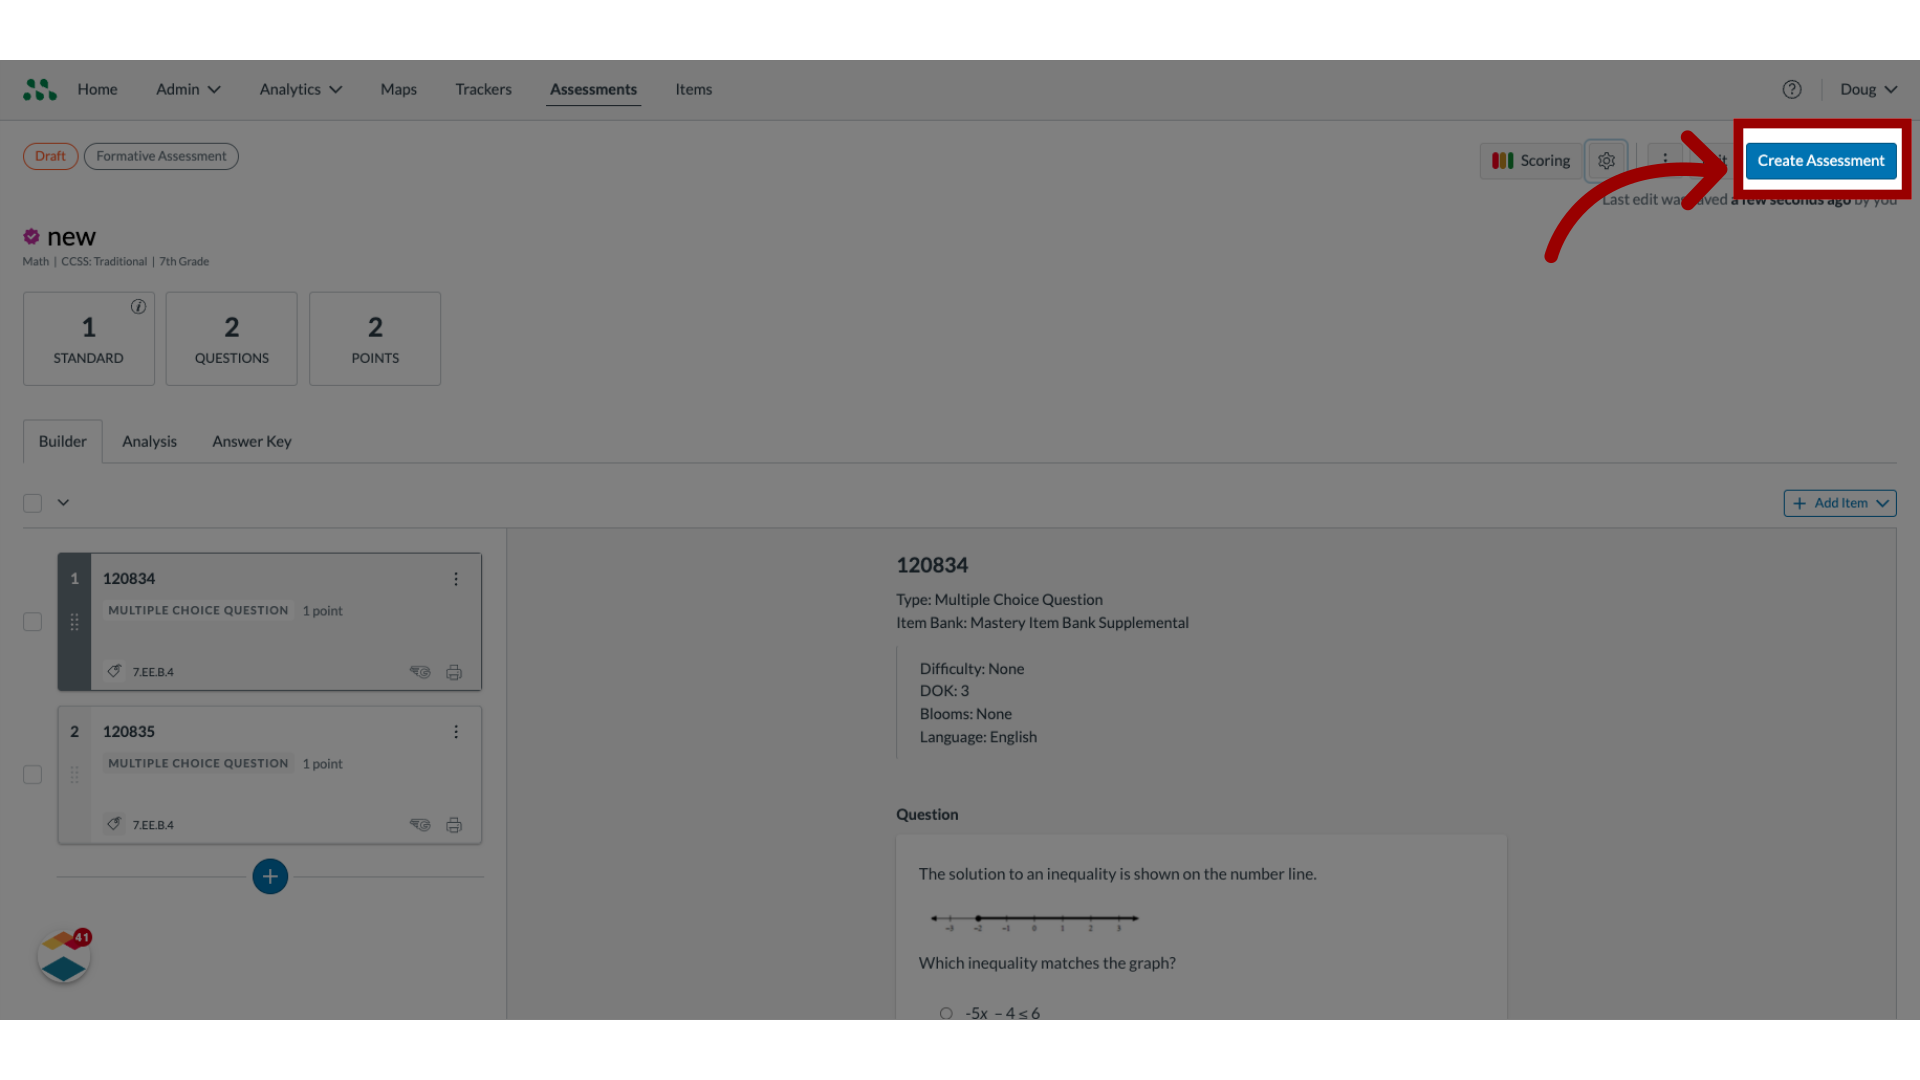
22. Create Assessment
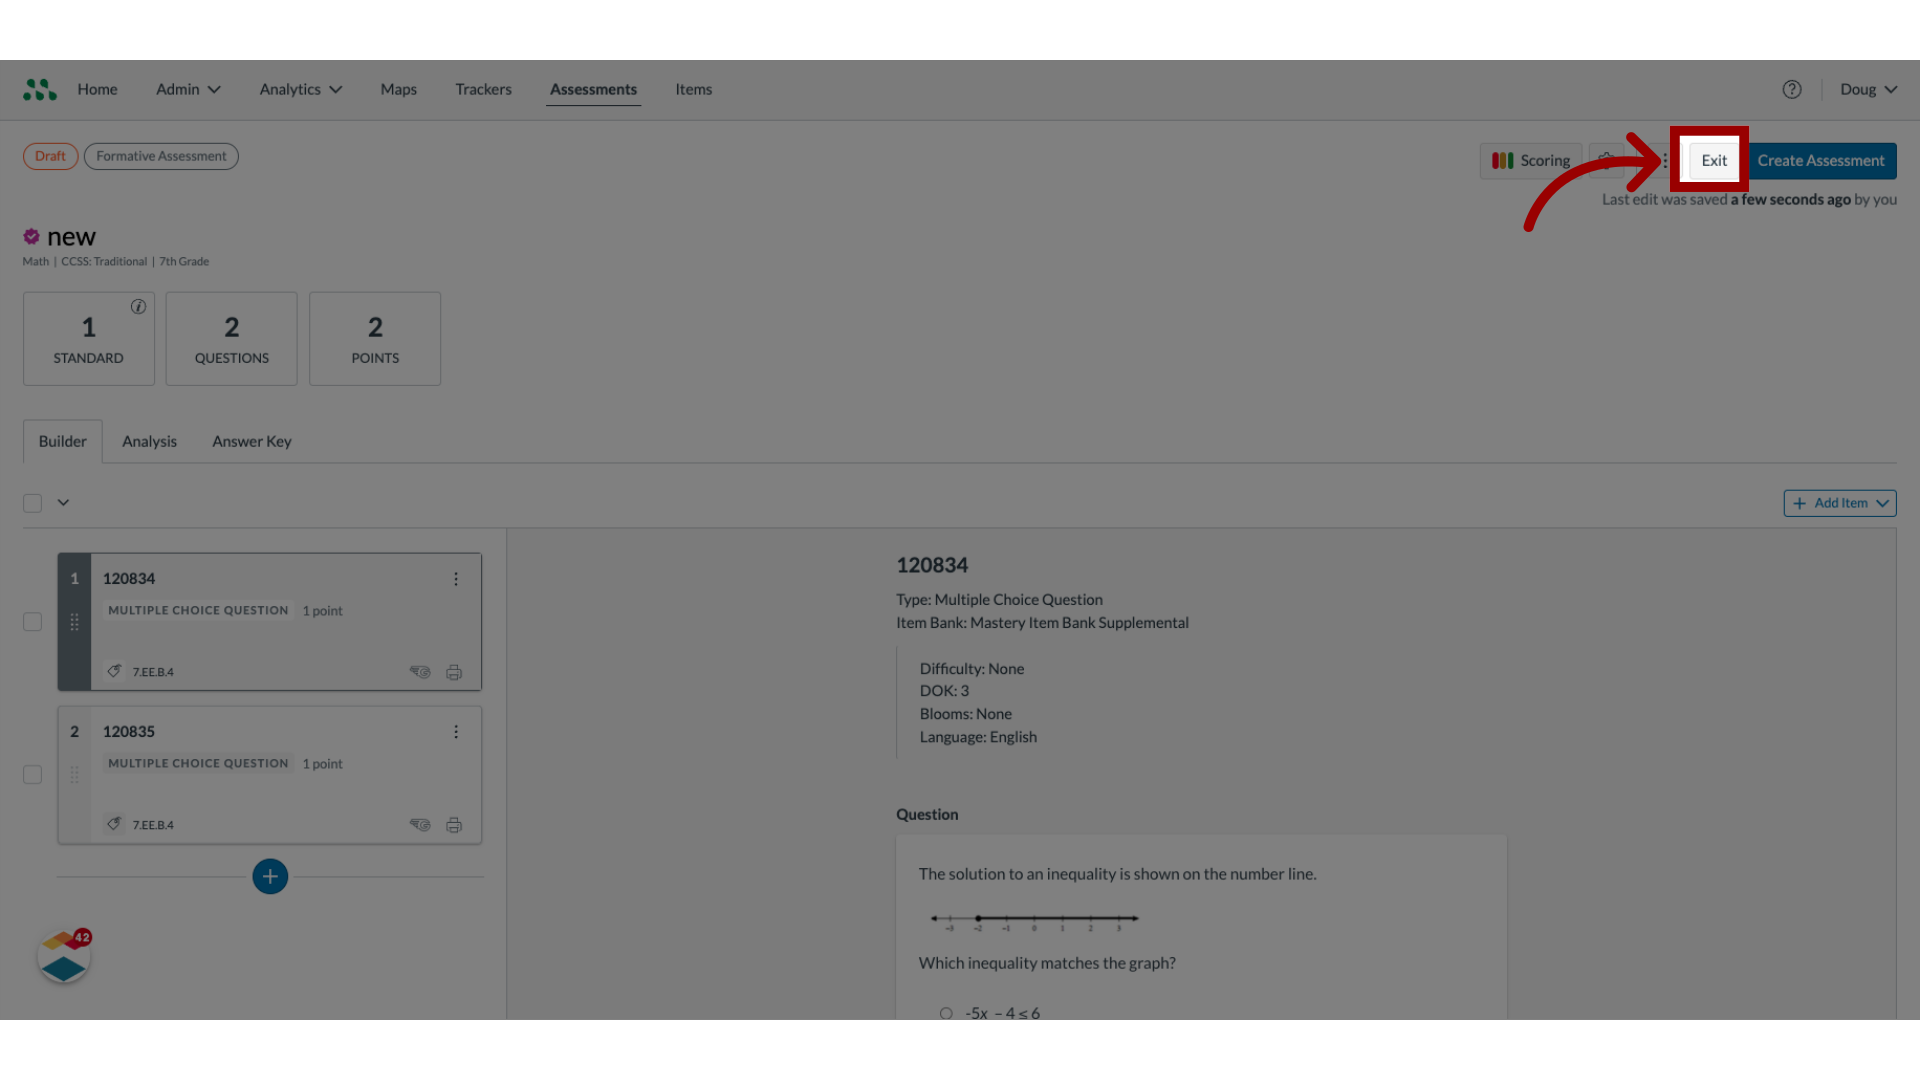
23. Save Assessment as Draft
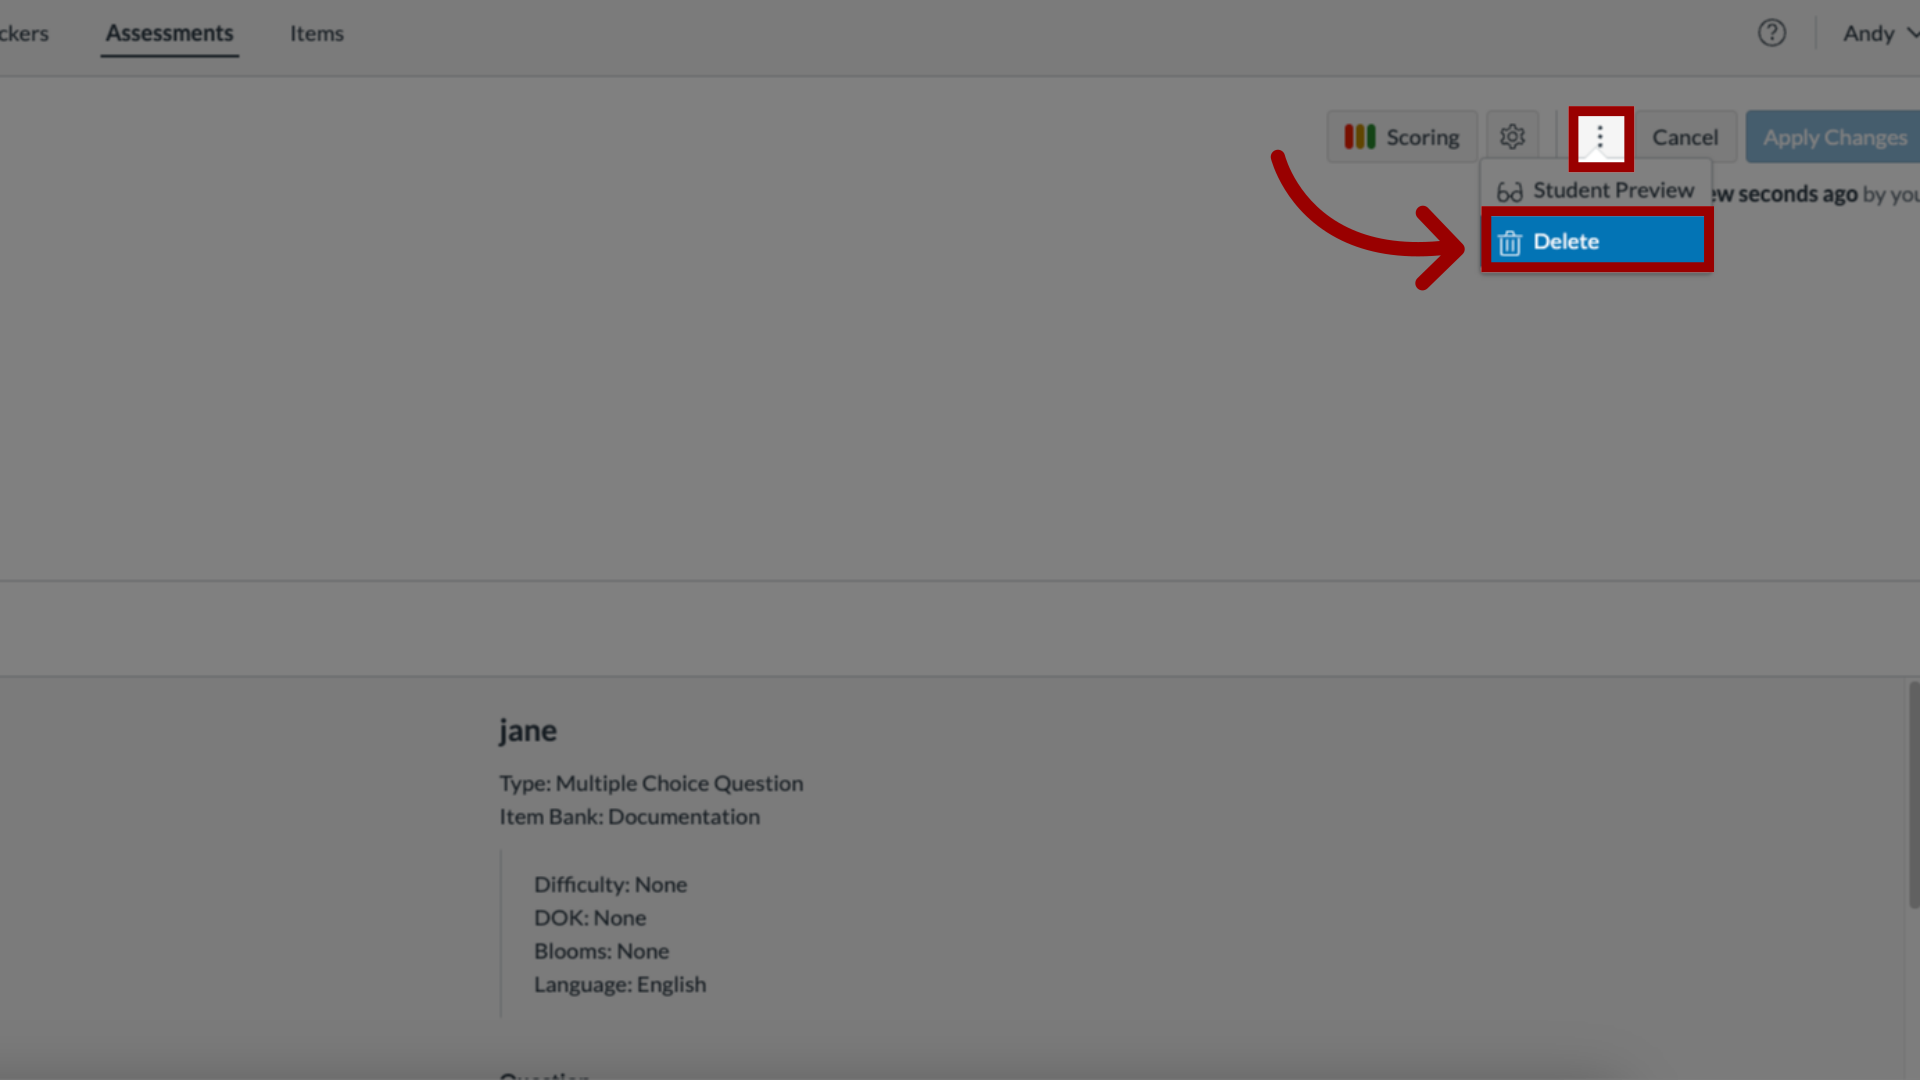
24. Delete Assessment
Note: If your assessment includes at least one item from the Mastery Item Bank, you can use the Quick Reassess feature after scoring to generate a new, automatically aligned reassessment. This option is available for both formative and benchmark assessments.
Learn more about using the Quick Reassess feature.

