How do I import student and parent email addresses as a Mastery Connect admin?
As a Mastery Connect admin, you can import student and parent email addresses from a CSV file. During the process, you must first download a properly formatted CSV file. Once you add email addresses to the CSV file, you can upload it.
Note: Teachers can also import student email addresses.
How do I import student or parent email addresses as a Mastery Connect admin?
How do I import student or parent email addresses as a Mastery Connect admin?
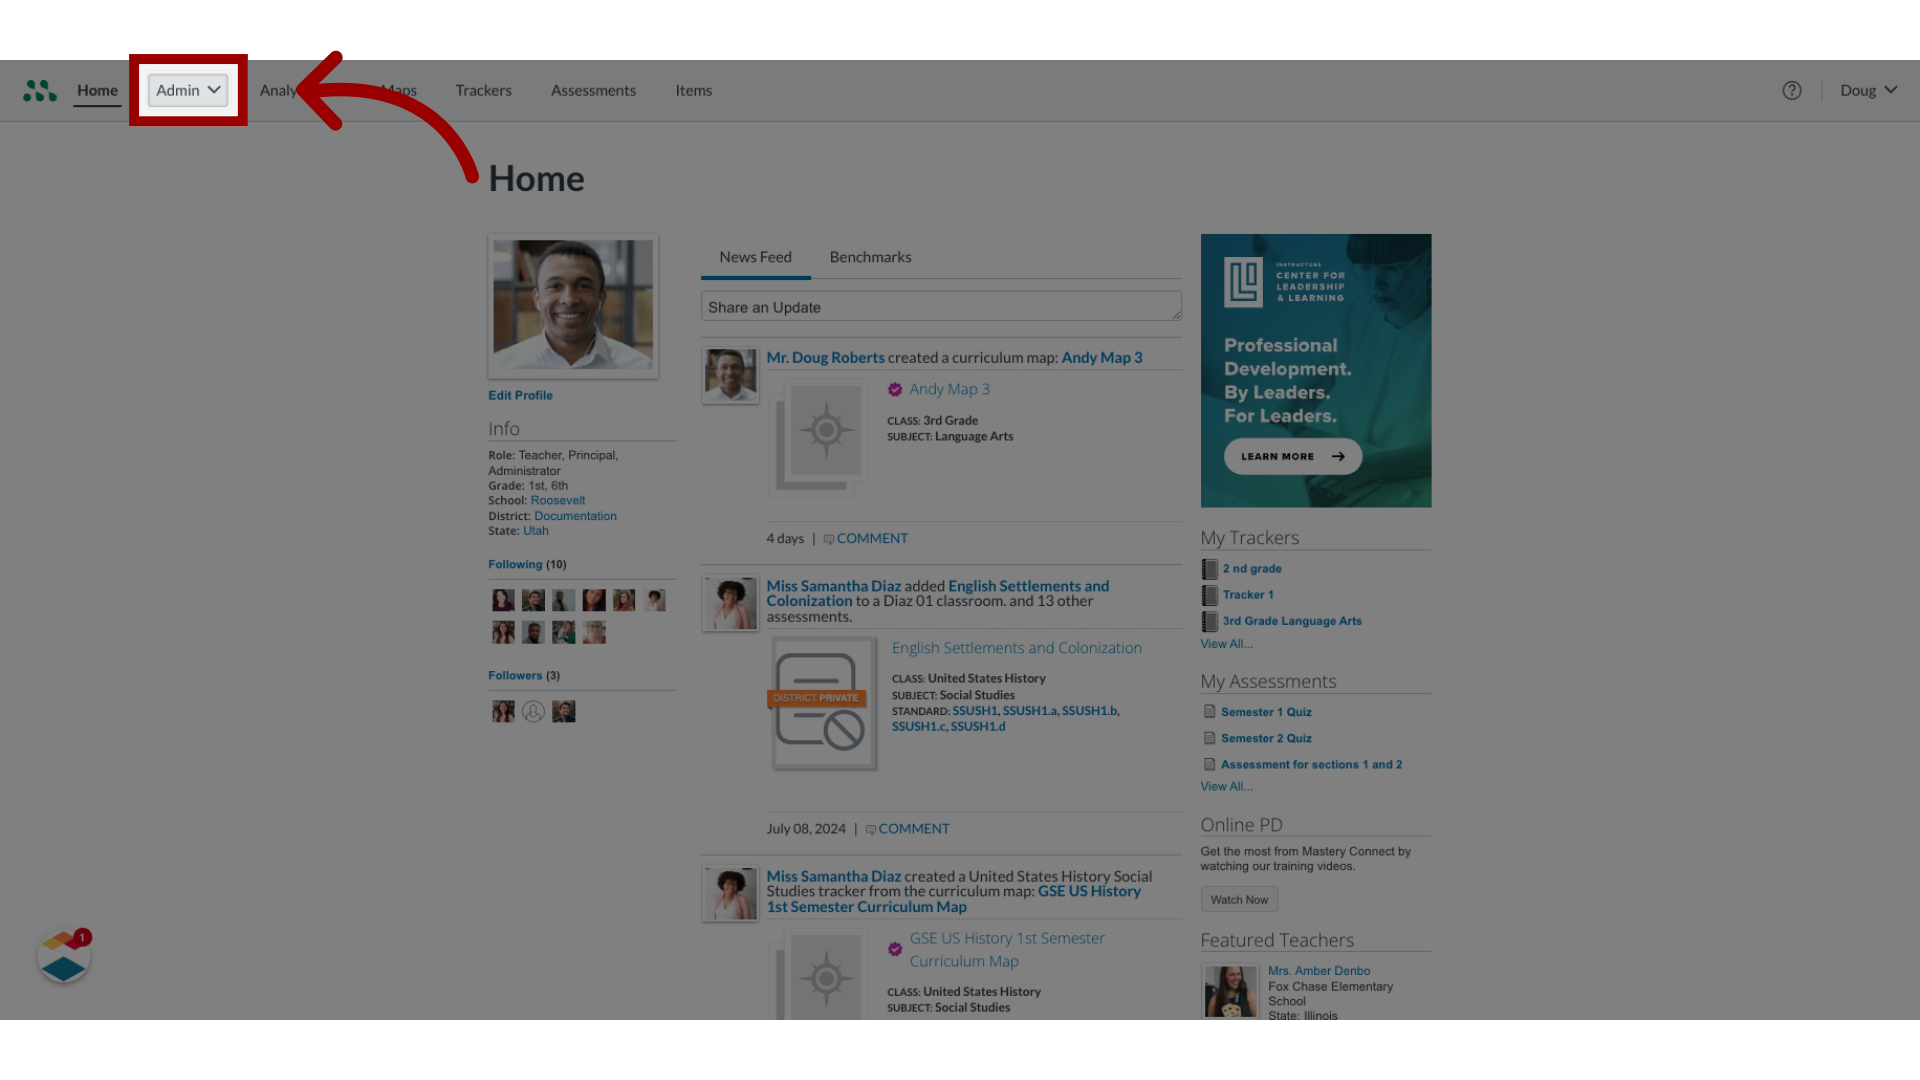
1. Click "Admin"
Access the Admin panel.
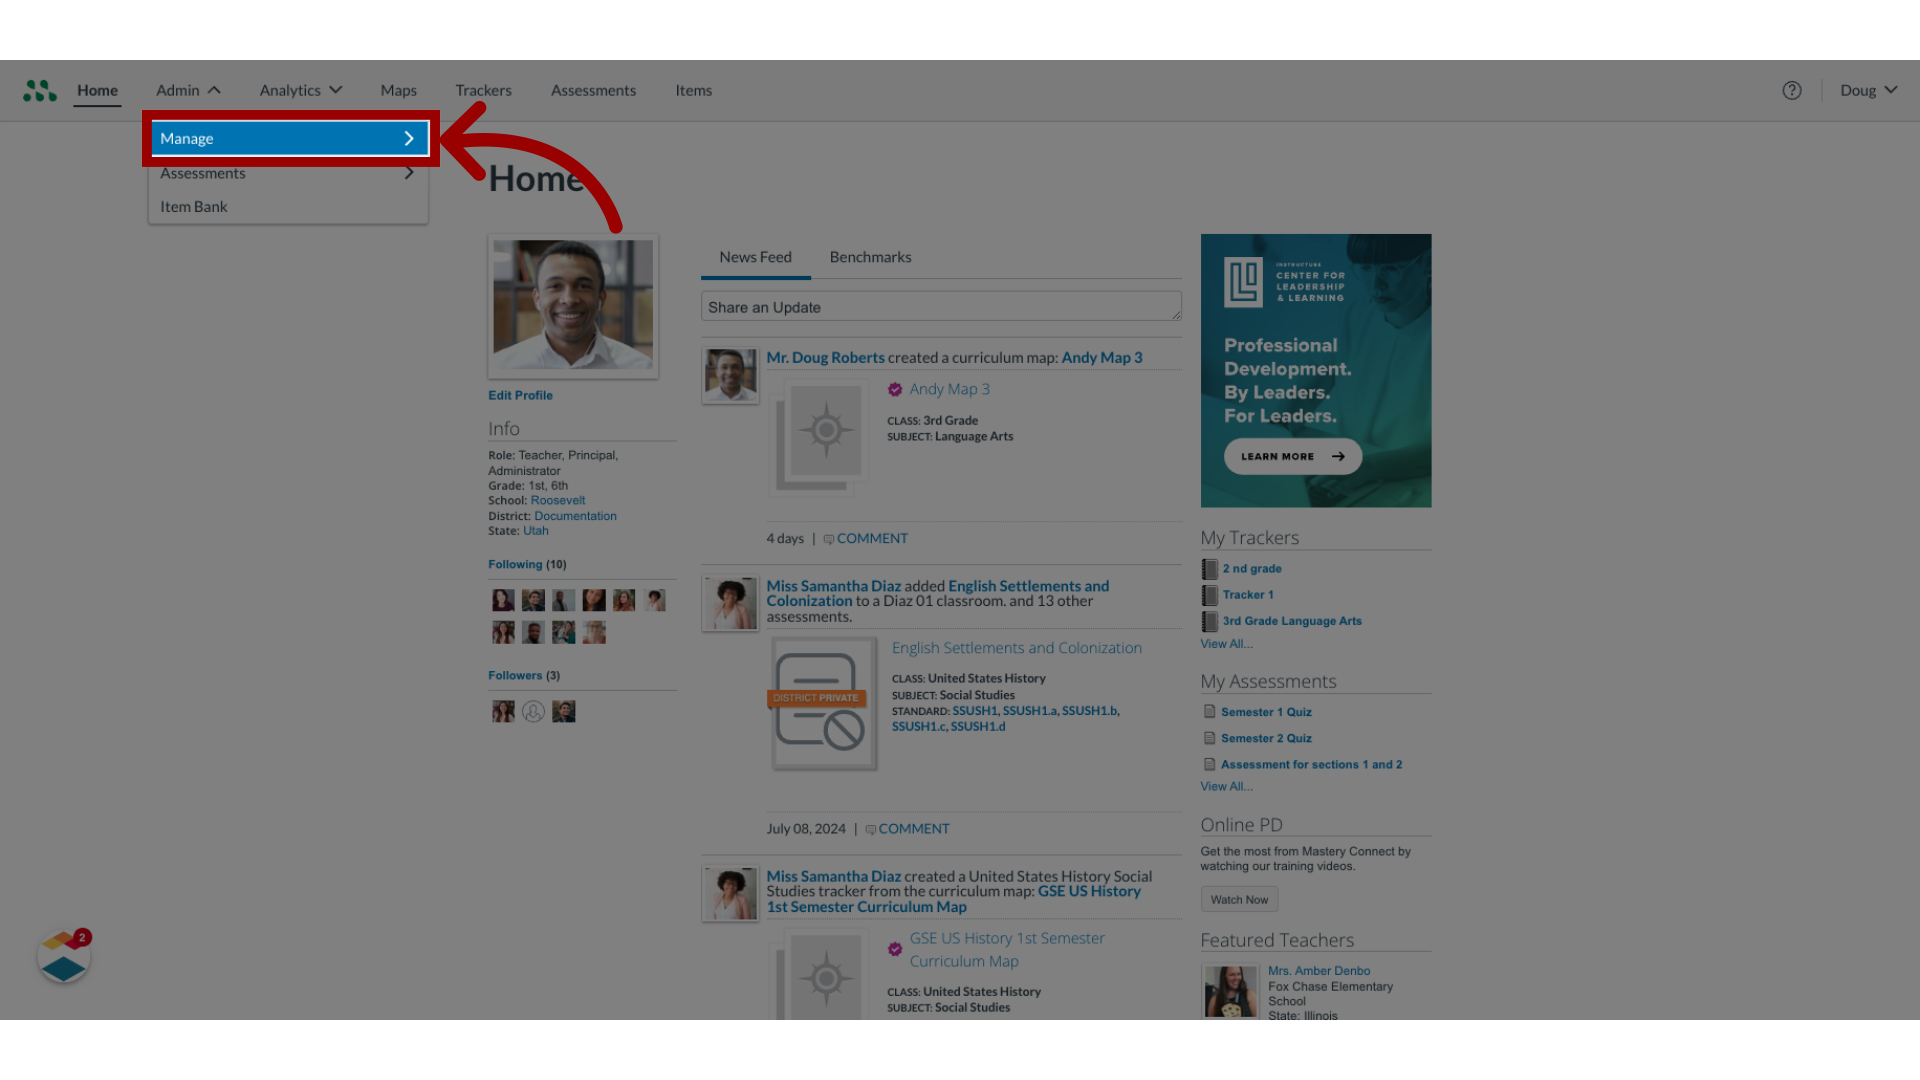
2. Click "Manage"
Select the Manage option.
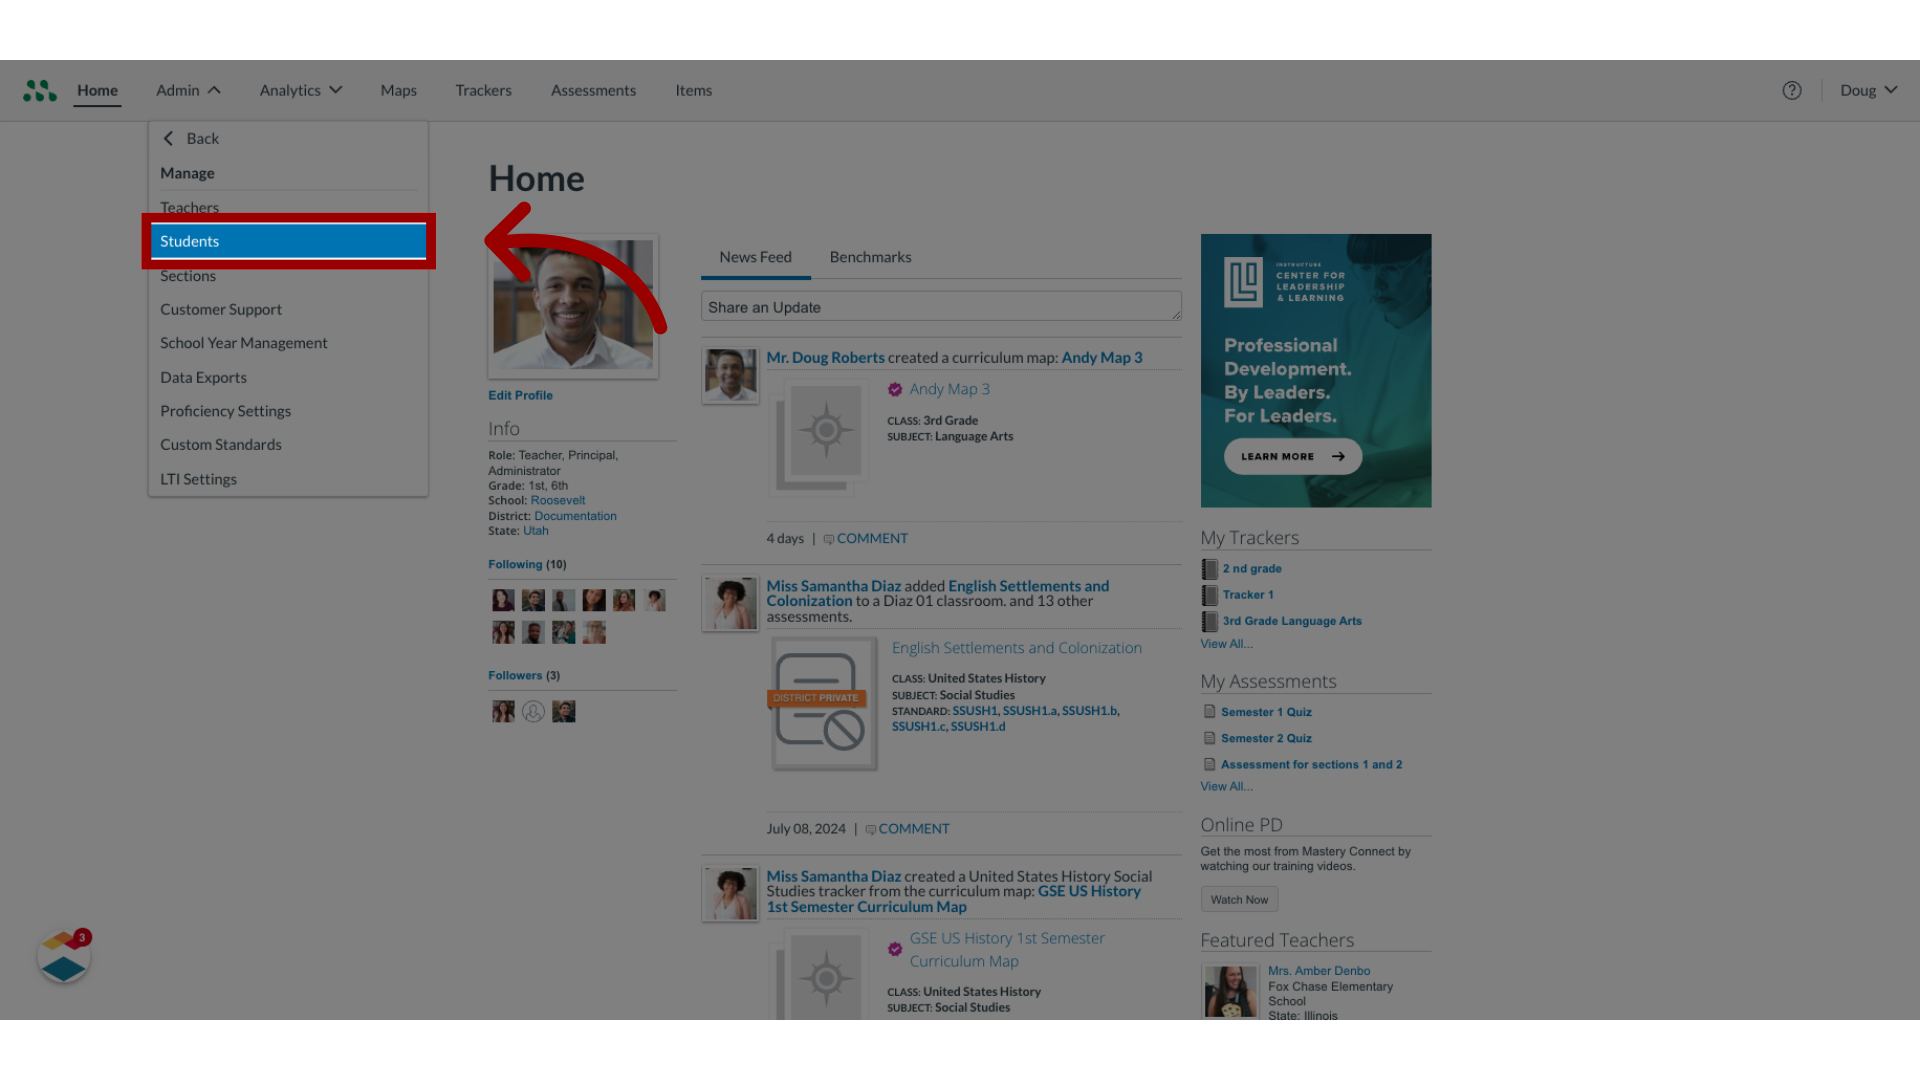
3. Click "Students"
Select the Students link.
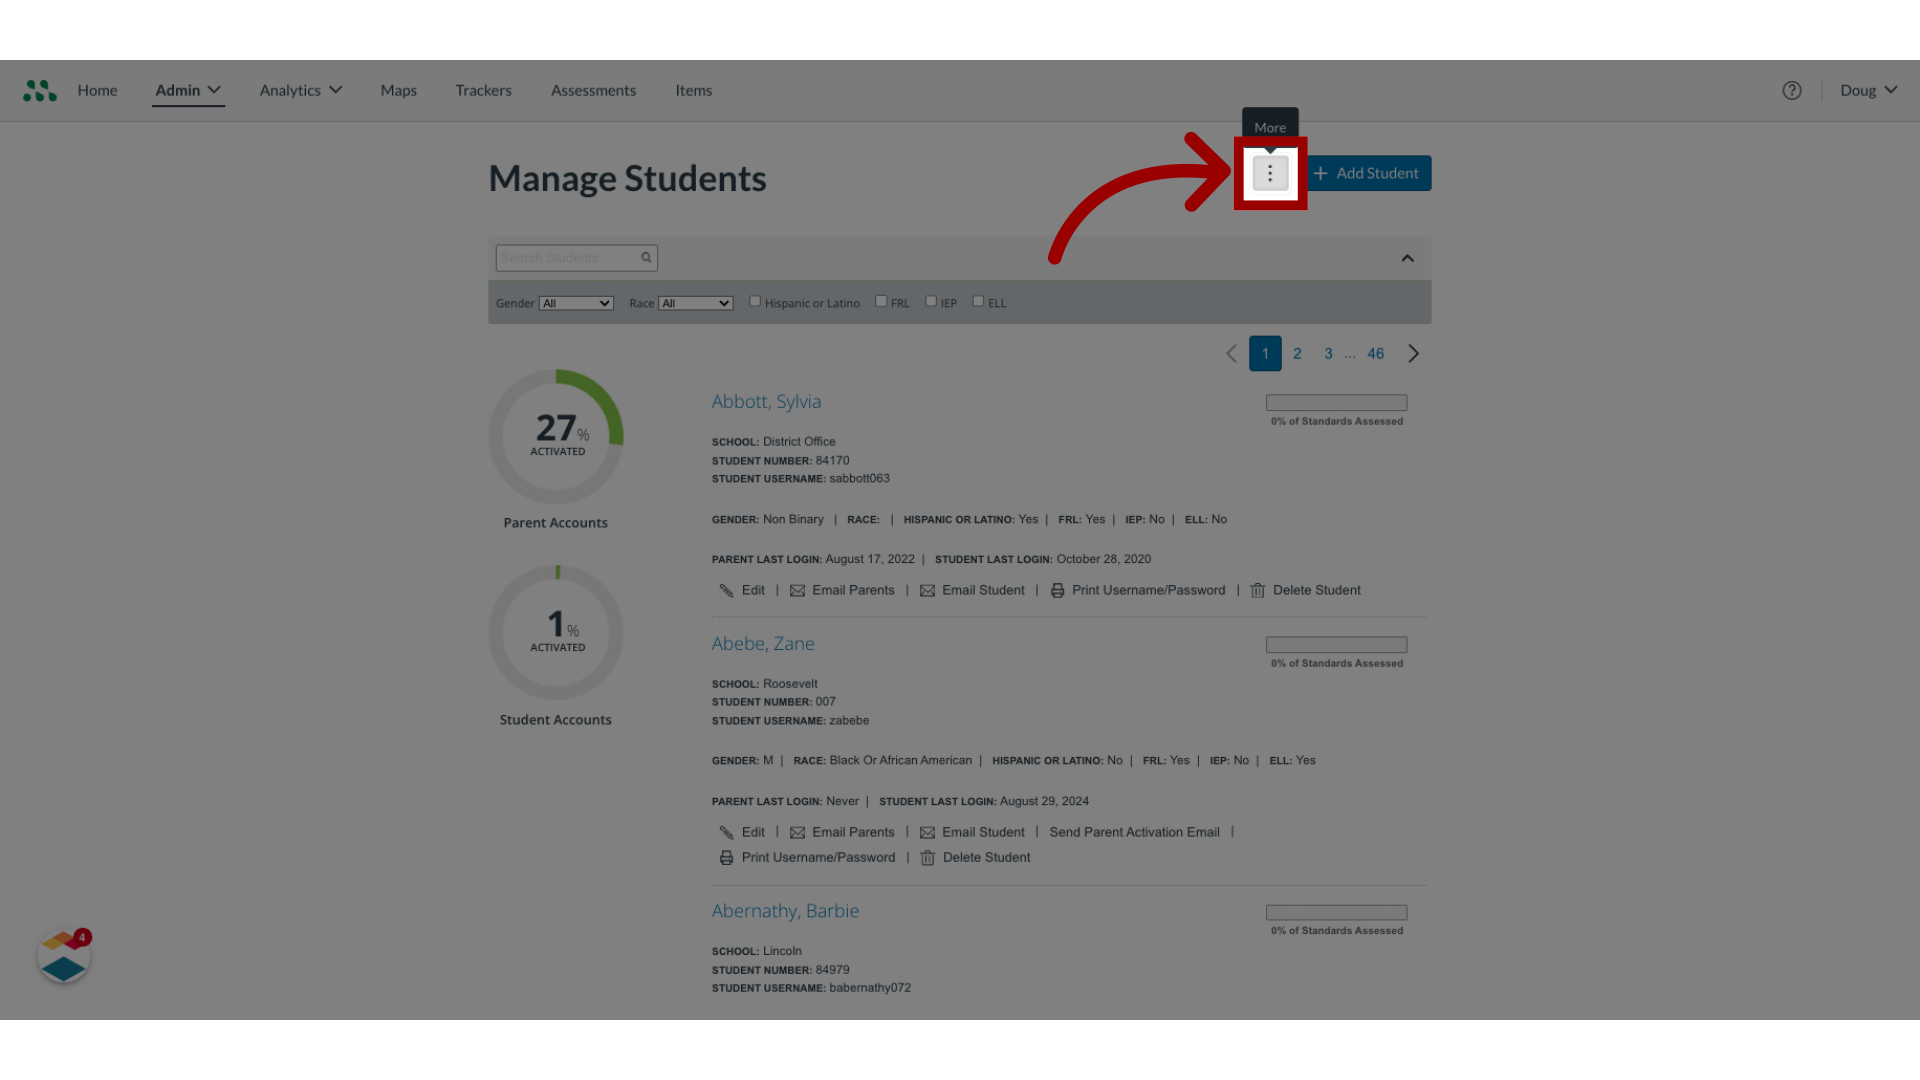
4. Click "More"
Click the More button.
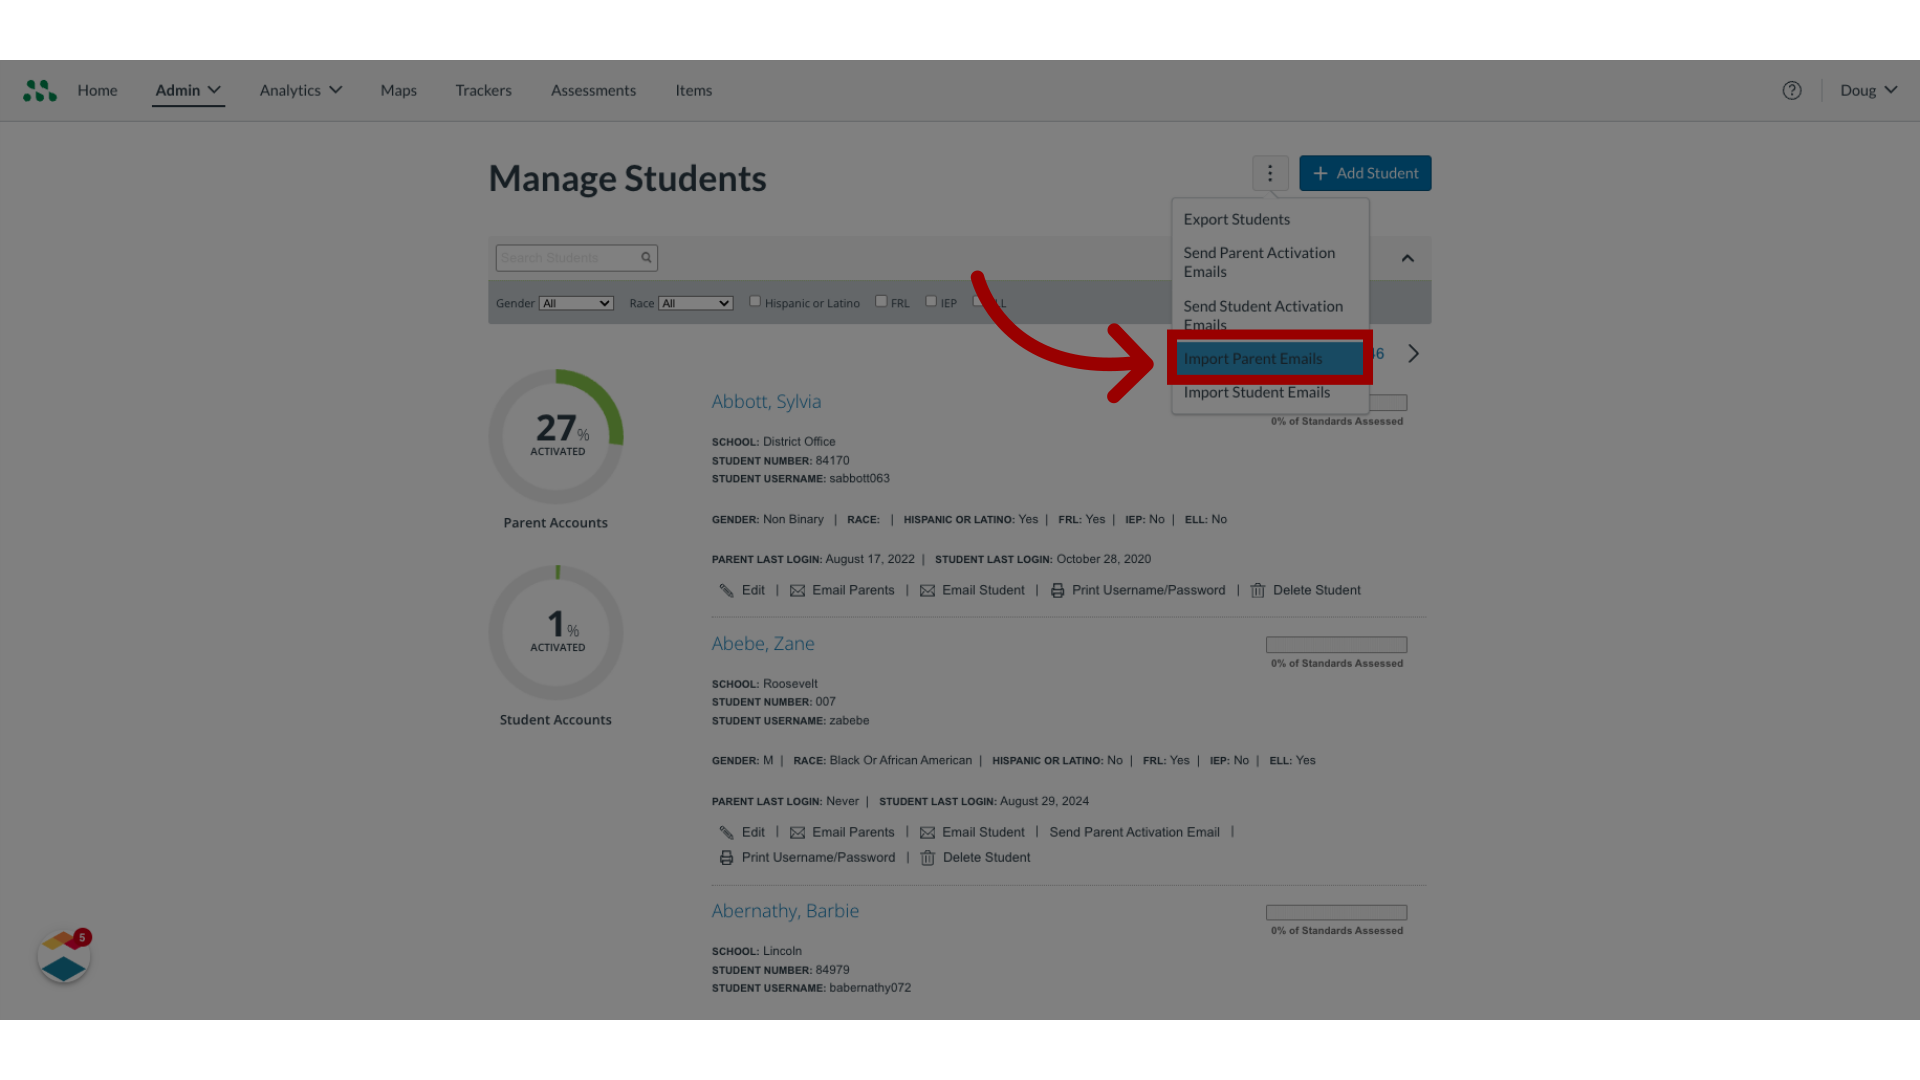
5. Click "Import Parent Emails"
To import parent email addresses, click the Import Parent Emails button.
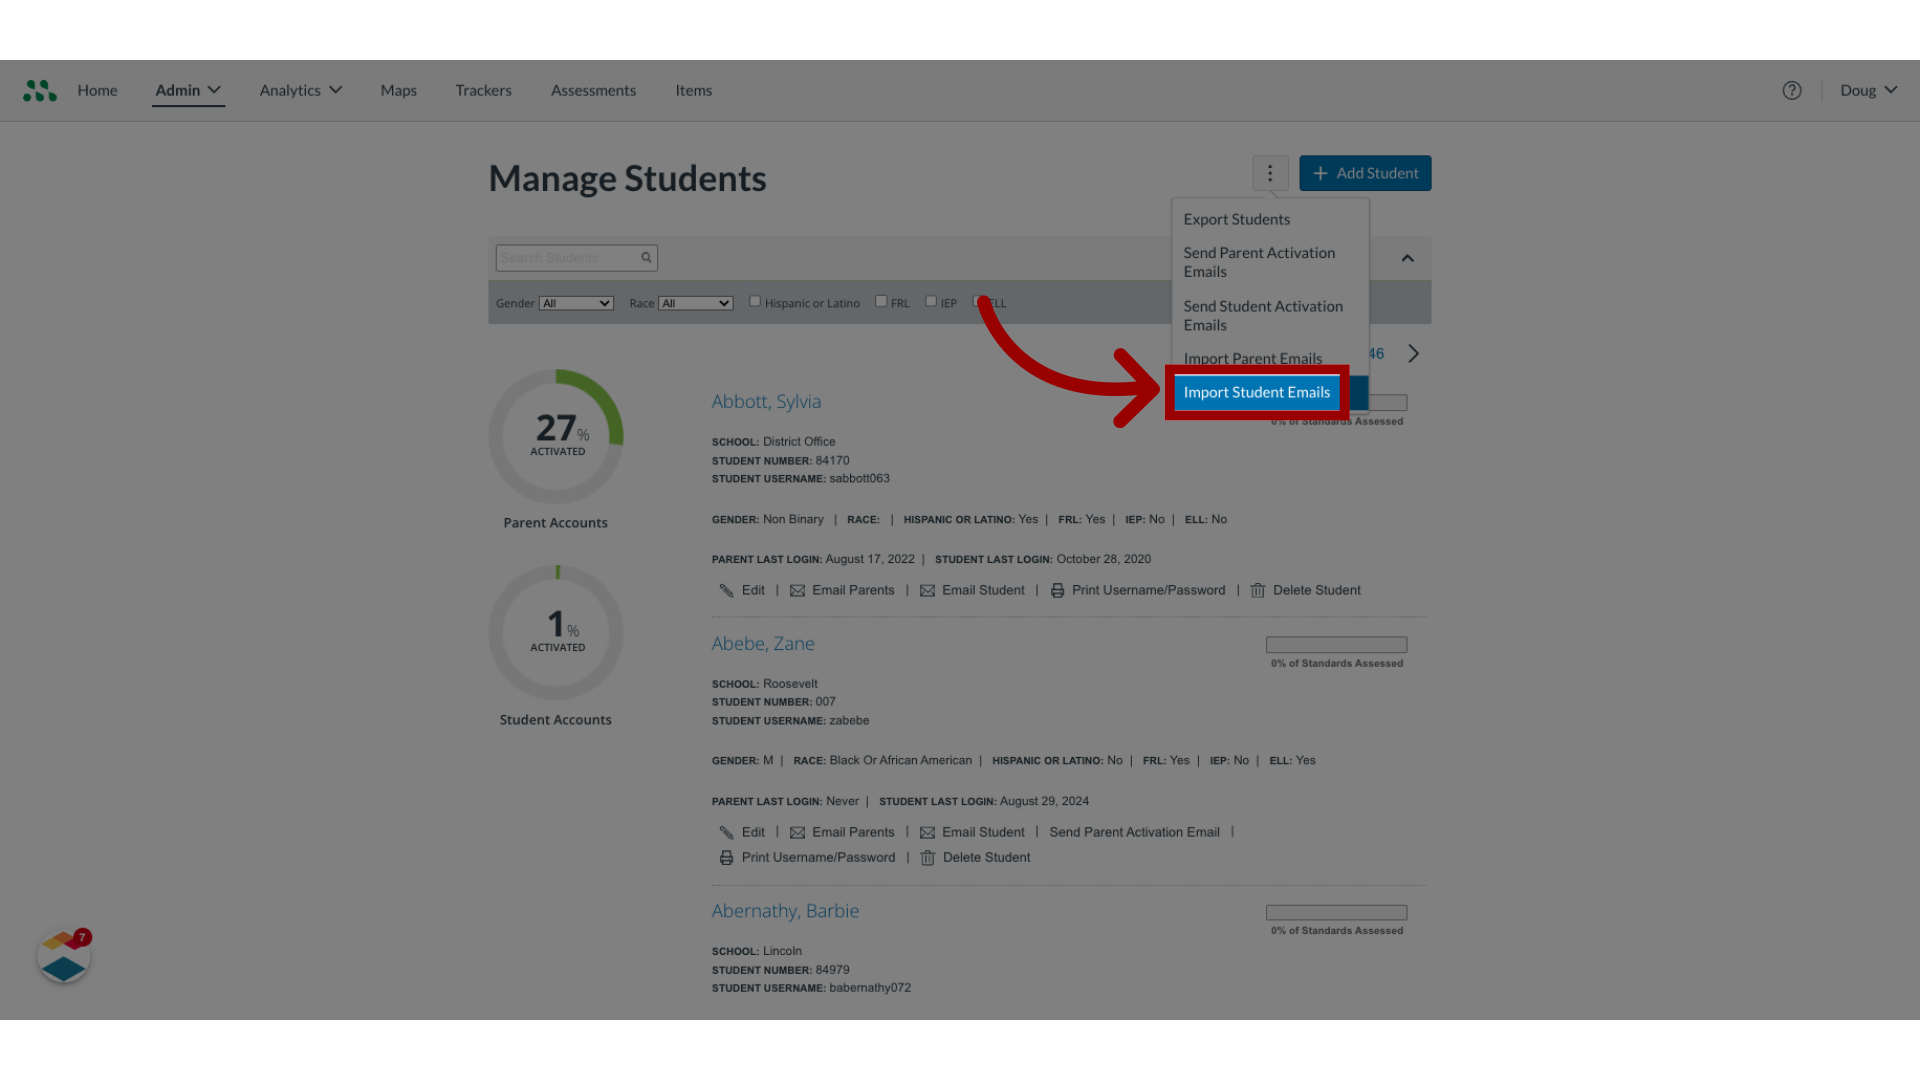
6. Click "Import Student Emails"
To import student emails, click the Import Student Emails button.
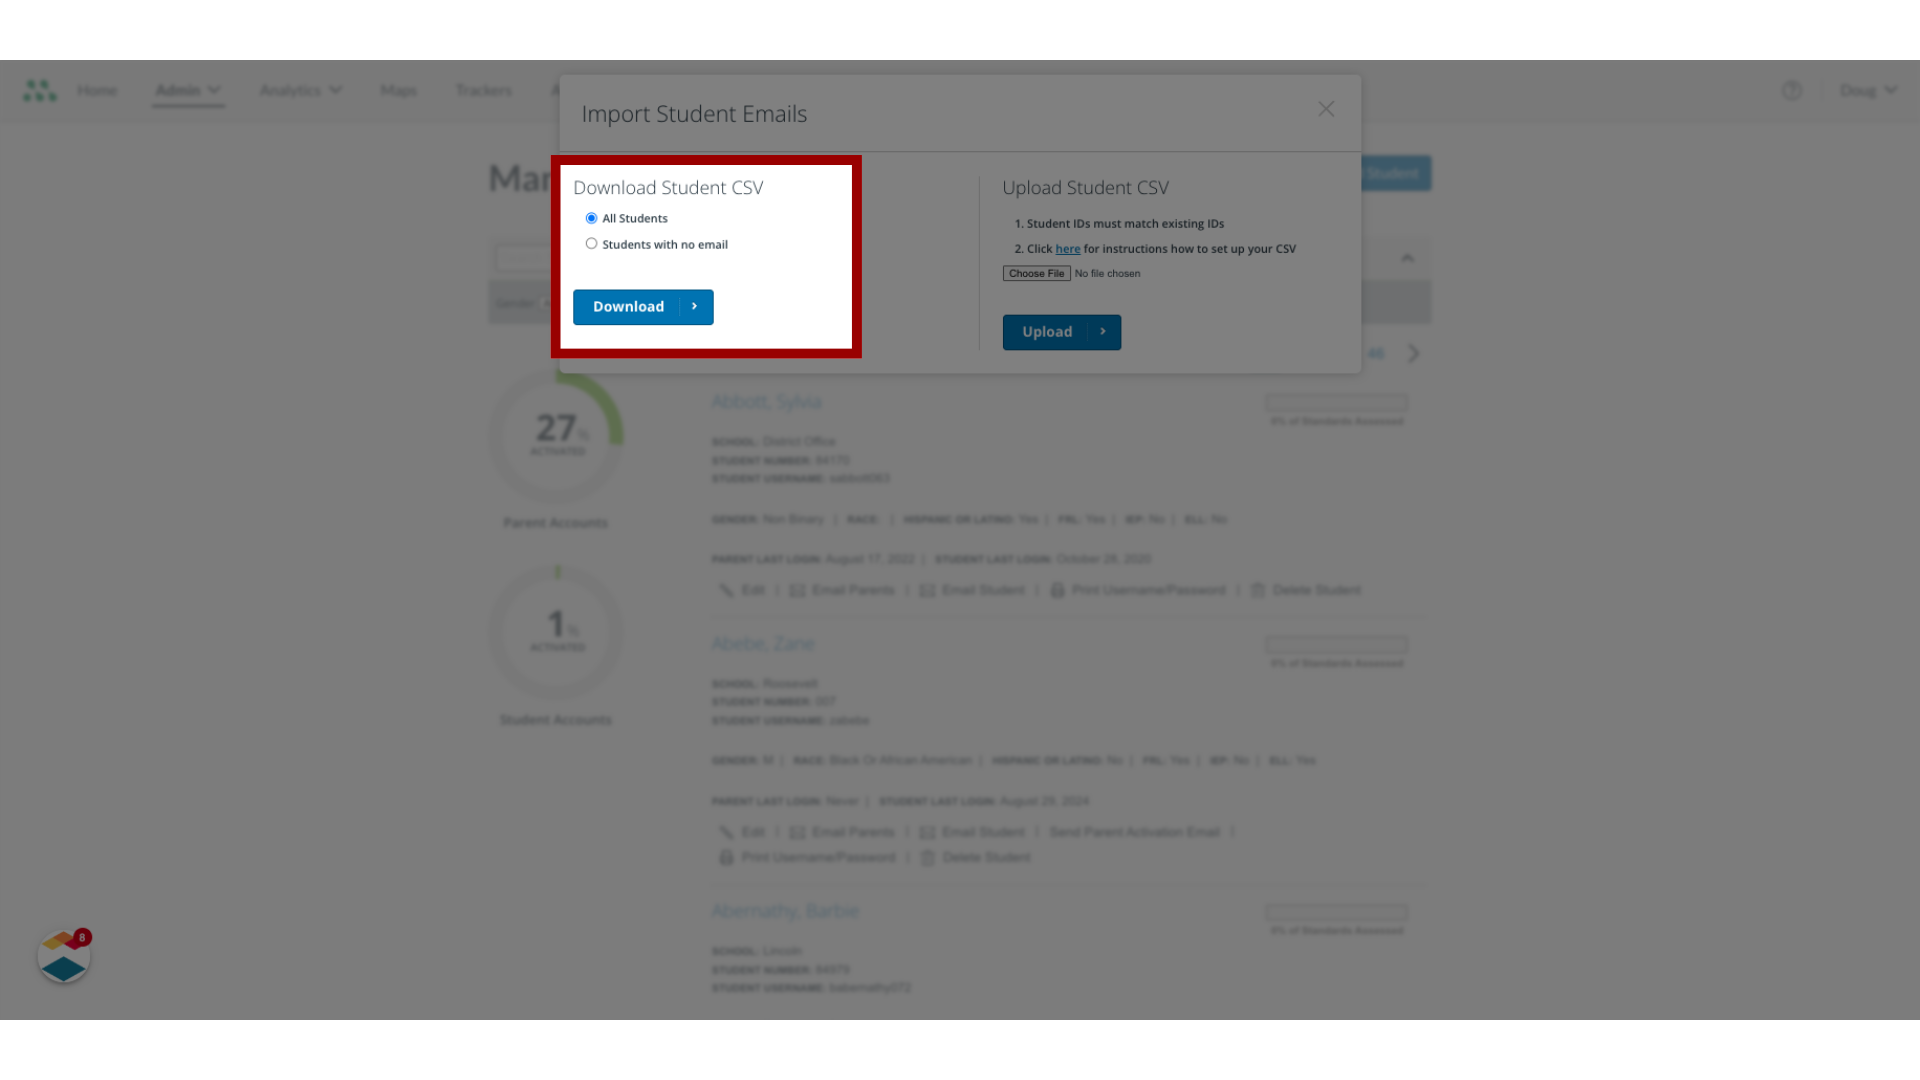
7. Click a radio button
In the Import Emails window, you can download a CSV file to populate with email addresses. To download a CSV file containing all parents or students, click the All Students/All Parents radio button. Alternatively, to download a CSV file containing only students or parents who have no email addresses in their accounts, click the Students/Parents with no email radio button.
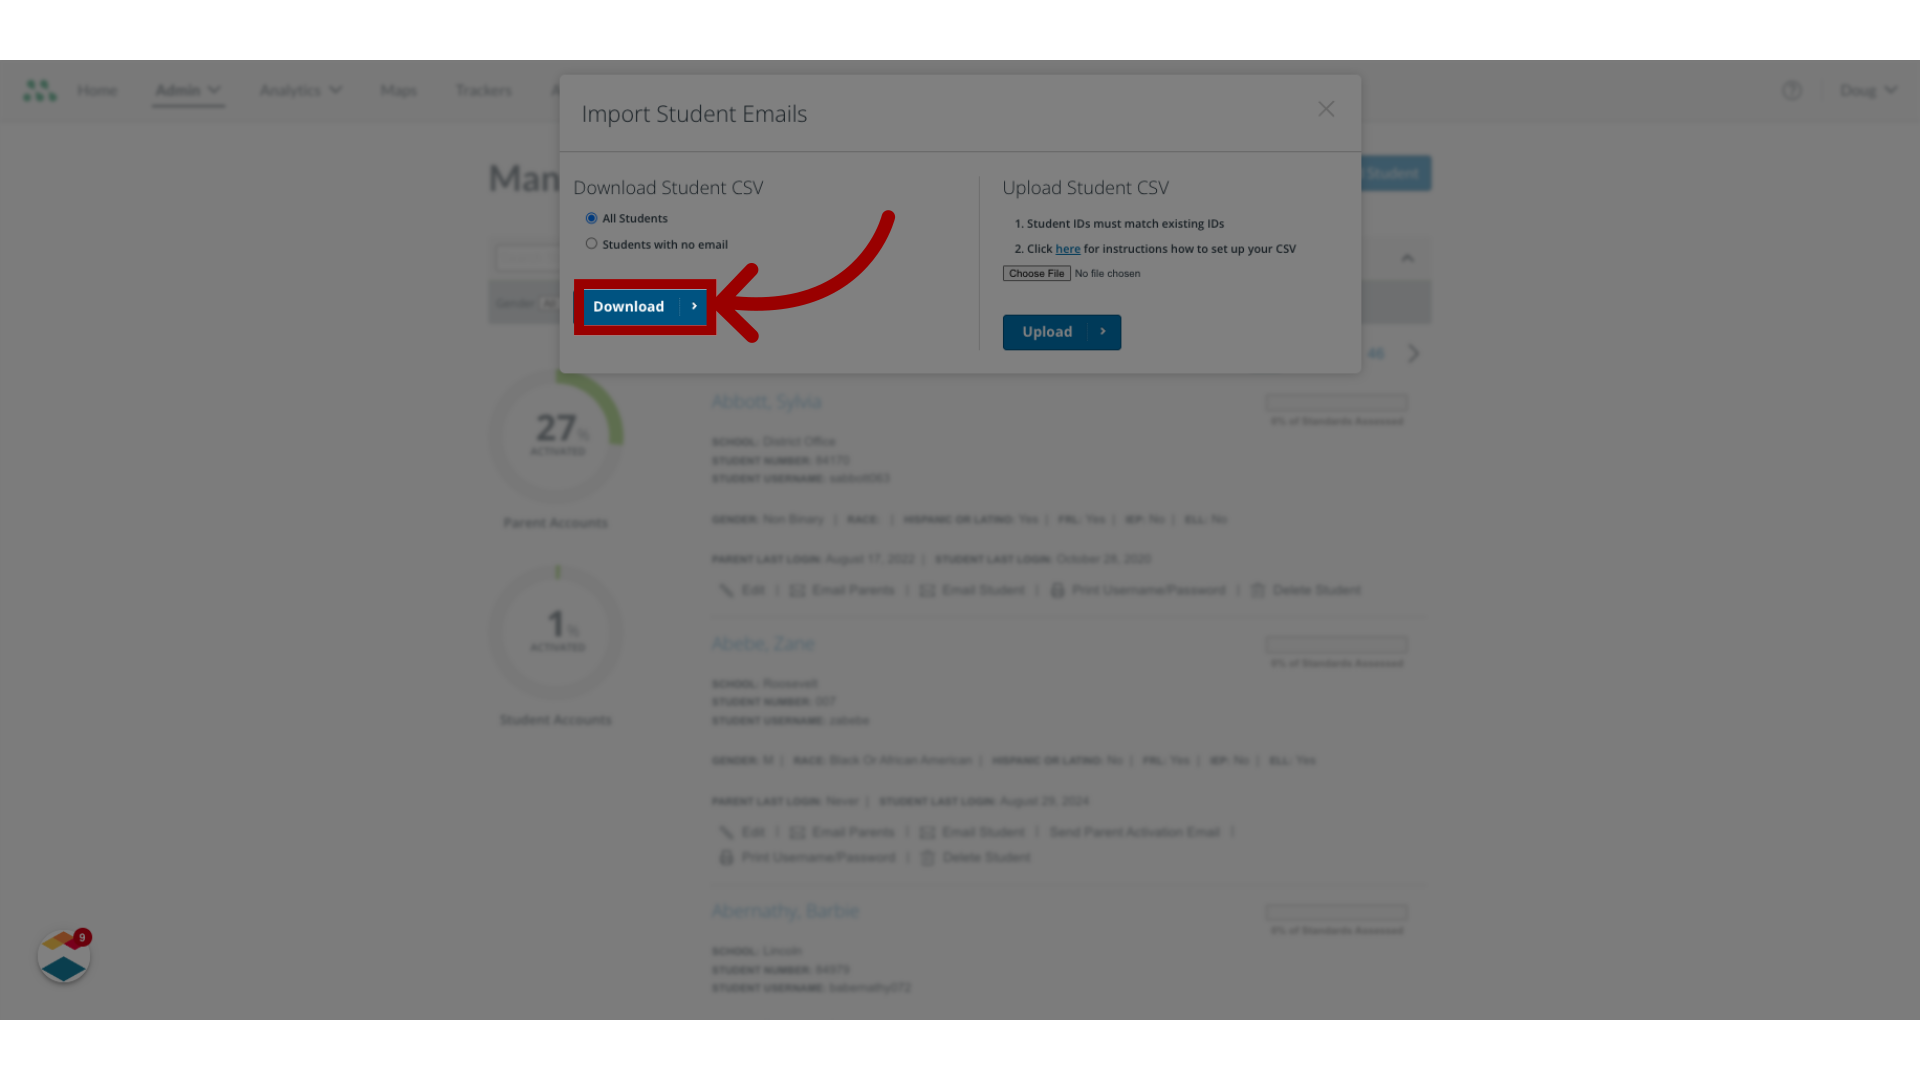
8. Click "Download"
Click the Download button.
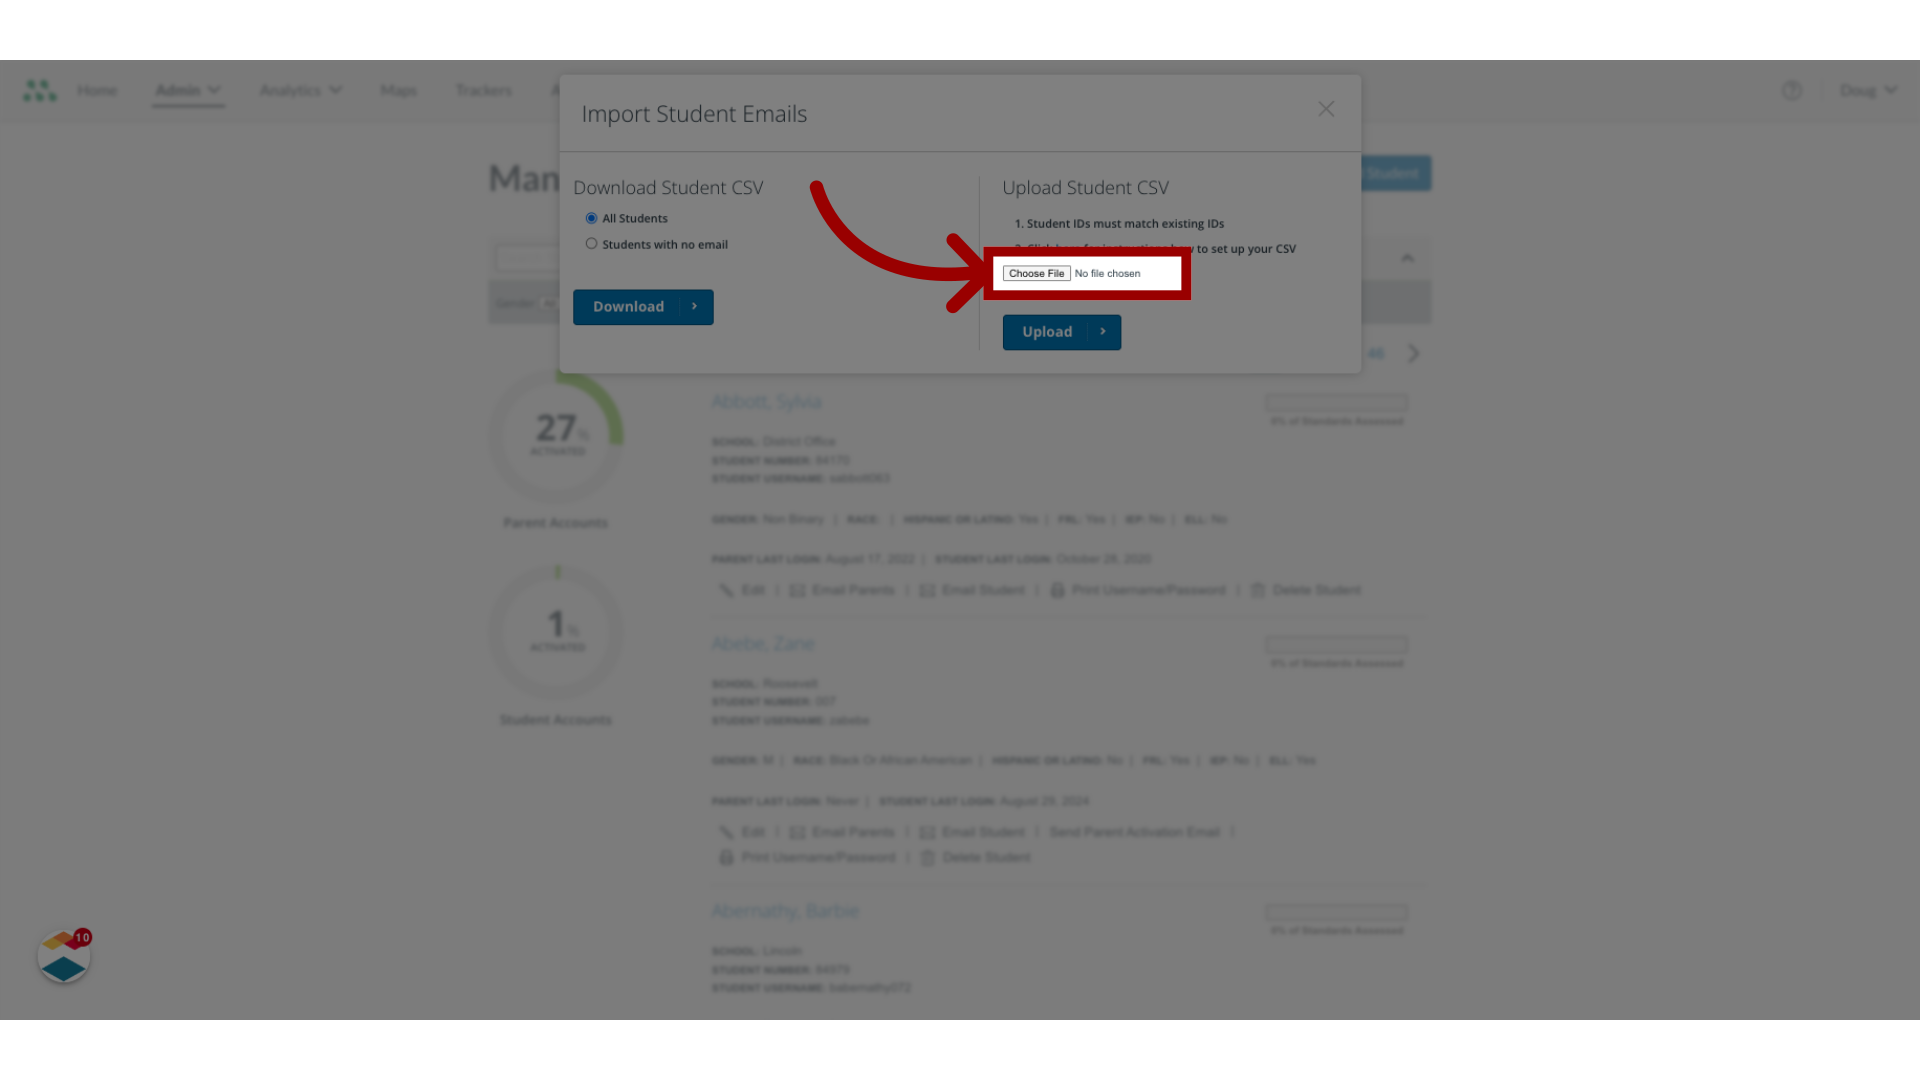
9. Click "Choose File"
Locate the downloaded file on your computer, make the desired edits and save the file. Then, in the Import Emails window, click the Choose File button.
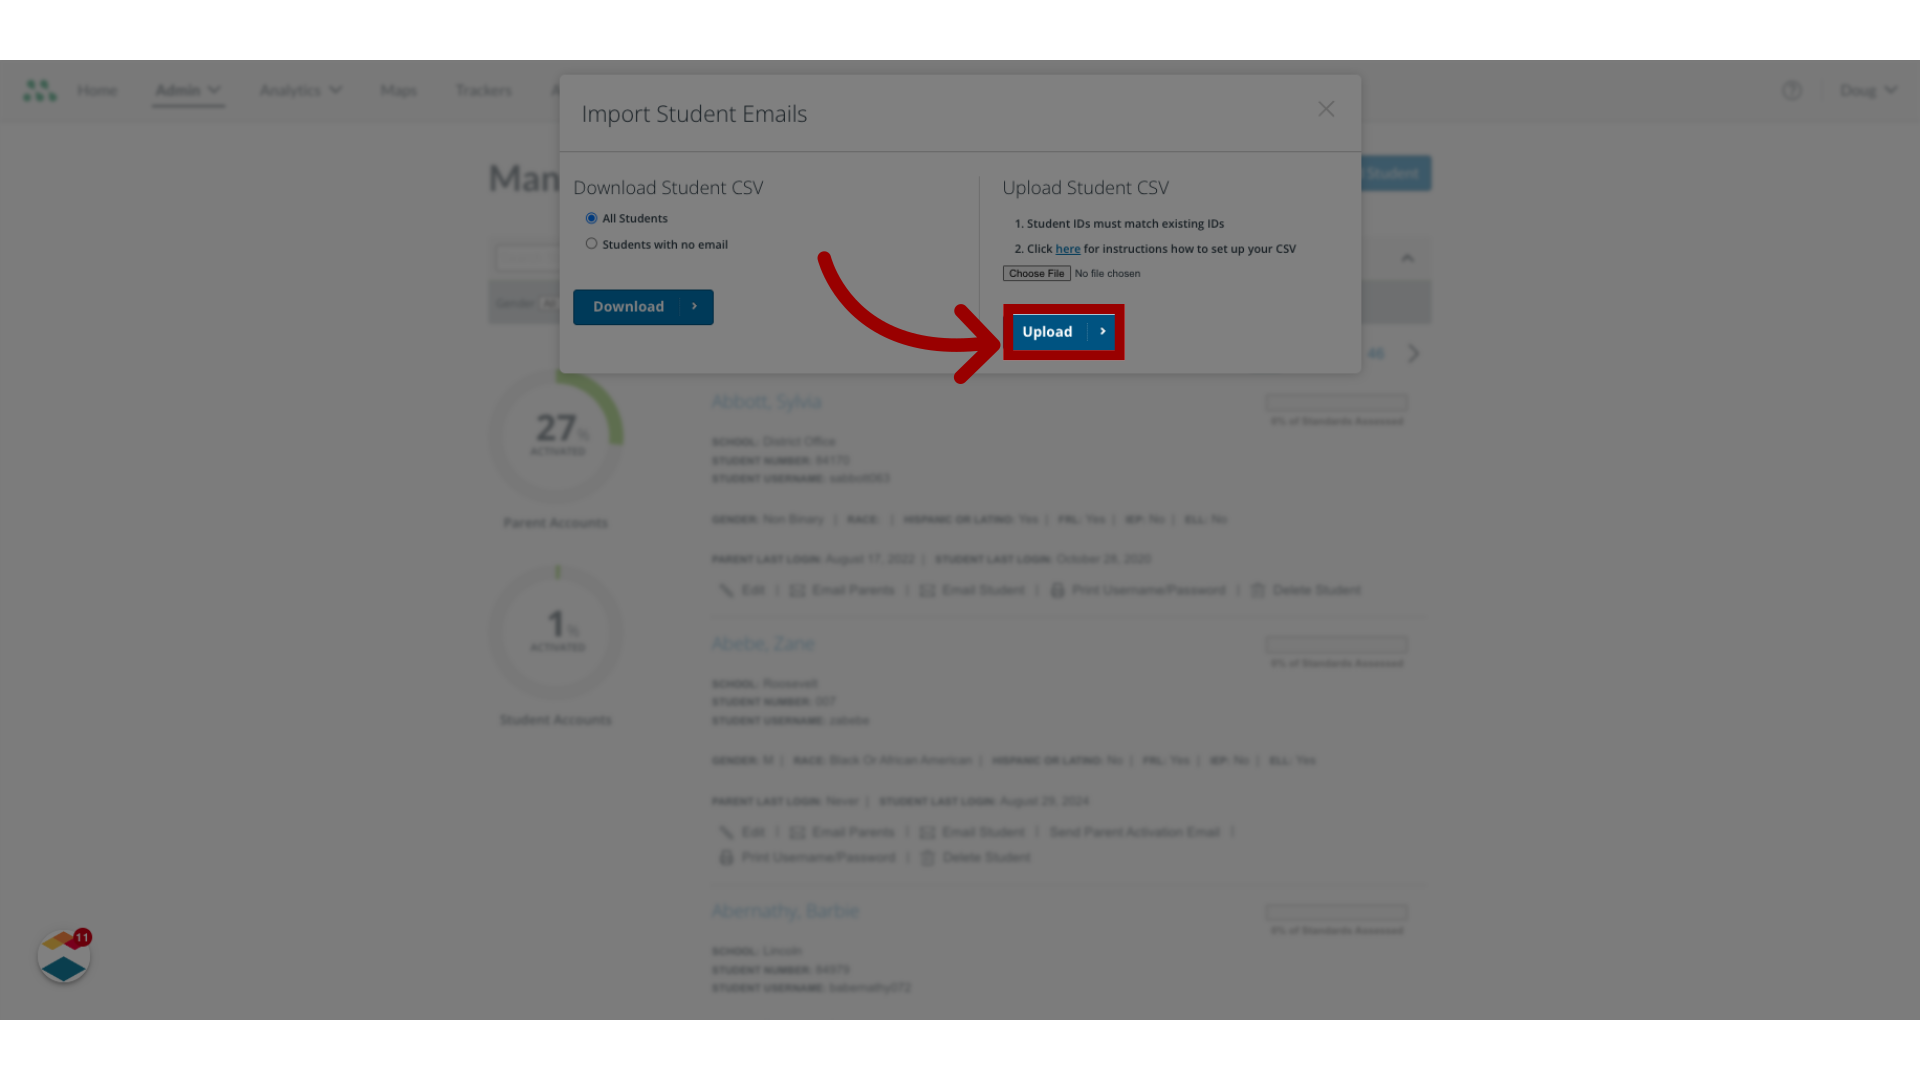
10. Click "Upload"
Upload the CSV file.
This guide covered the process of importing student and parent email addresses in Mastery Connect.
