How do I create a formative assessment as an admin?
As a Mastery Connect admin, you can create formative assessments from the Admin menu.
You can create formative assessments from document-based sources or from item-based sources and you can distribute them as district formative assessments.
Assessments can be kept private, shared with your school, or with your district.
How do I create a formative assessment as an admin?
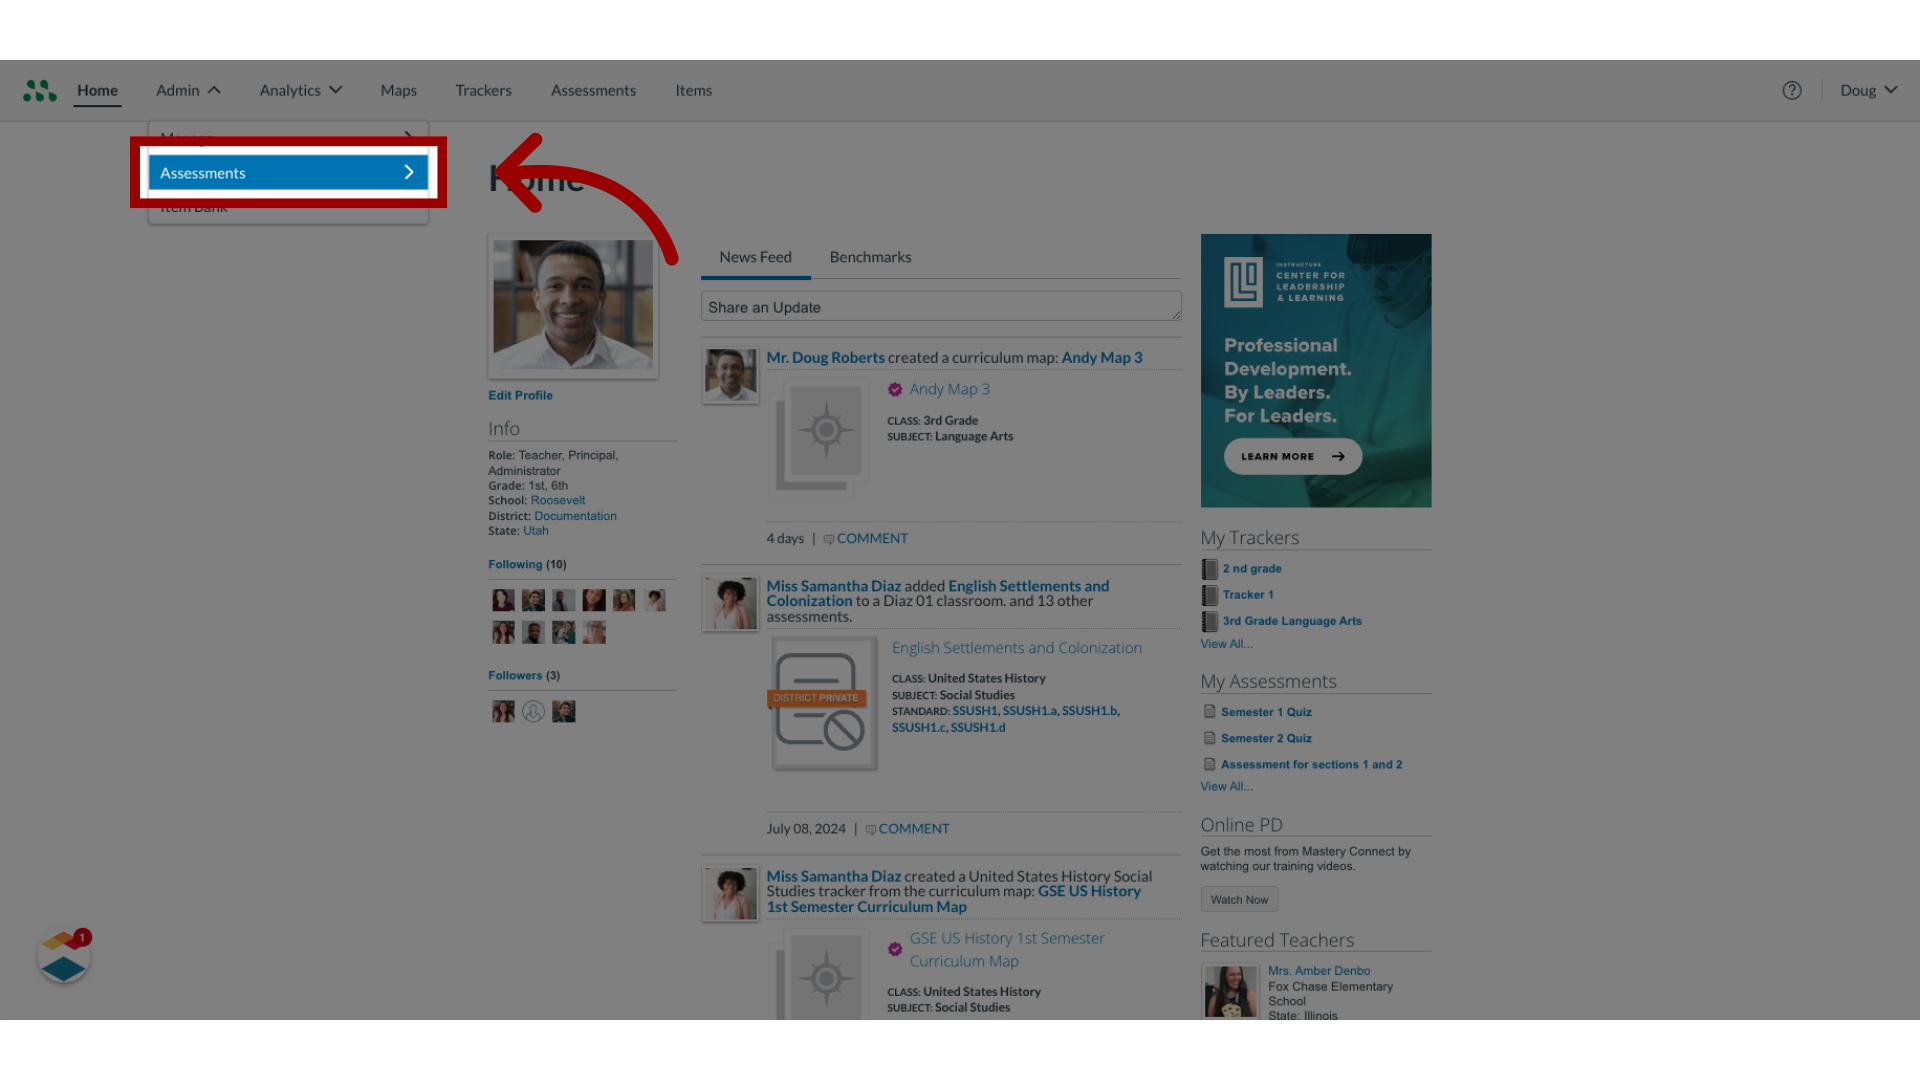
1. Open Assessments
In the drop-down menu, click the Assessments expanding menu.
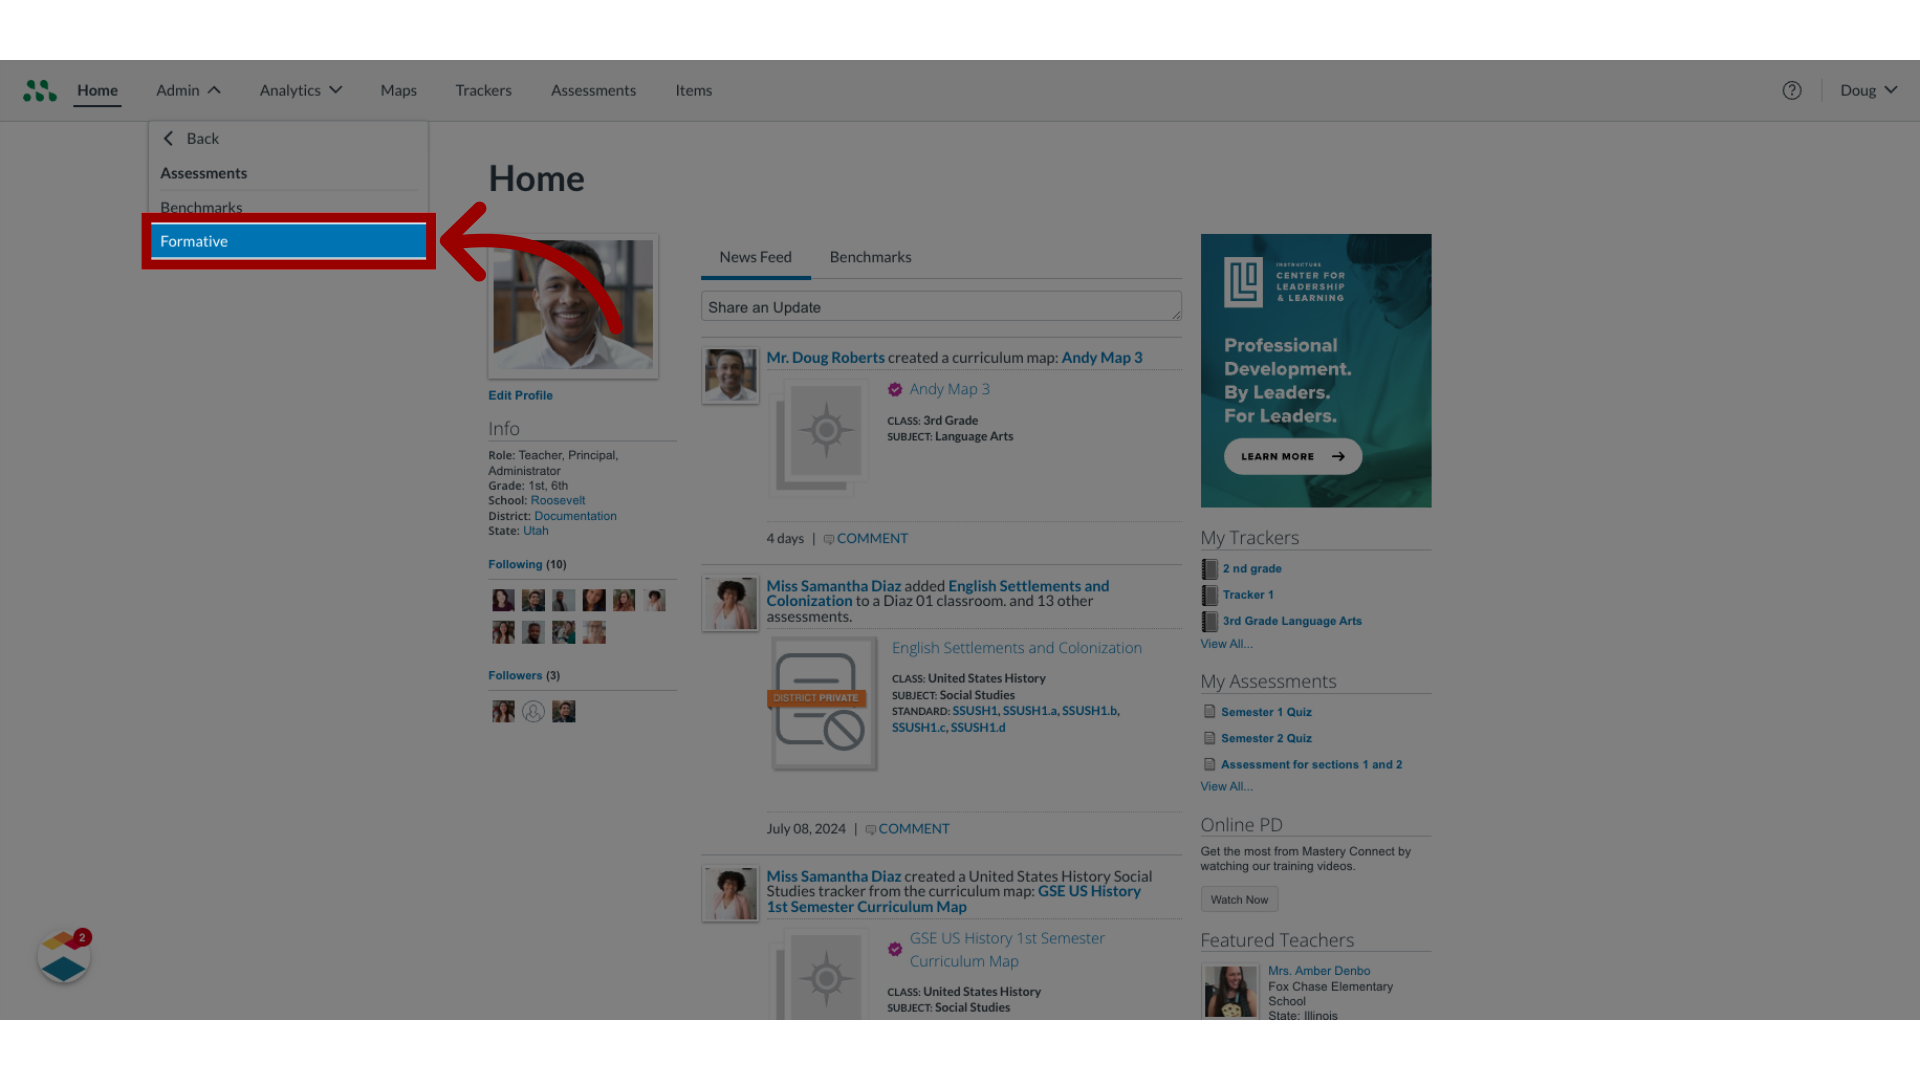
2. Open Formative Page
Then, click the Formative link.
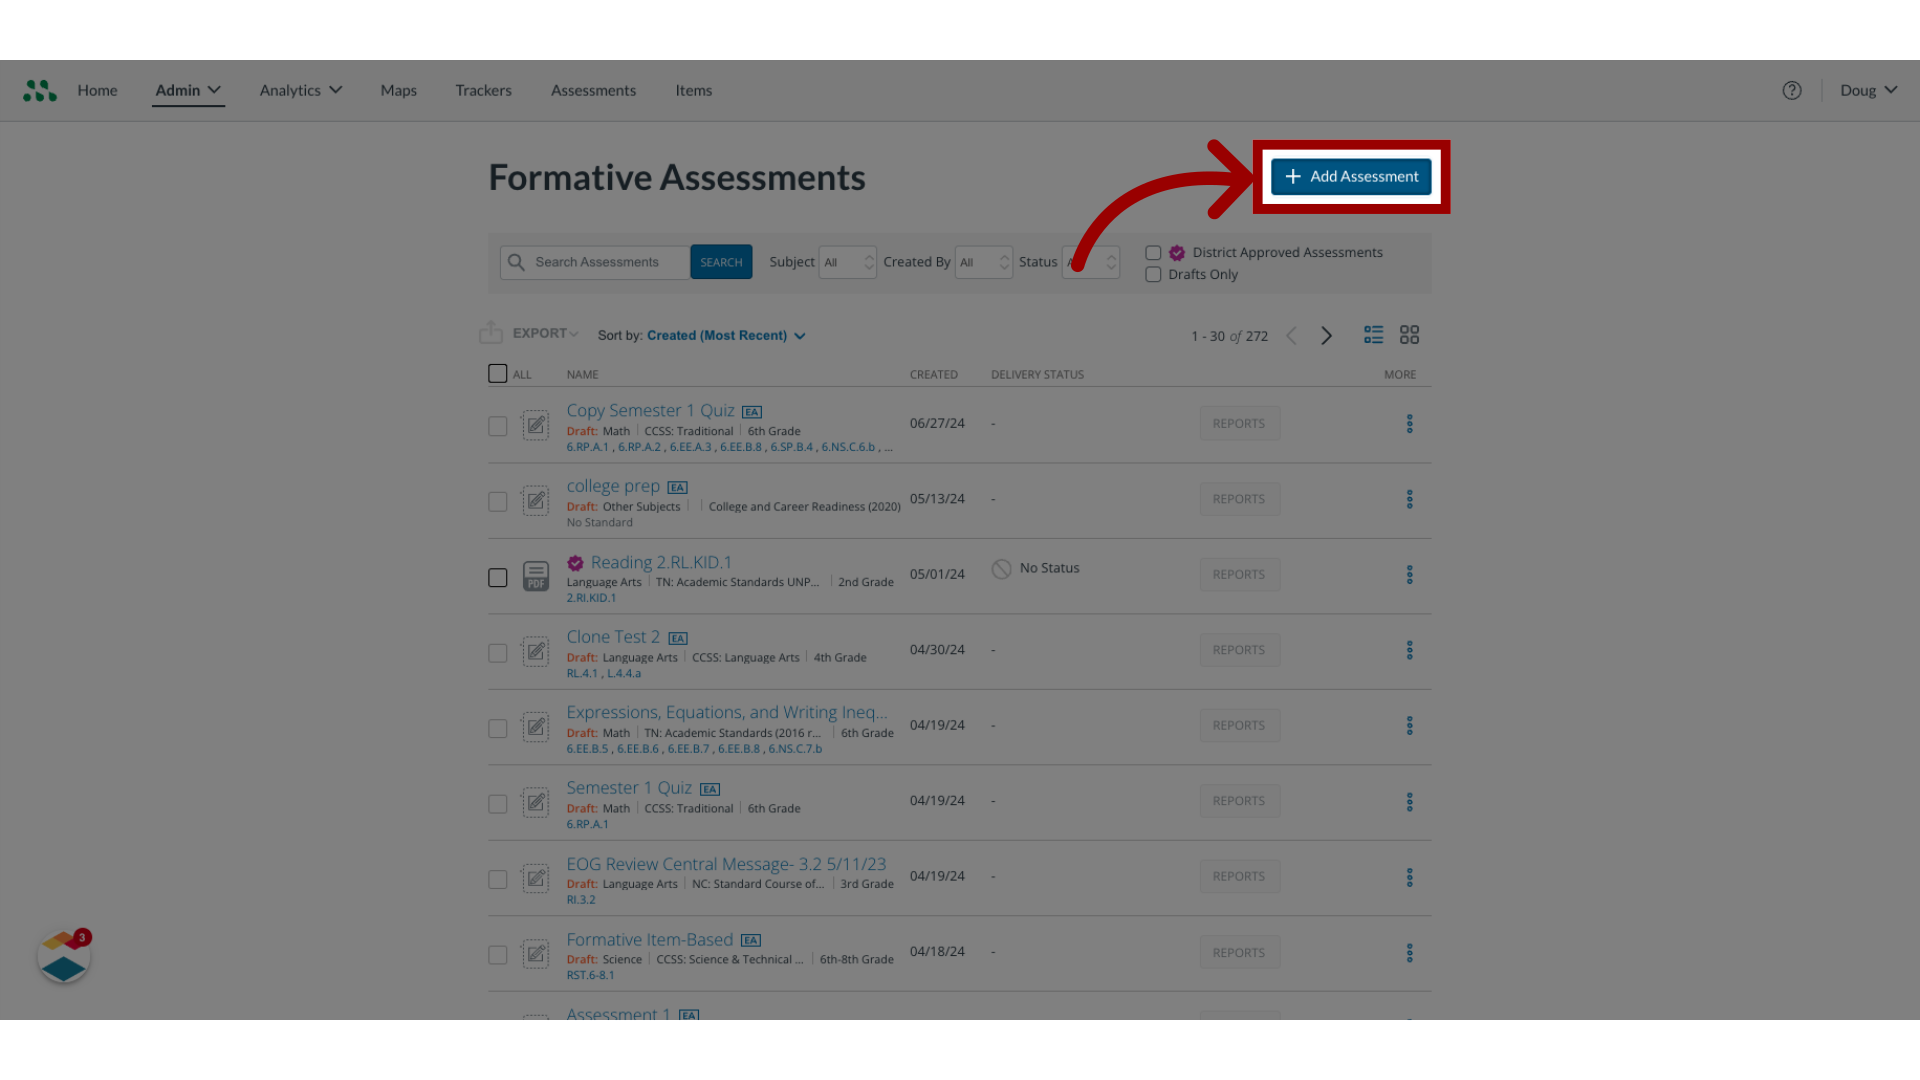
3. Add Assessment
In the Formative Assessments page, click the Add Assessment button.
4. Enter Assessment Title
Enter the title for the assessment, in the Title field.
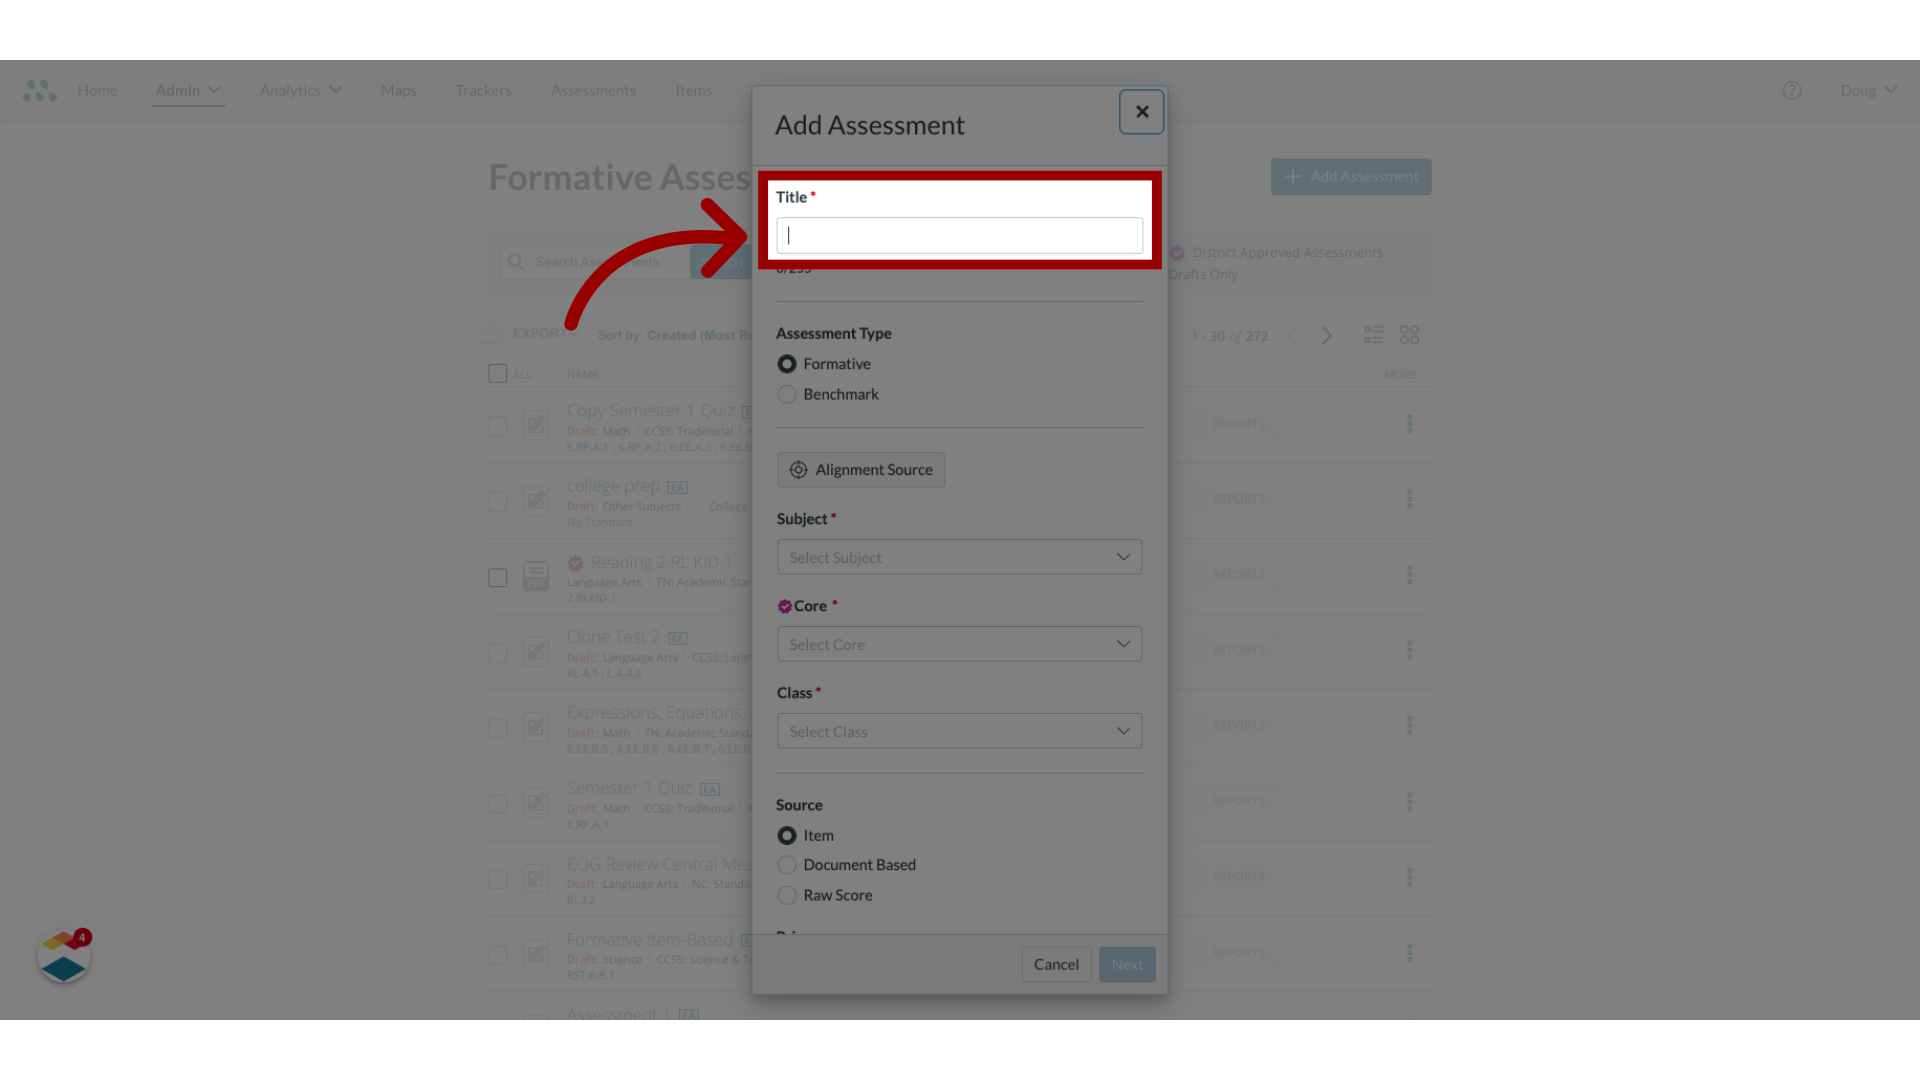
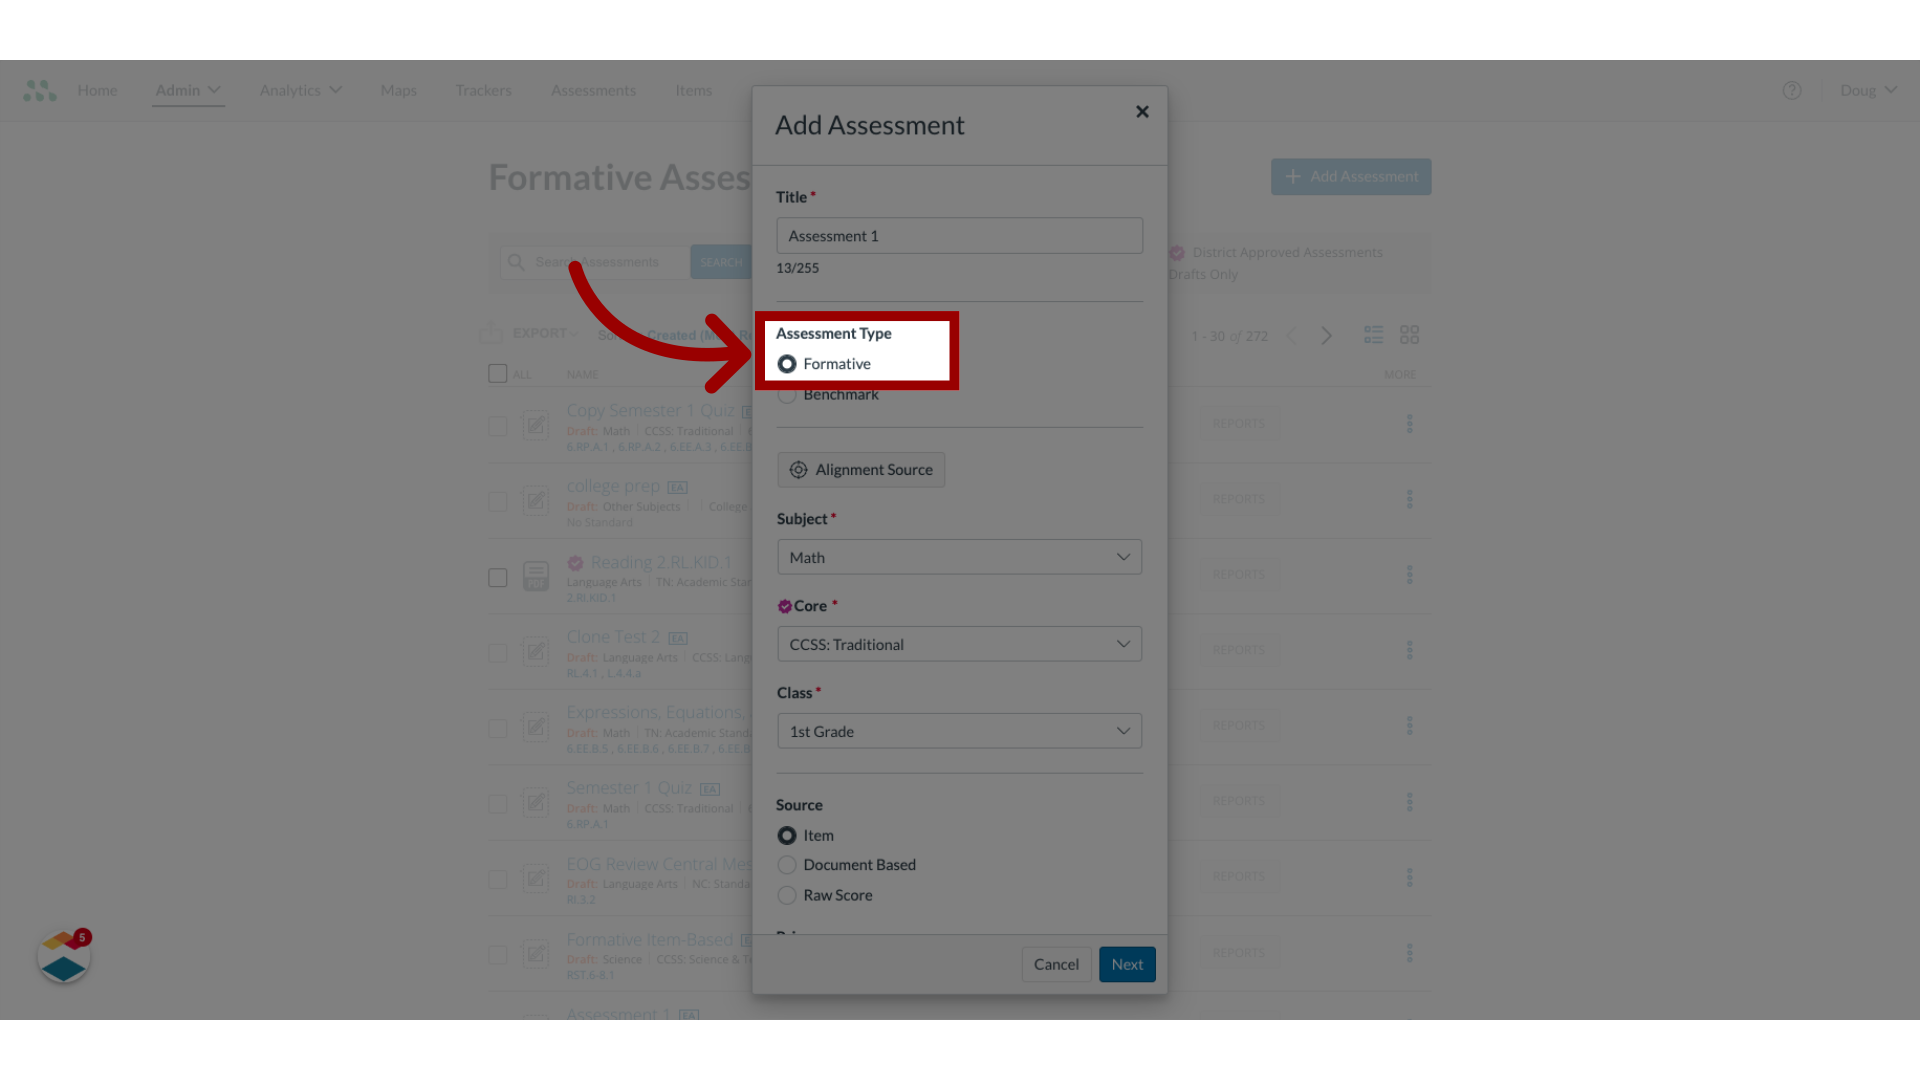
5. Select Formative
In the Assessment Type section, click the Formative radio button.
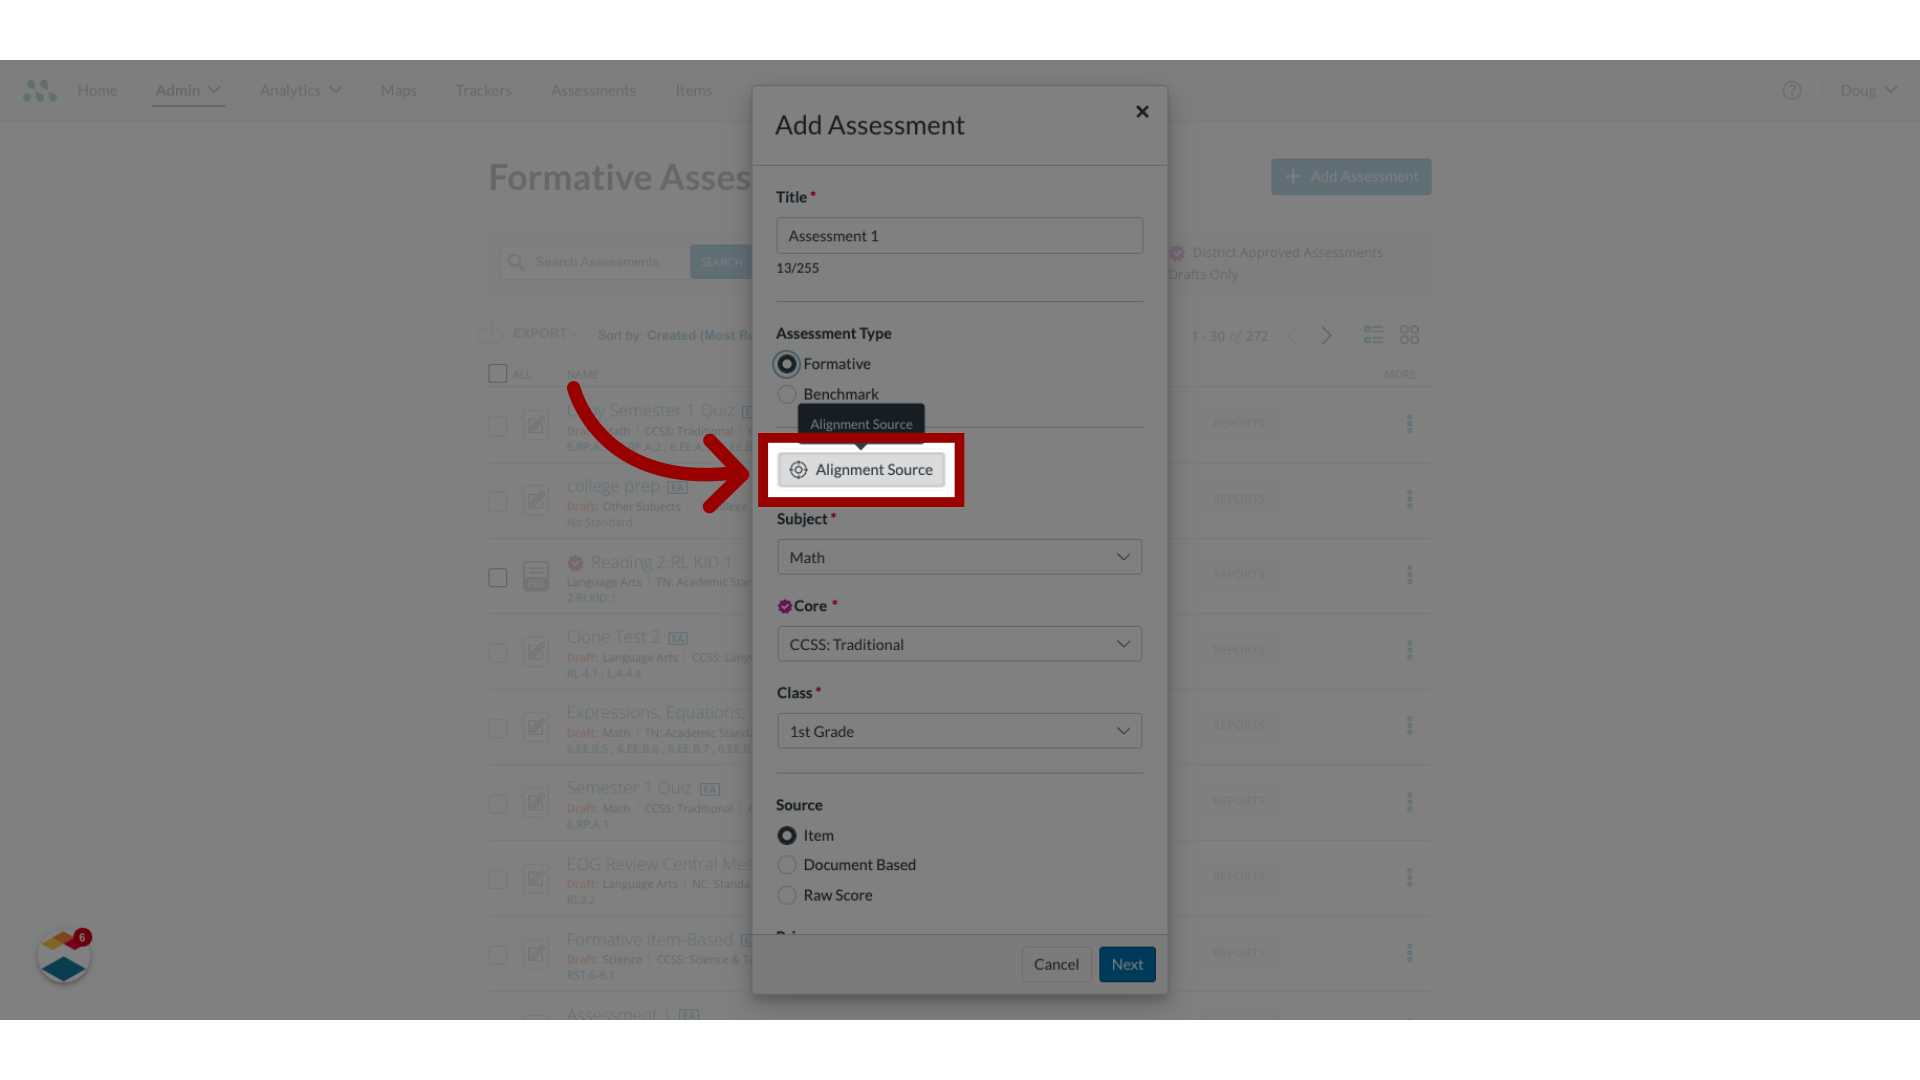
6. Choose Alignment Source
To choose the alignment source for the assessment, click the Alignment Source button.
7. Select Alignment Source
To align the assessment to standards in a curriculum map, click the From a Curriculum Map option. To align the assessment to standards in a tracker, click the From a Tracker option.

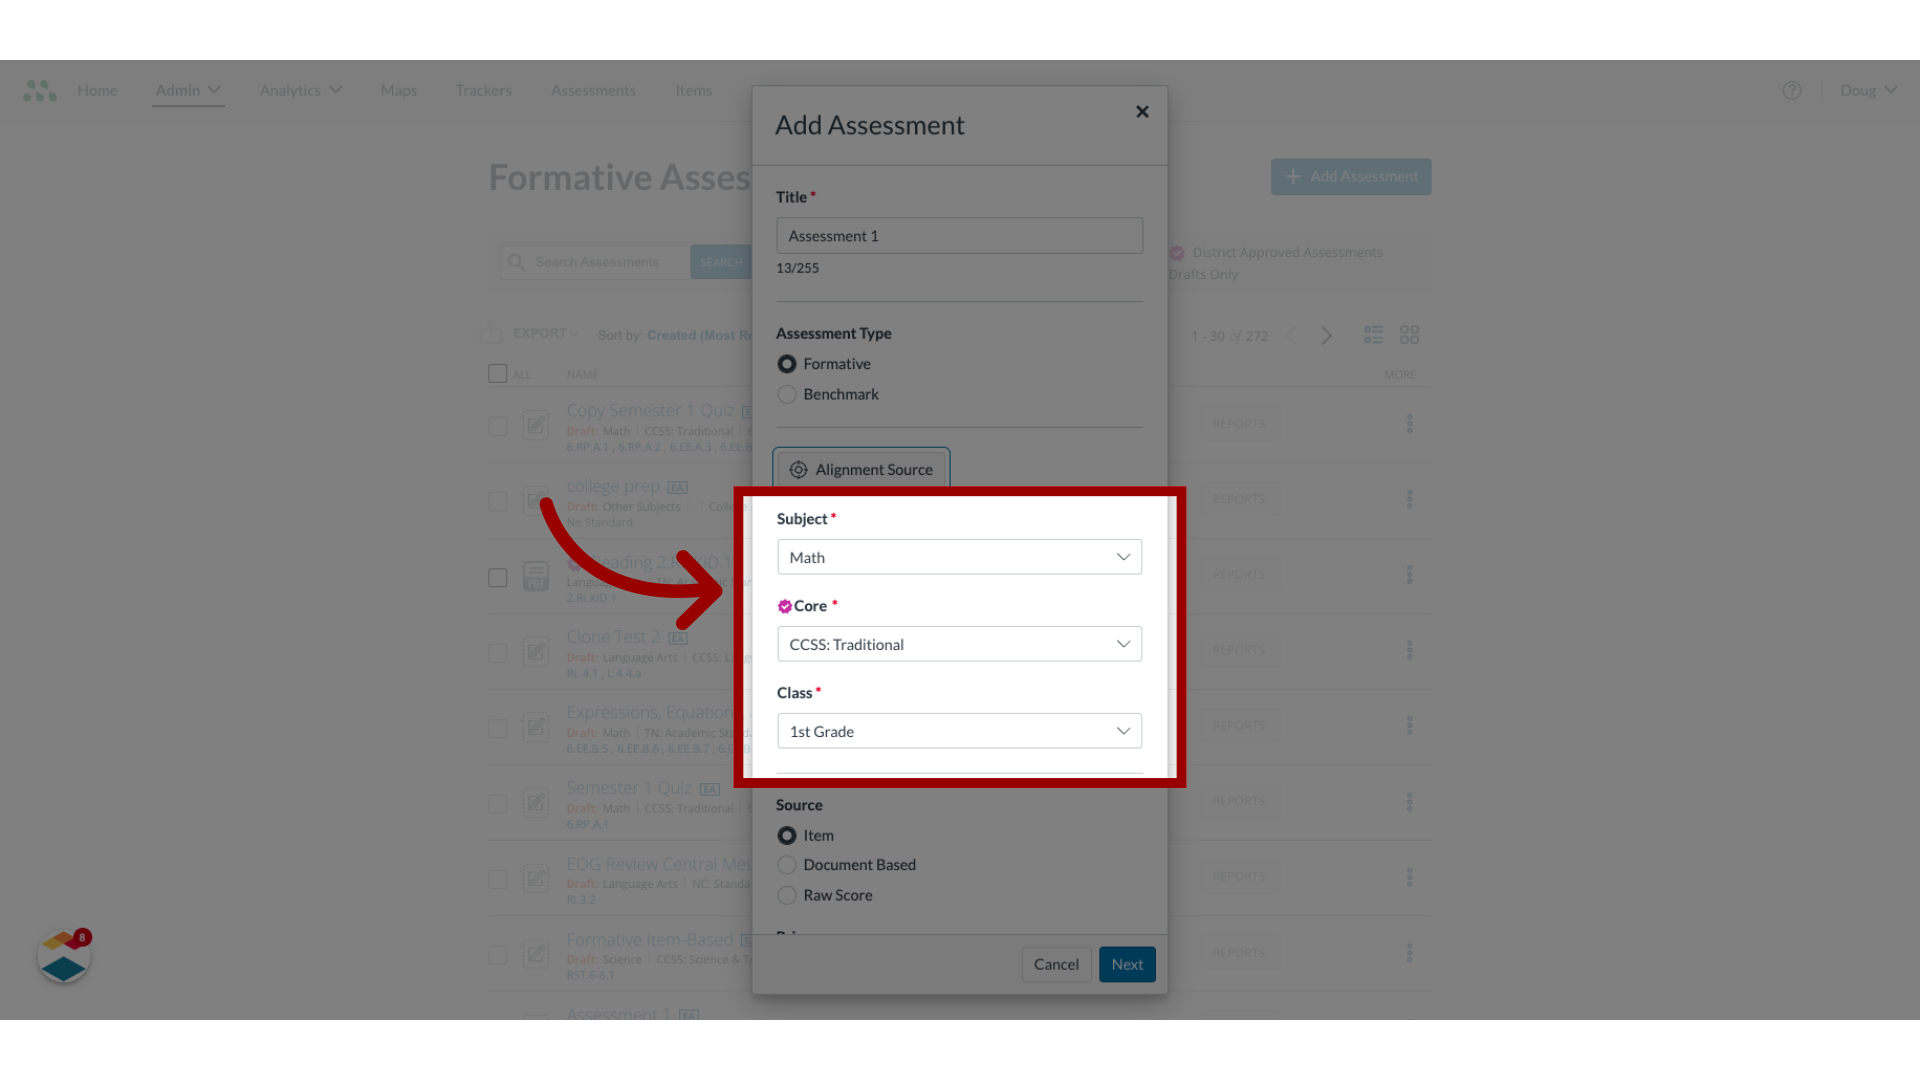
8. Select Subject, Core, and Class
To align the assessment to specific standards rather than to a source such as a curriculum map or tracker, click the Subject, Core, and Class drop-down menus, and make selections.
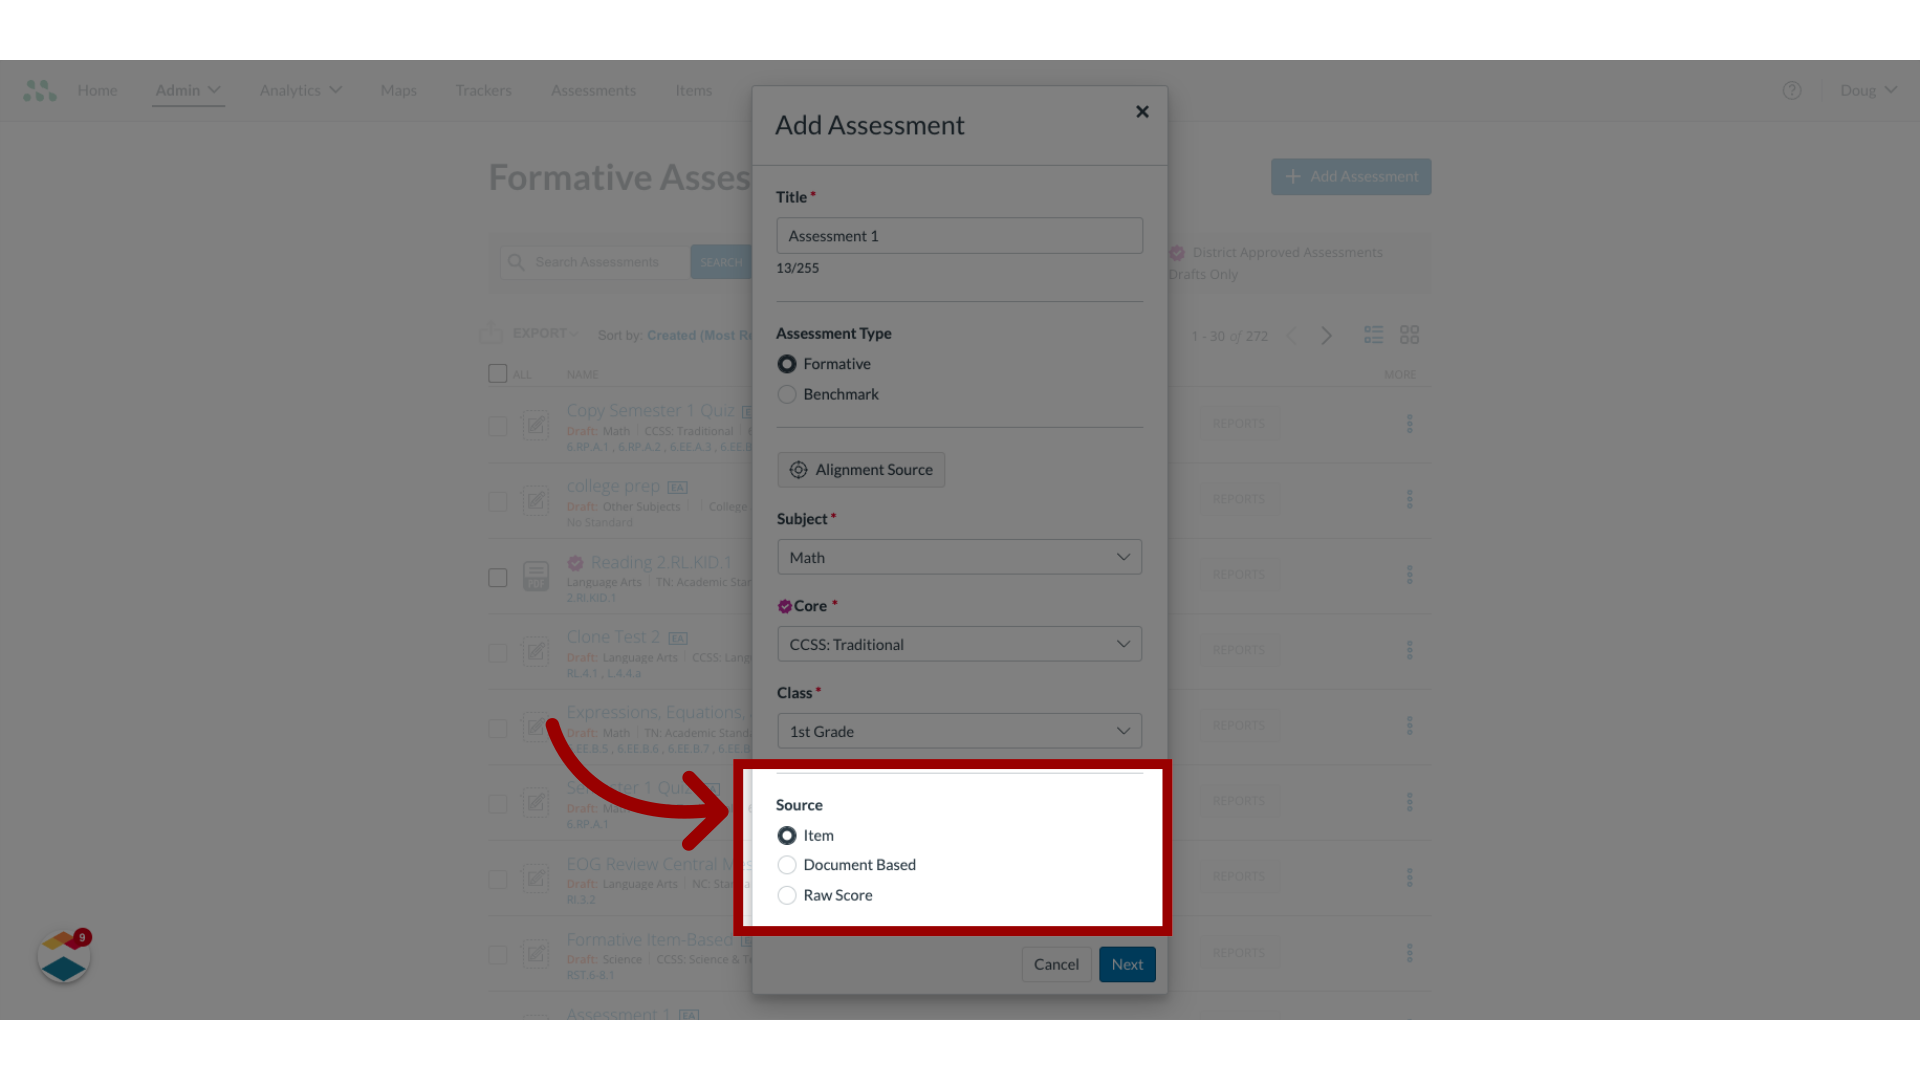
9. Select Assessment Source
To create an item-based assessment in the source section, click the Item radio button. To create a document-based assessment, click the Document Based radio button. To create a raw score assessment, click the Raw Score radio button.
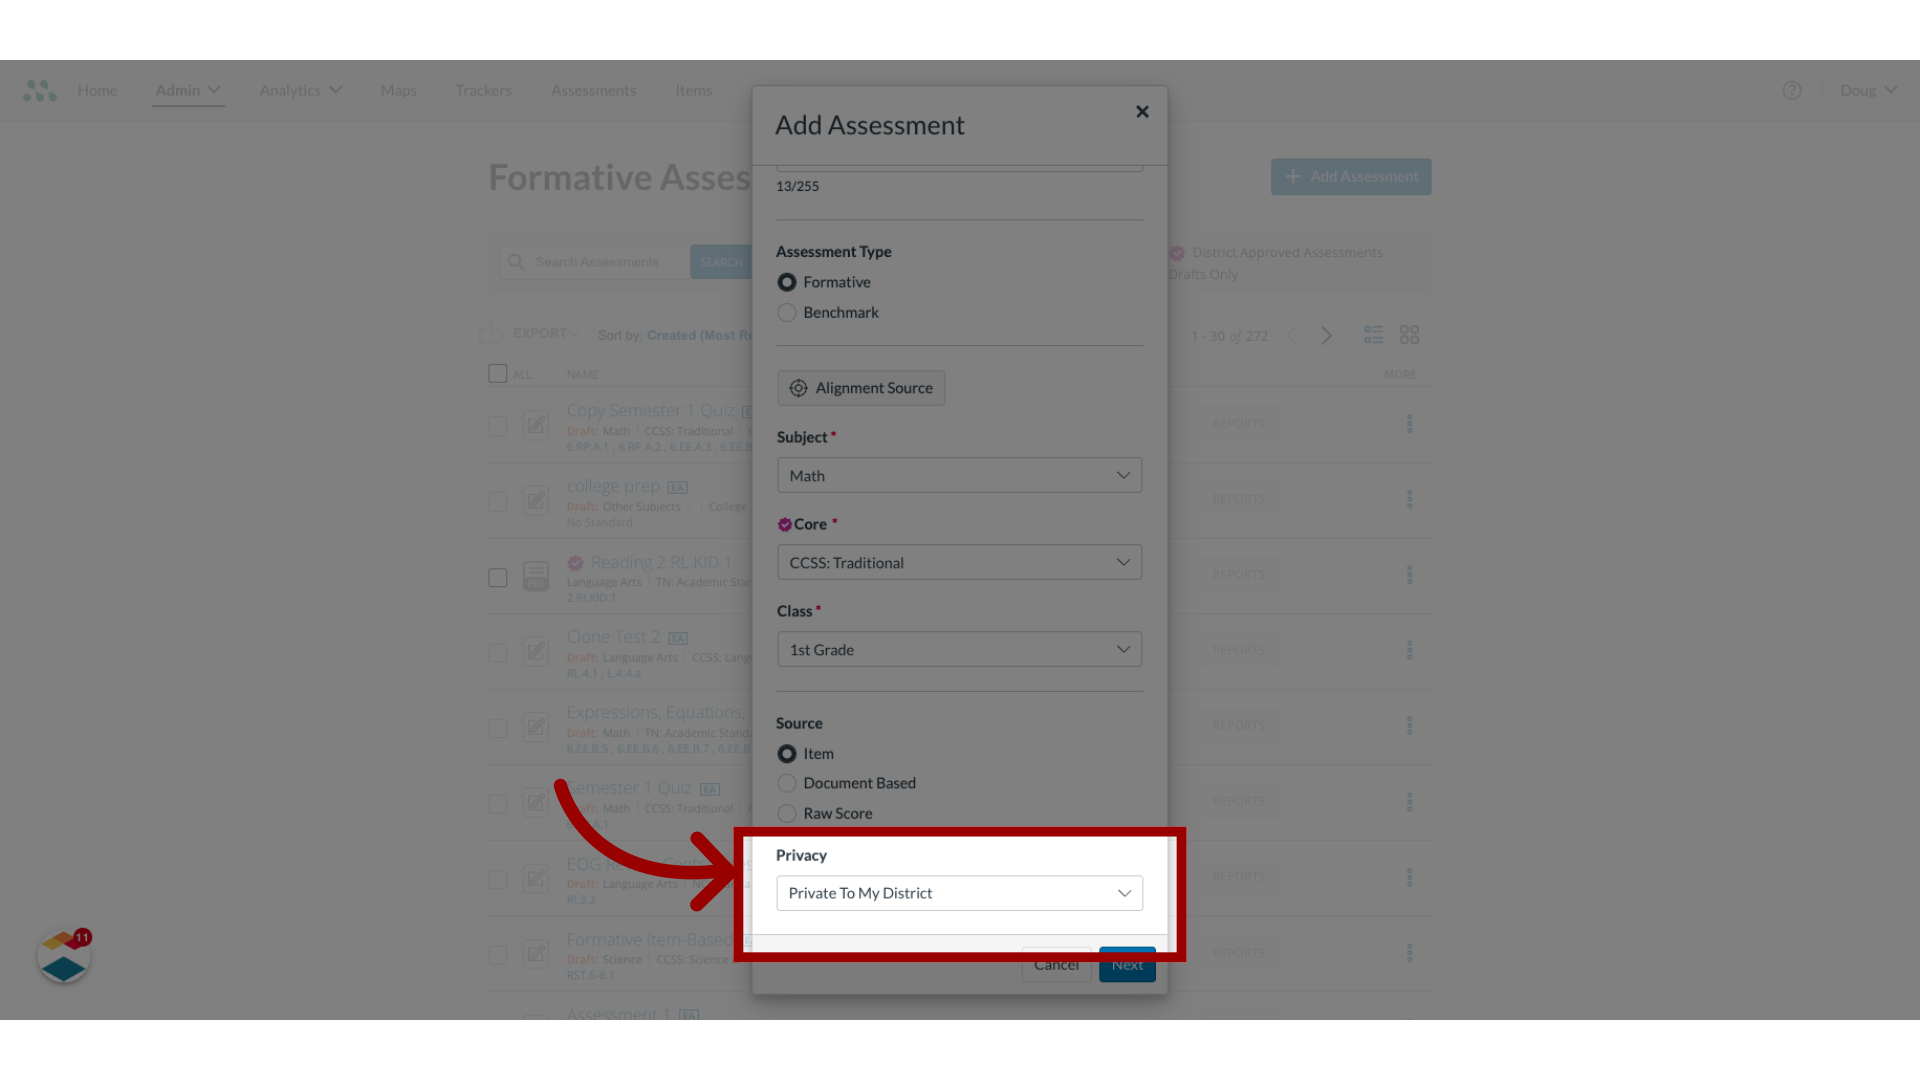
10. Select Privacy Level
To set a privacy level for the assessment, click the Privacy drop-down menu and select a privacy option.
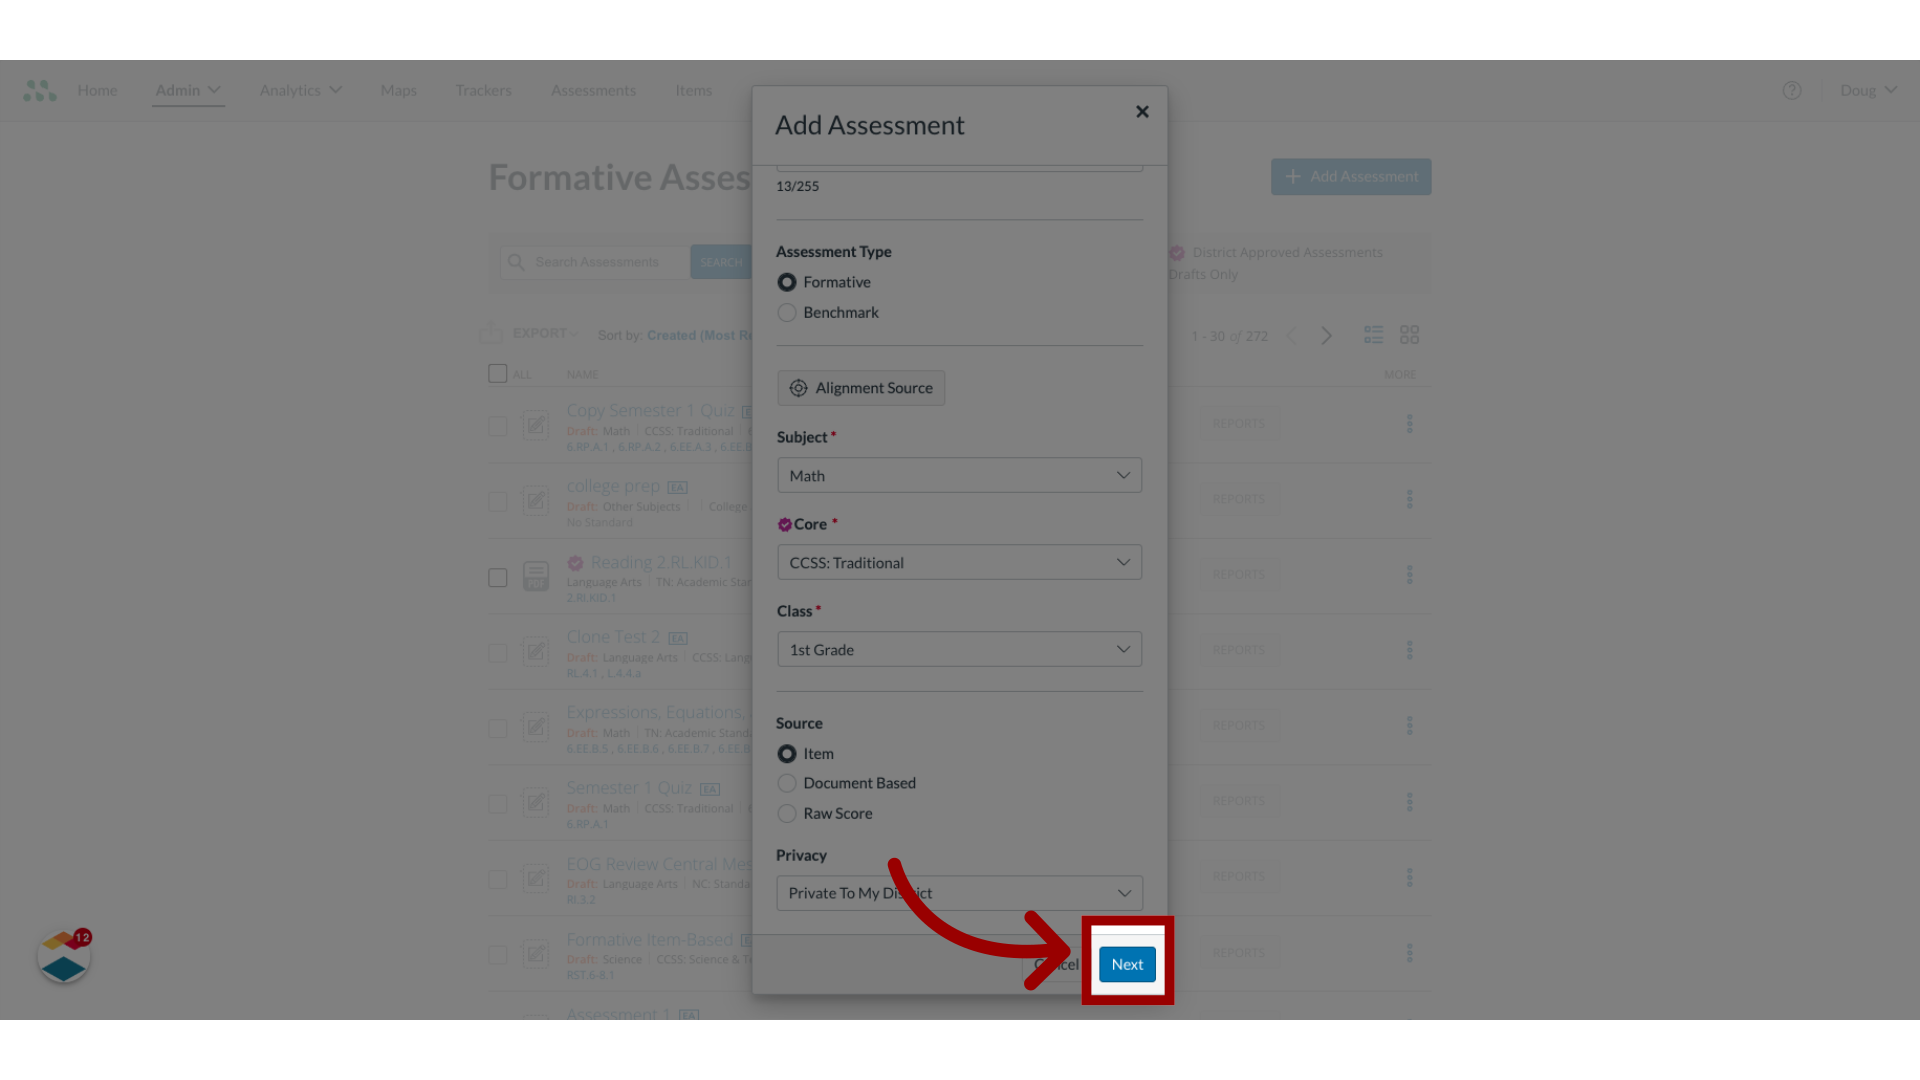
11. Draft Assessment Editor
To draft the assessment in the Assessment Editor and enter assessment content, click the Next button.
12. View Assessment Editor
The assessment draft displays in the Assessment Editor. If you are creating an item-based assessment, you can add items. If you are creating a document-based assessment, you can upload a document and add questions.

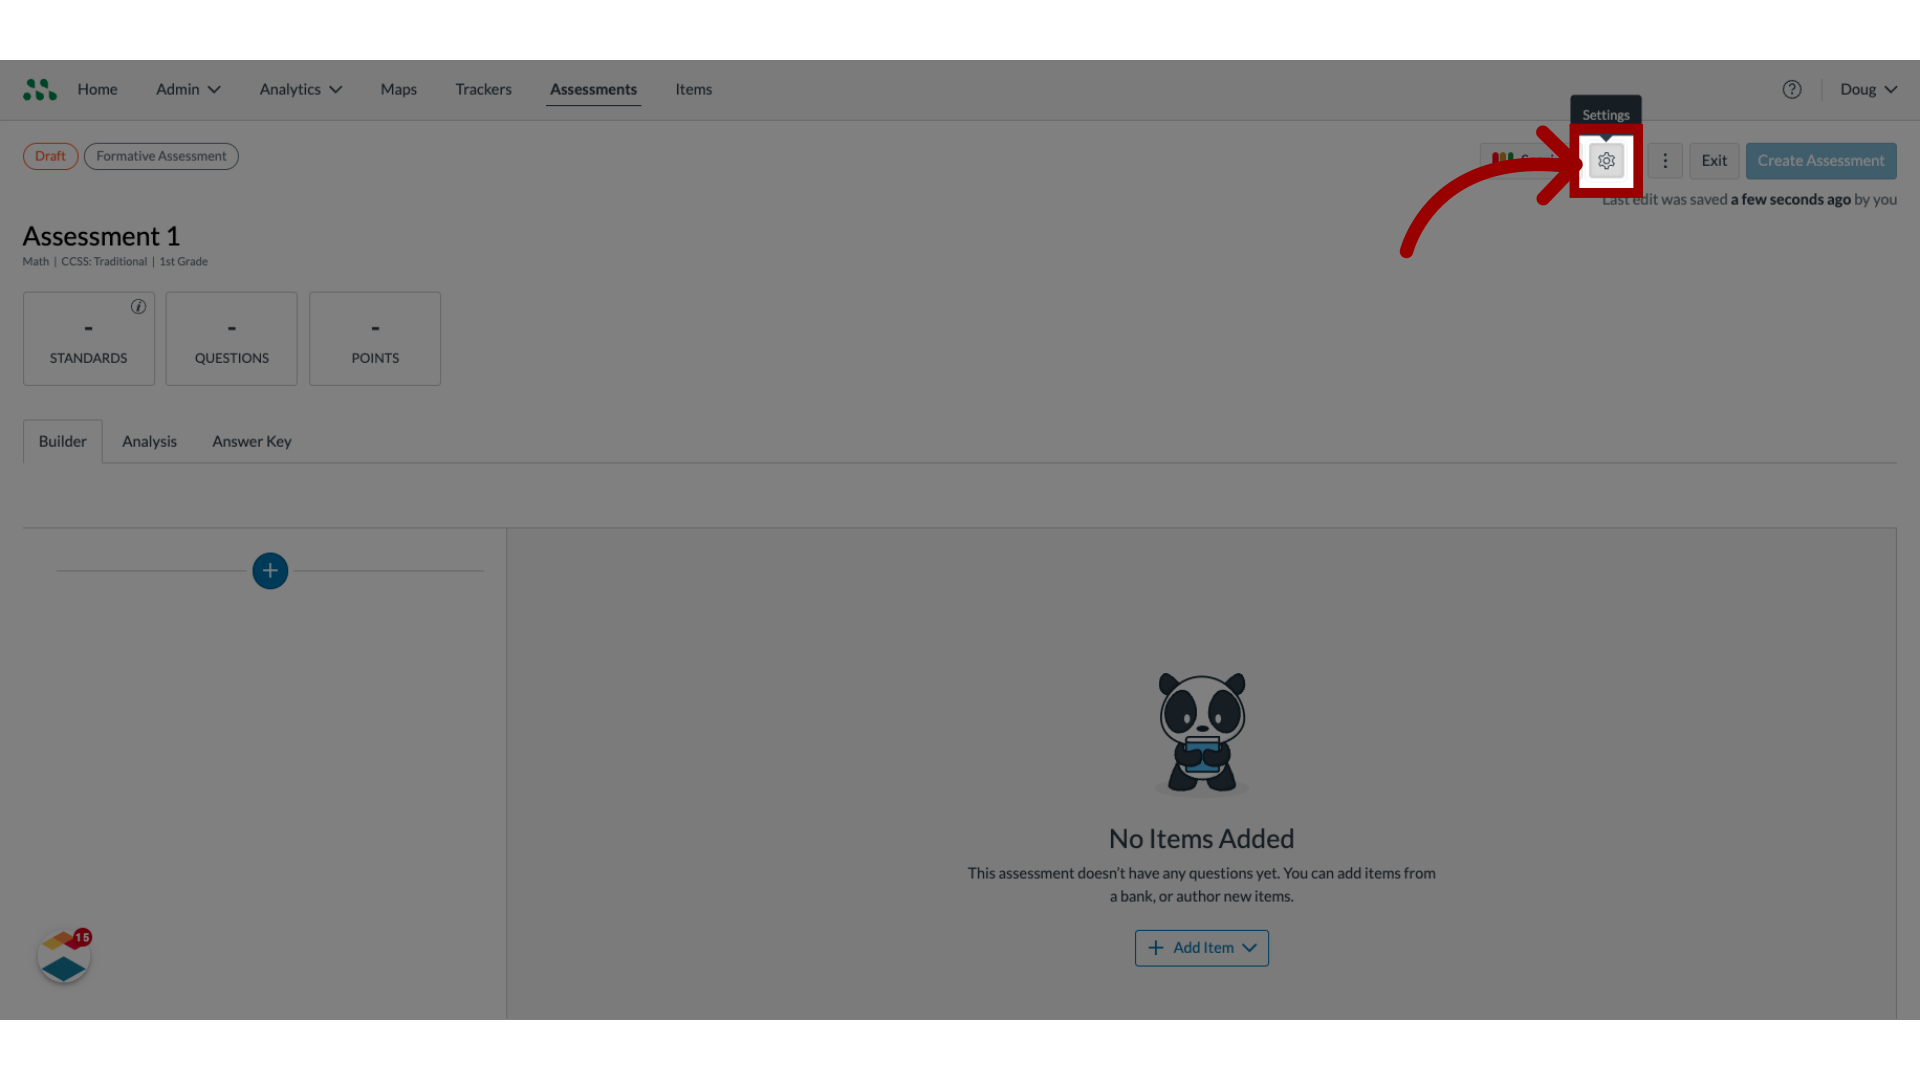
13. Open Settings
To designate an assessment as district approved, click the Settings button
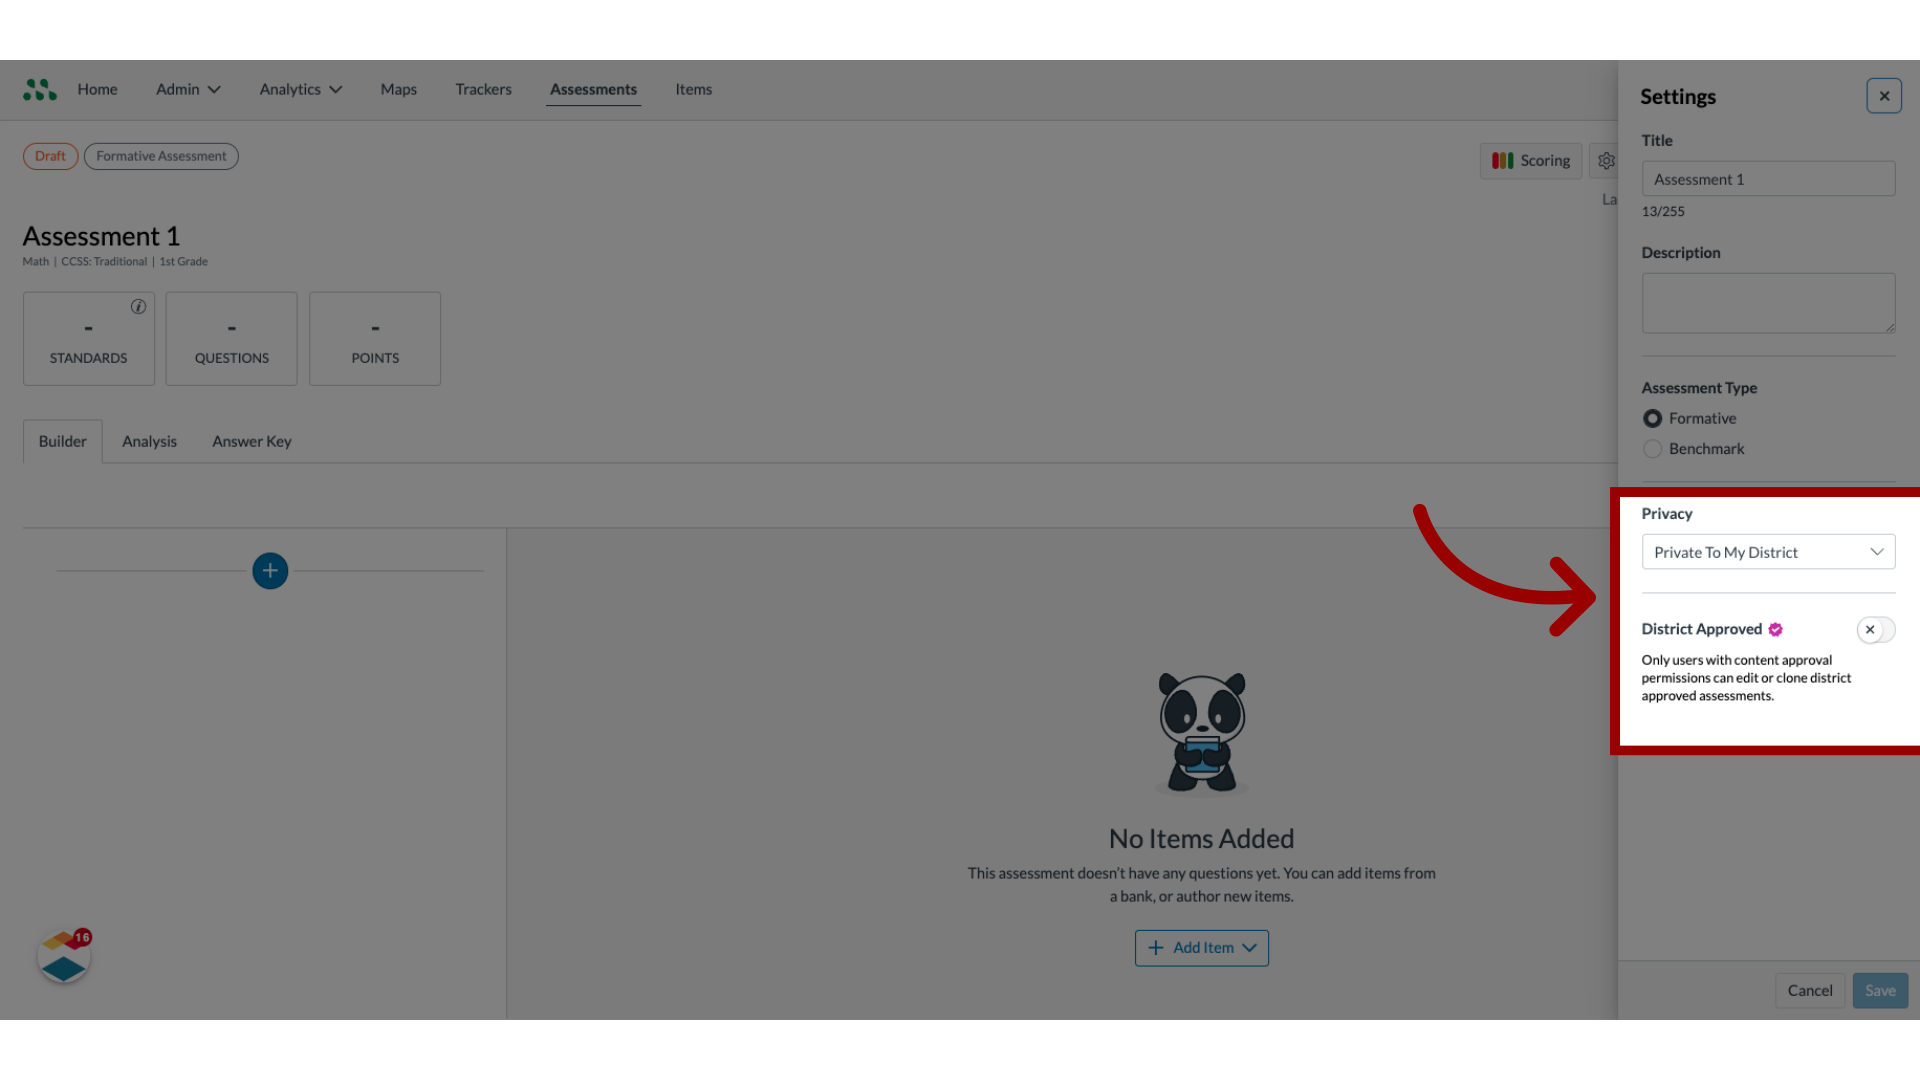
14. Designate Assessment
In the Privacy drop-down menu, select the Private to My District option. Then, click the District Approved toggle on.
15. Save changes
To apply the changes, click the Save button.

This guide covered how to create a formative assessment as an admin in Mastery Connect.

