How do I change the test ID expiration date, time, or time zone?
When you add an assessment to a tracker and make the assessment available to students, you can set an expiration date on the test ID in Mastery Connect. After the expiration date and time, the assessment will no longer be available to students. By default, all test IDs expire after seven days at 12:00 PM in the time zone of your district. However, you can choose a custom expiration window, time zone, time, or date.
Notes:
- If a test ID expires, you can generate a new test ID and re-open the testing window.
- IMPORTANT NOTE: If students are taking the assessment with the old test ID, all of their unsubmitted responses will be deleted when you generate a new test ID.
How do I change the test ID expiration date, time, or time zone?
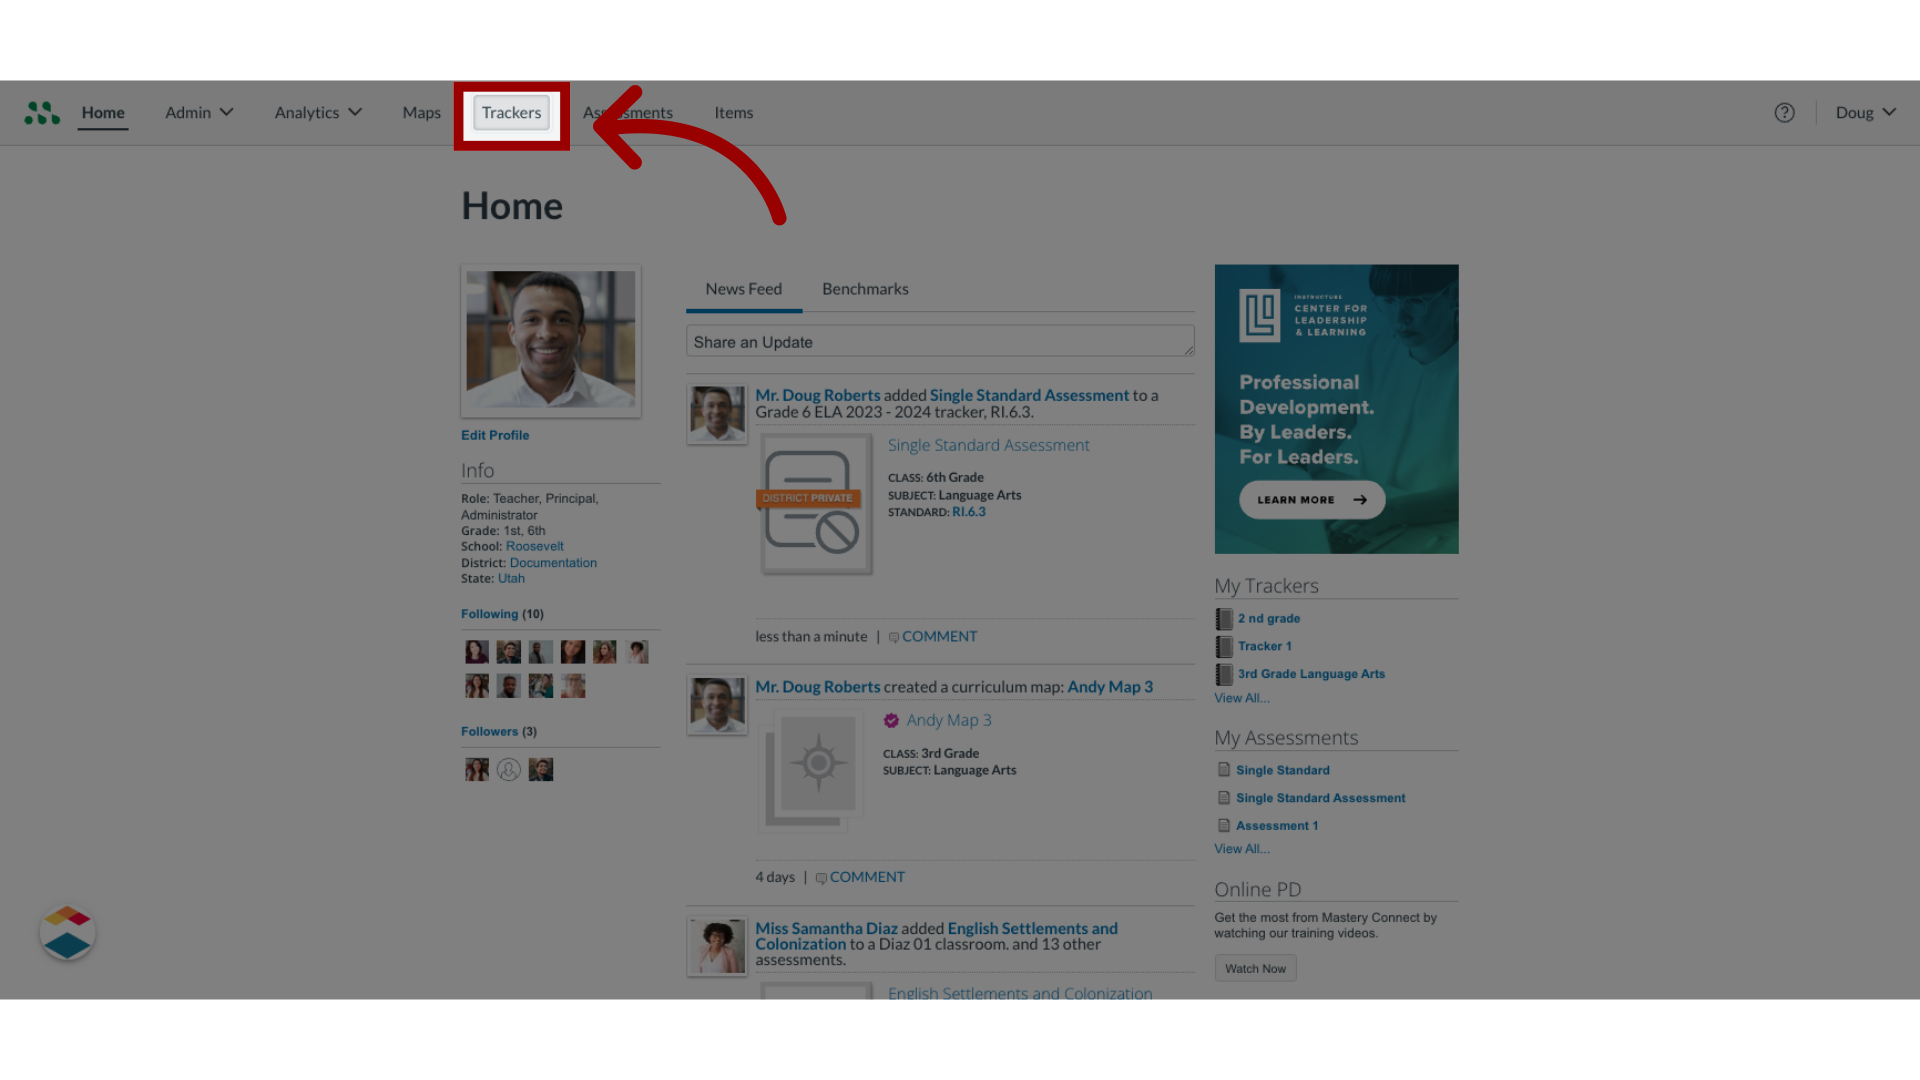
1. Open Tracker
In the Home page, click a tracker.
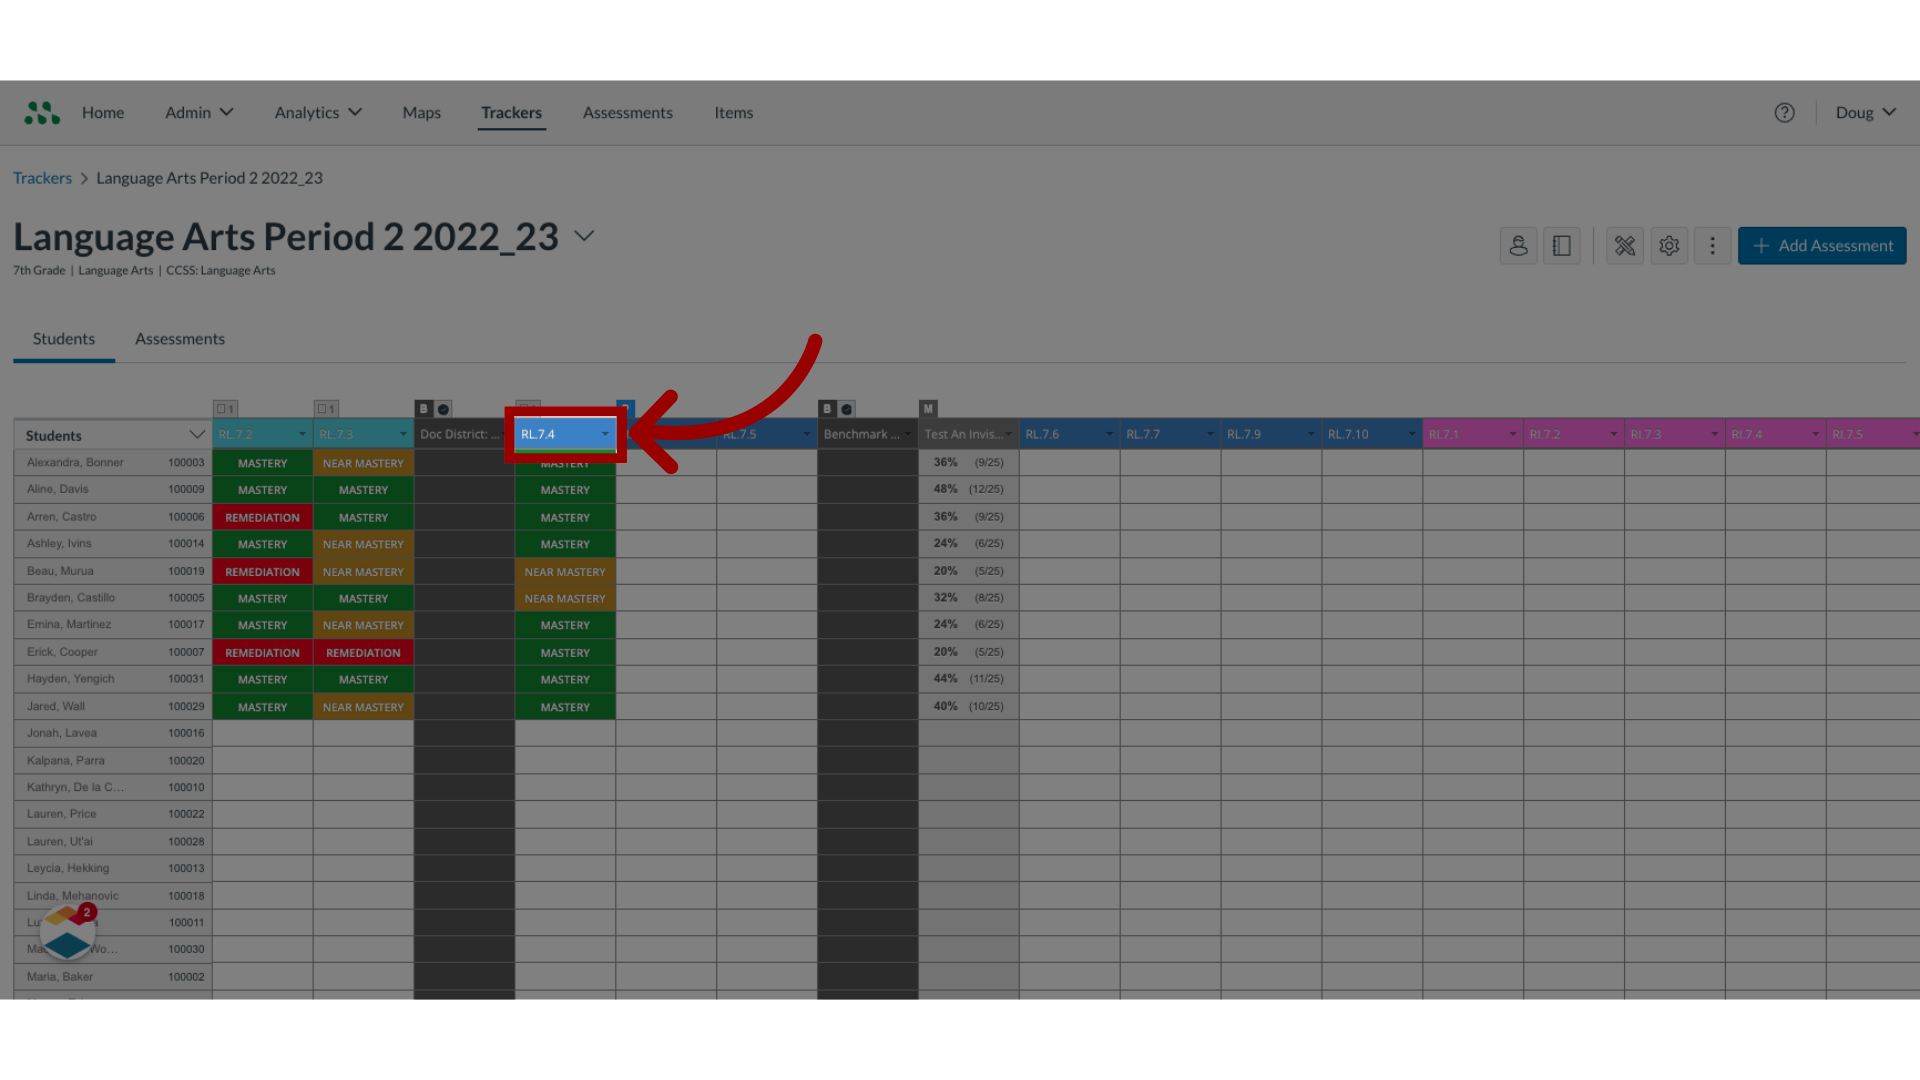
2. Work with Single-Strand assessment
In the Tracker View page, click the standard linked to the single-standard assessment.
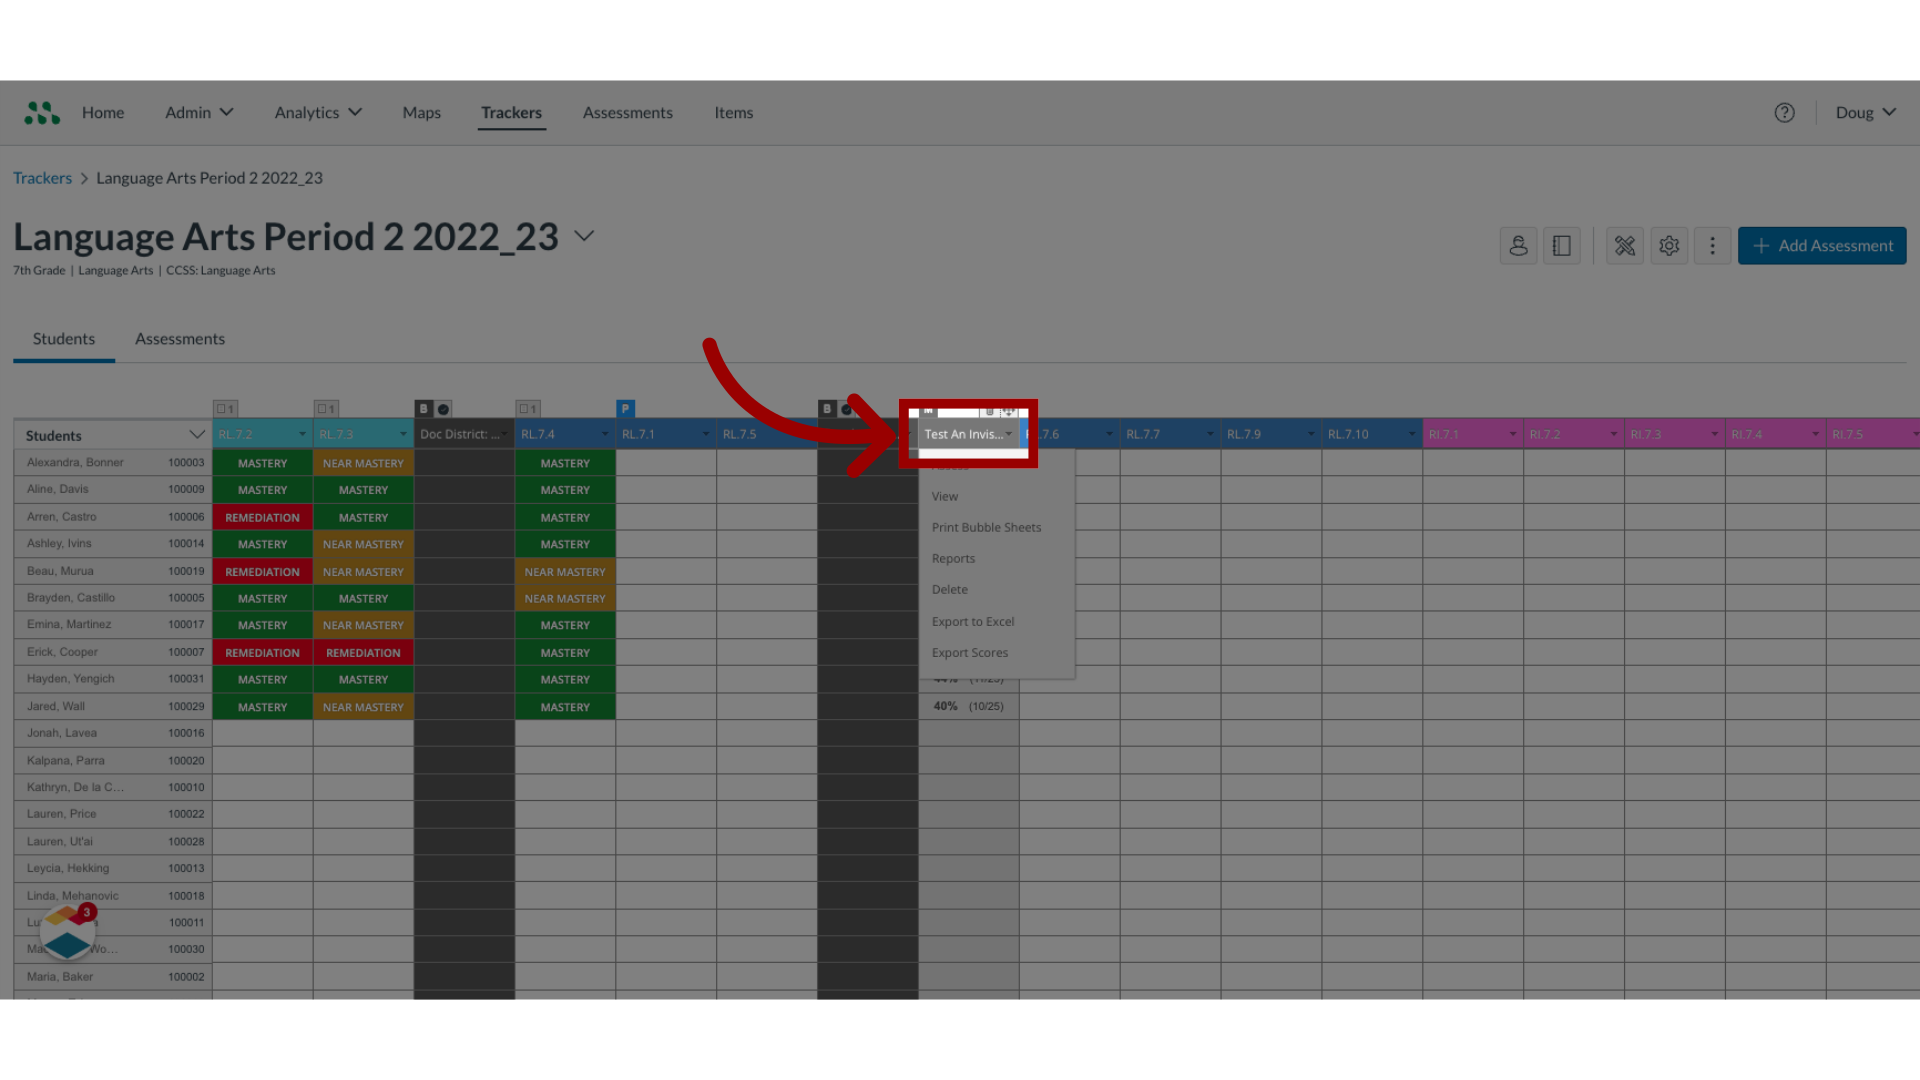
3. Work with Multi-standard assessment
To work with a multi-standard assessment, click the title of the assessment.
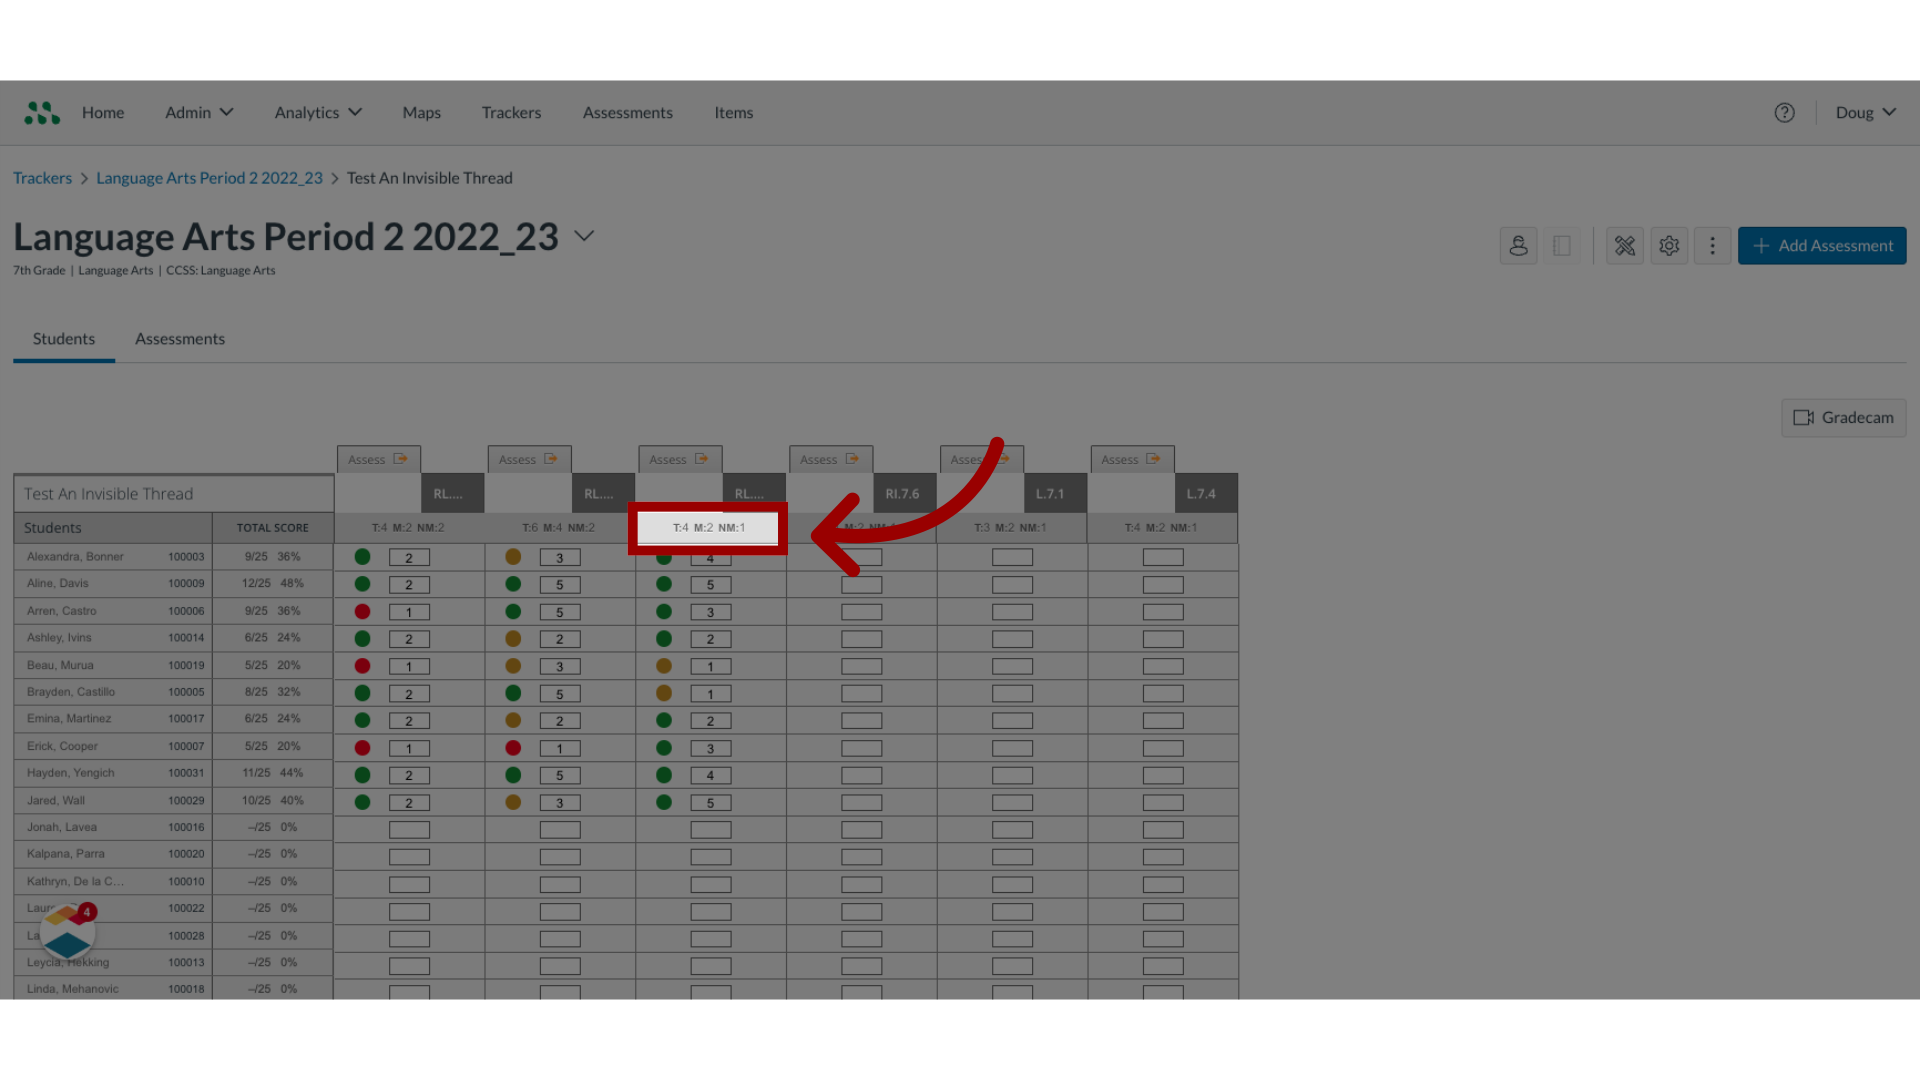
4. Assess single-standard assessments
To open assessment options for a single standard assessment, click the Assess button.
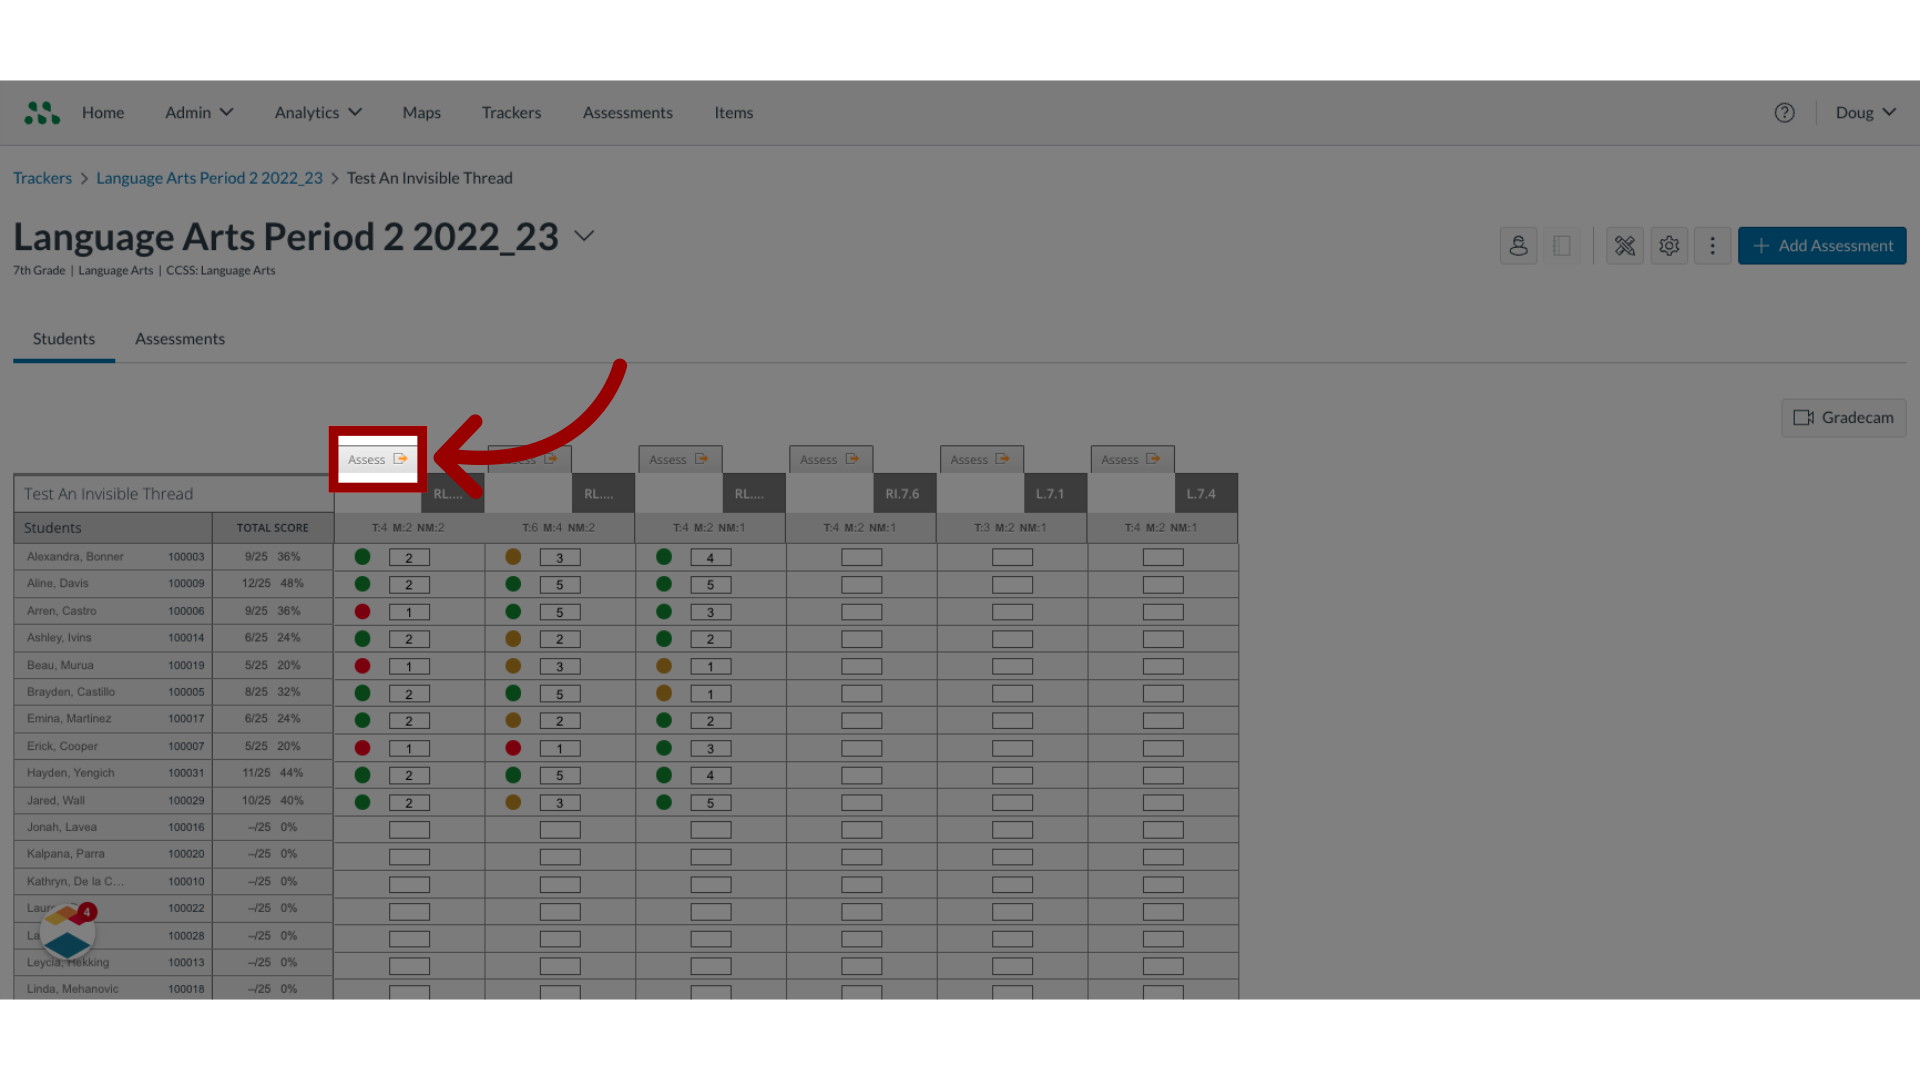
5. Assess multi-standard assessments
To open assessment options for a multi-standard assessment, click the header title.
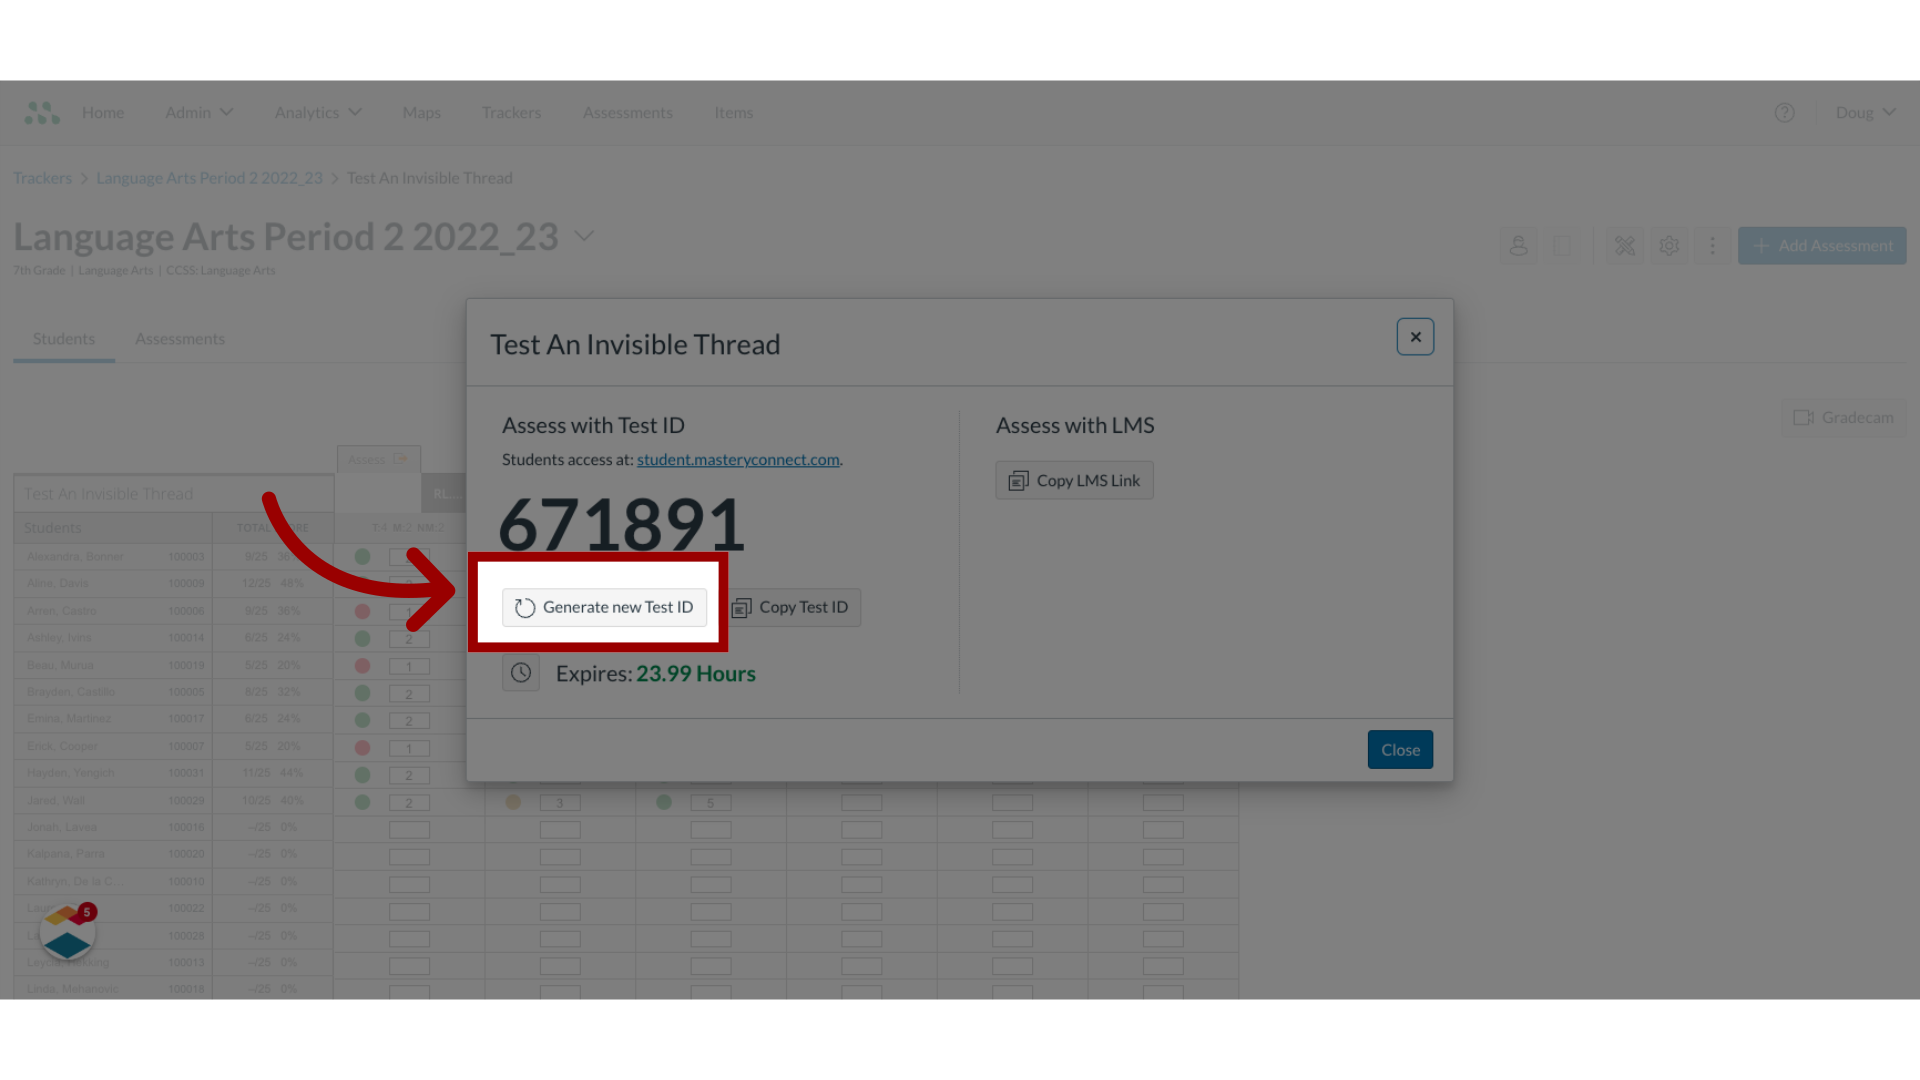
6. Generate new Test ID
If the Test ID has expired or is empty, click the Generate new Test ID button.
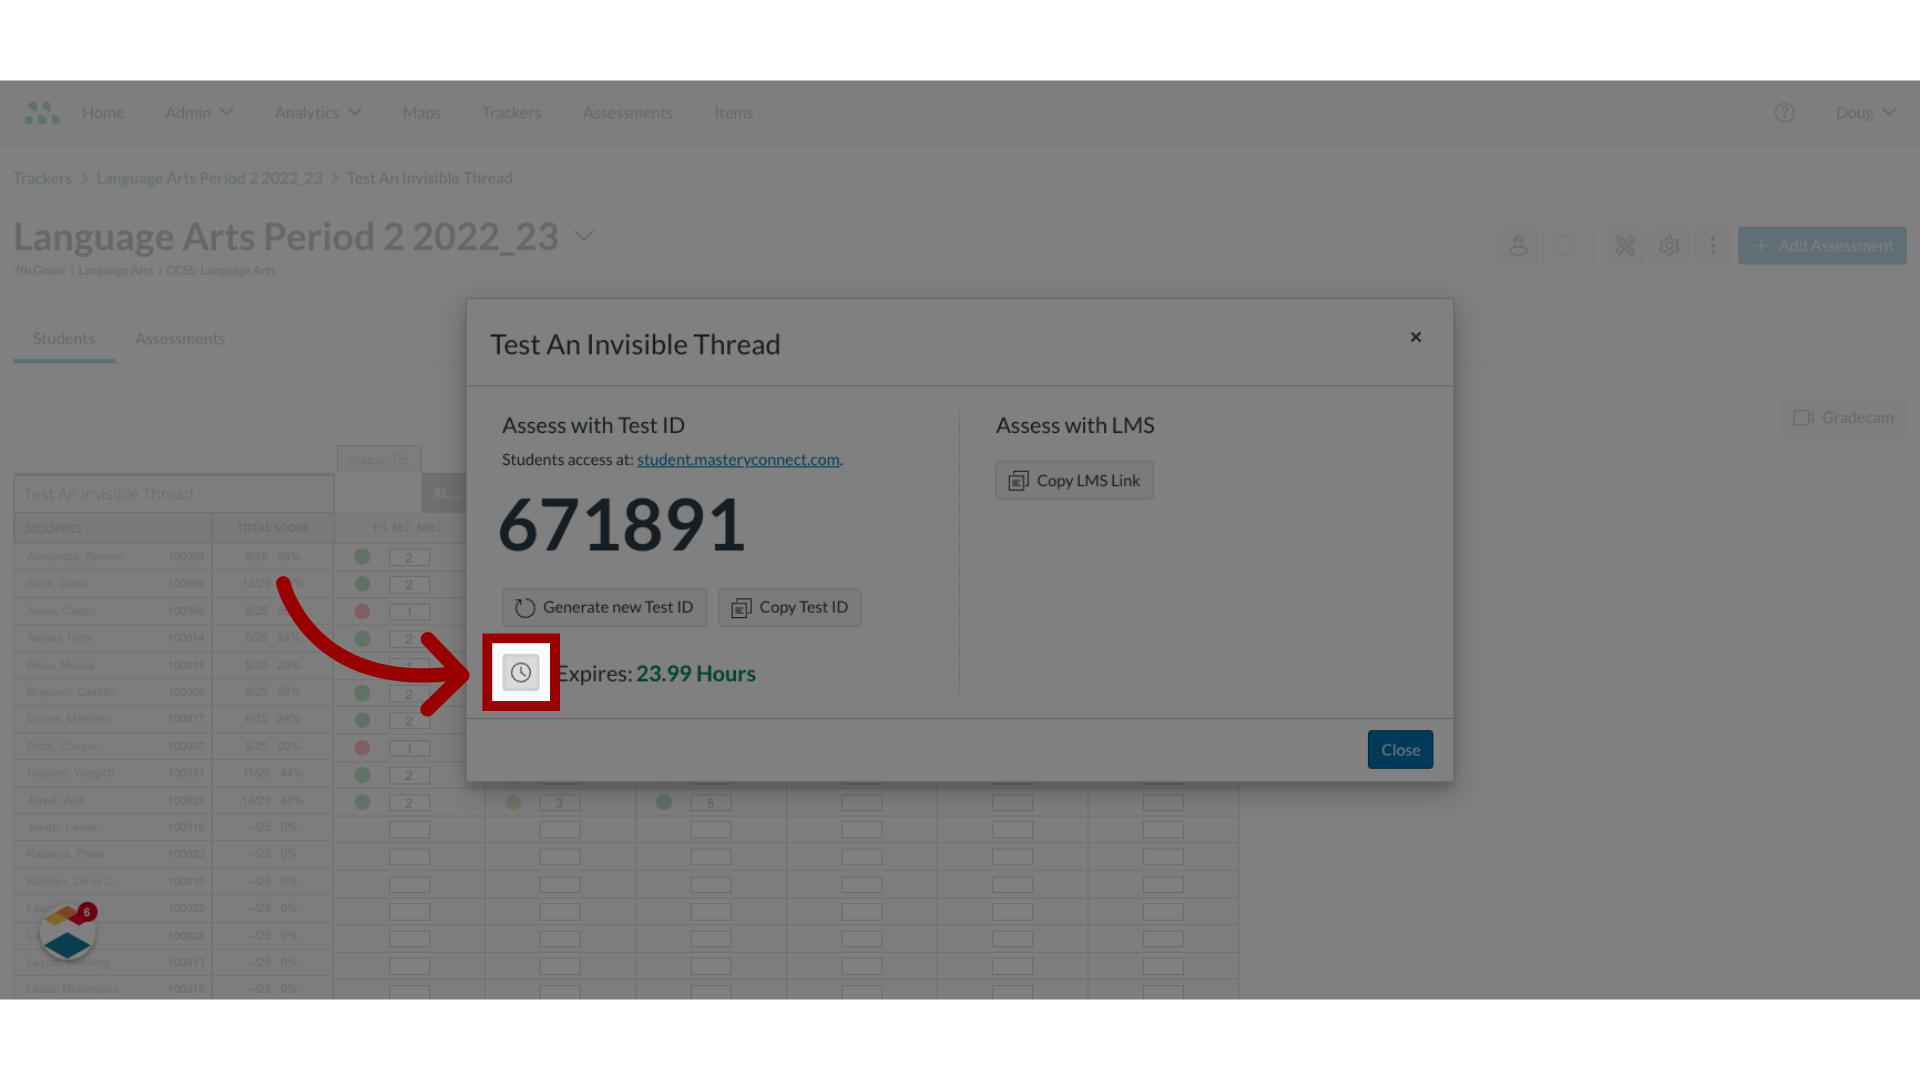
7. Edit Expiration
To open custom expiration options, click the Edit Expiration icon.
8. Select New Expiration
By default, all test IDs expire after seven days at 12:00 PM in the time zone of your district.
To select a different expiration, click one of the expiration window radio buttons.
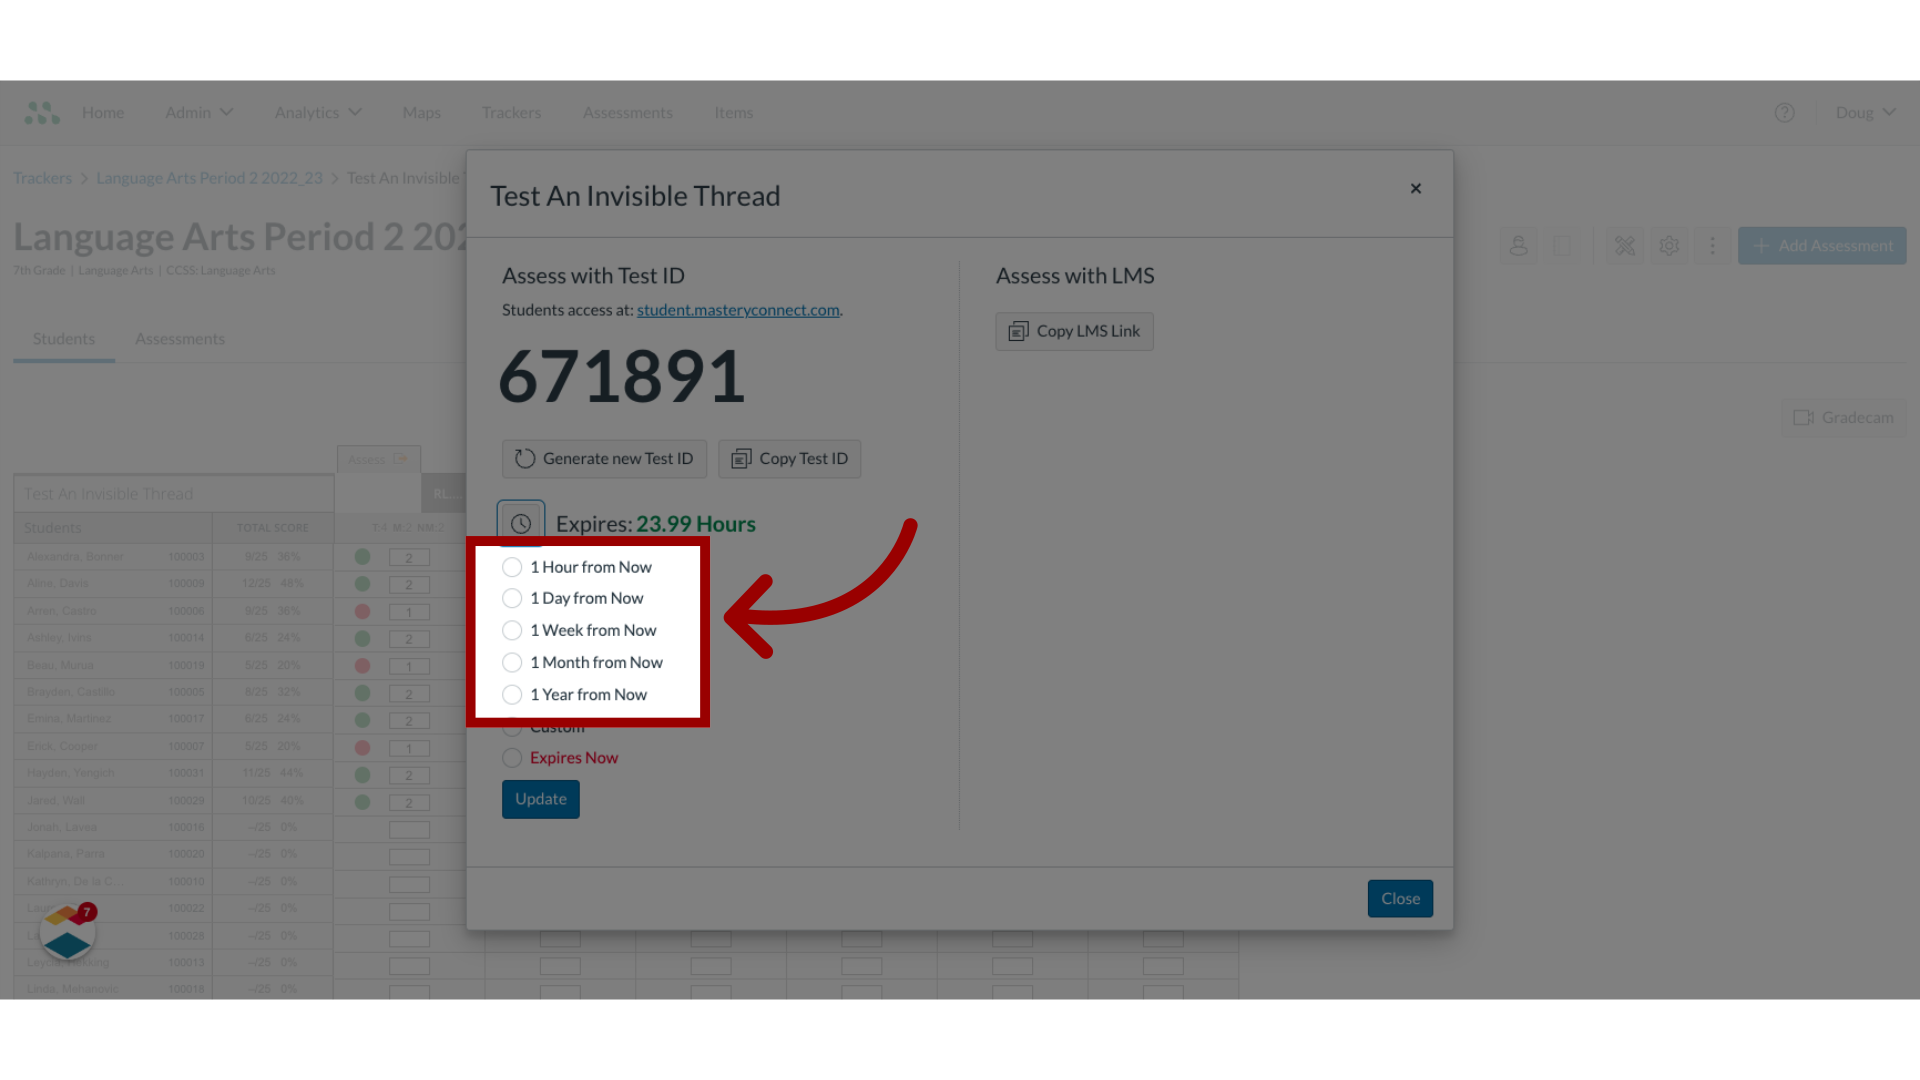
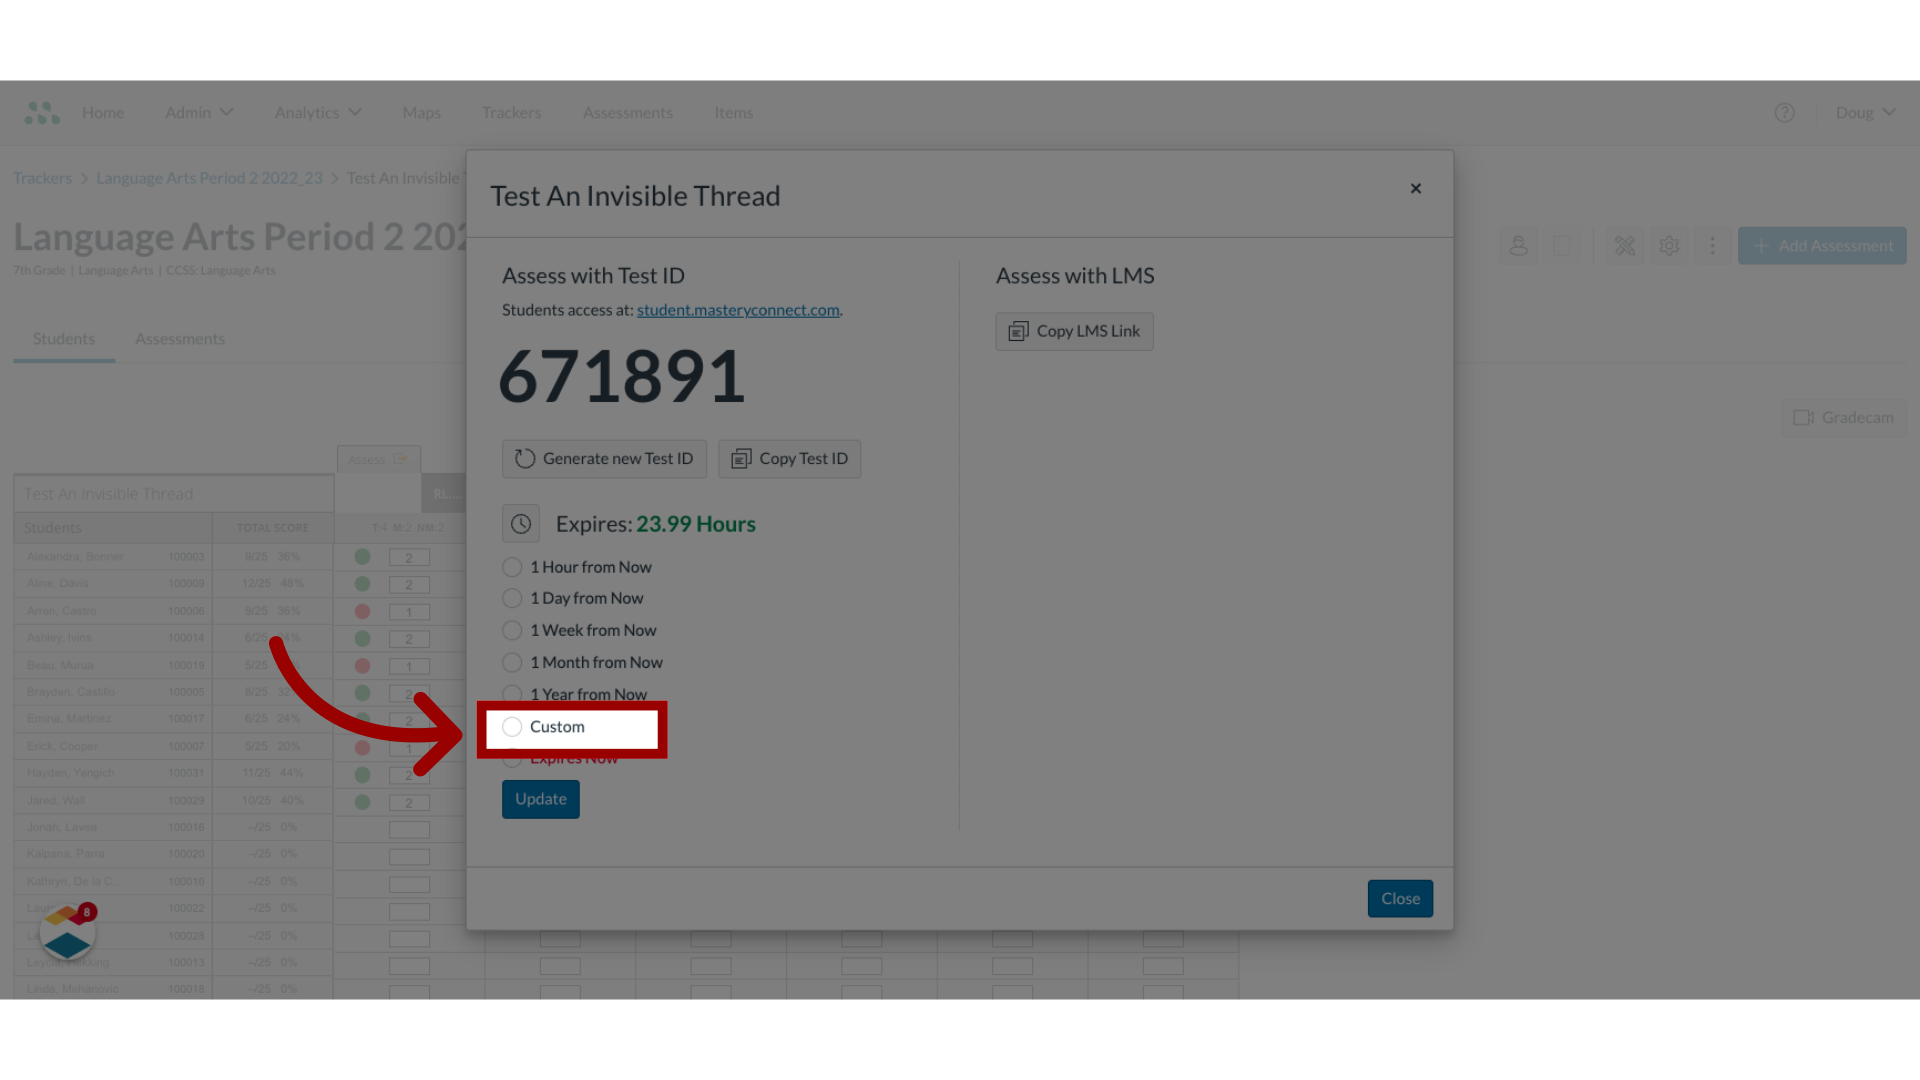
9. Select Custom Time Zone, Date, and Expiration Time
To view options for changing the time zone, selecting a specific date, or changing the expiration time, click the Custom radio button.
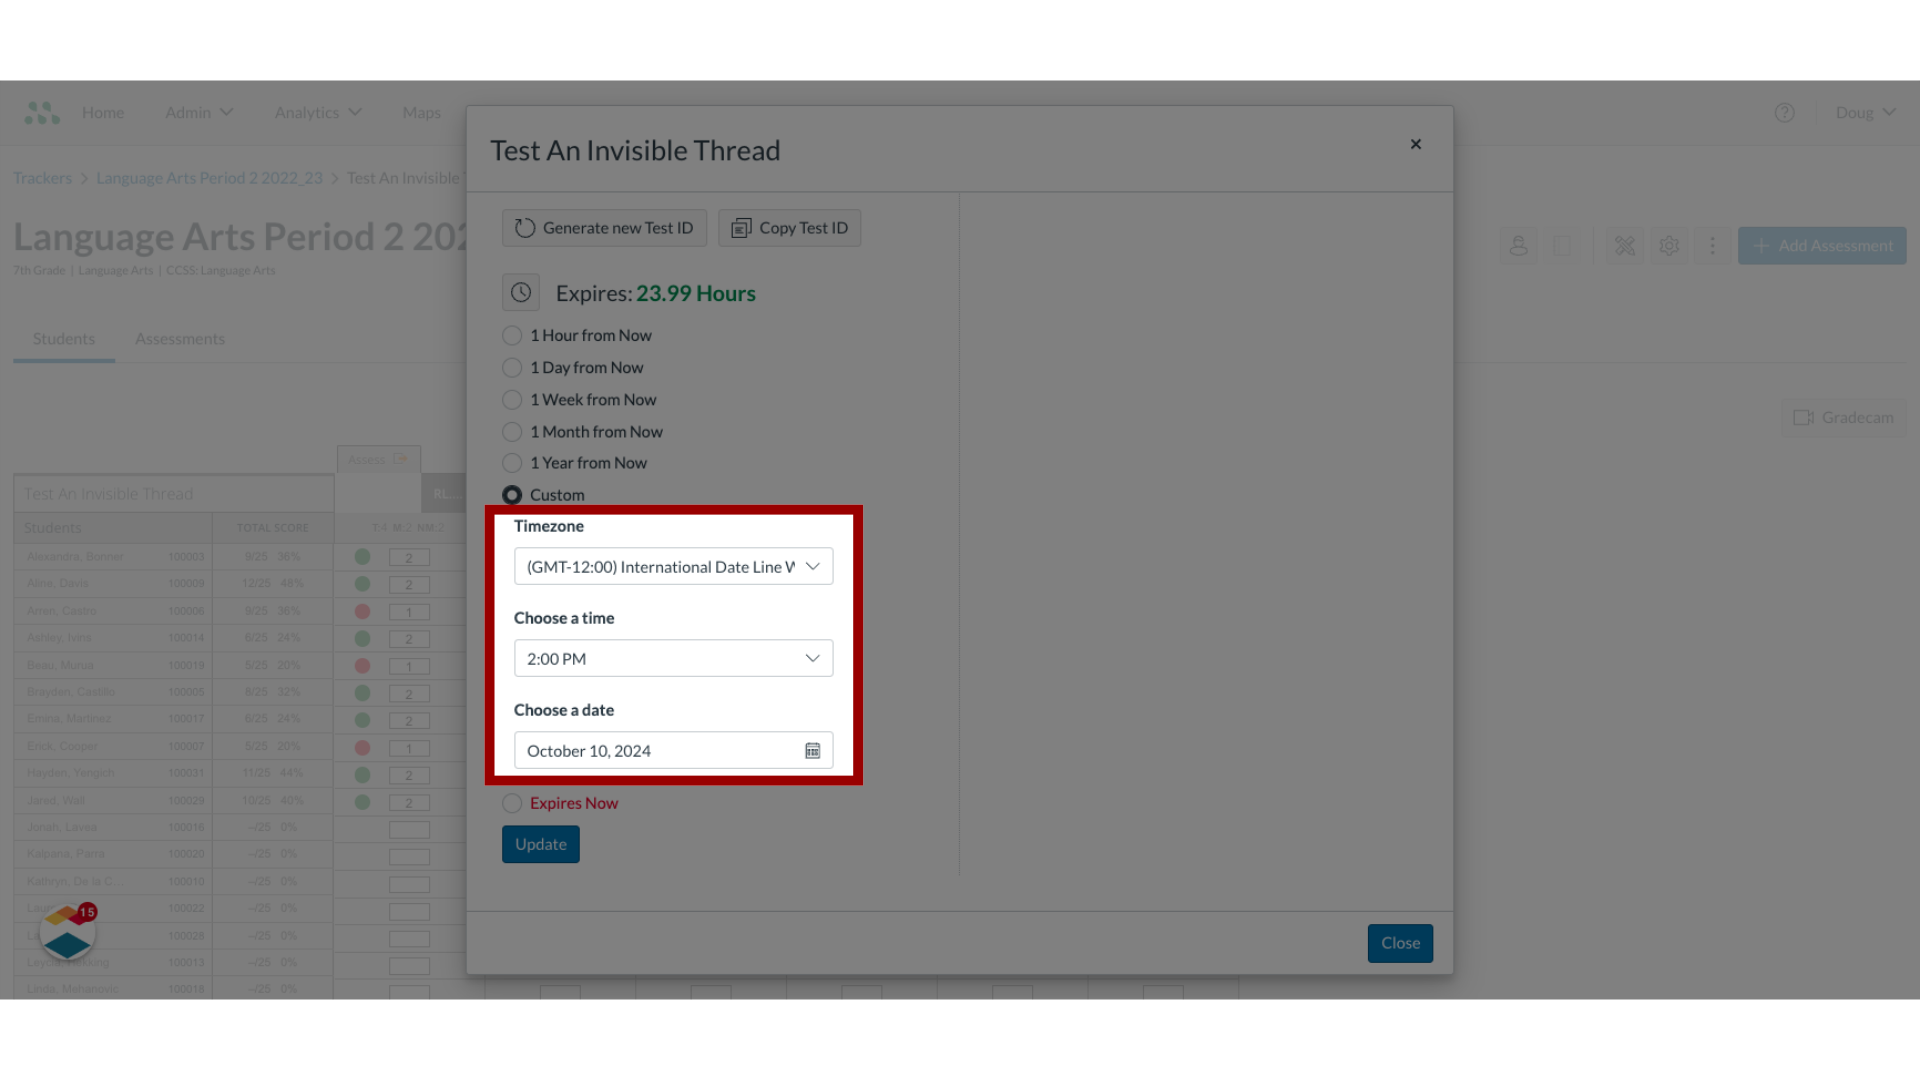
10. Set Timezone, Time, or Date
To change the timezone, time of day, or expiration date use the drop-down menus.
11. Expire test ID
To make the test ID expire now, click the Expires Now radio button.

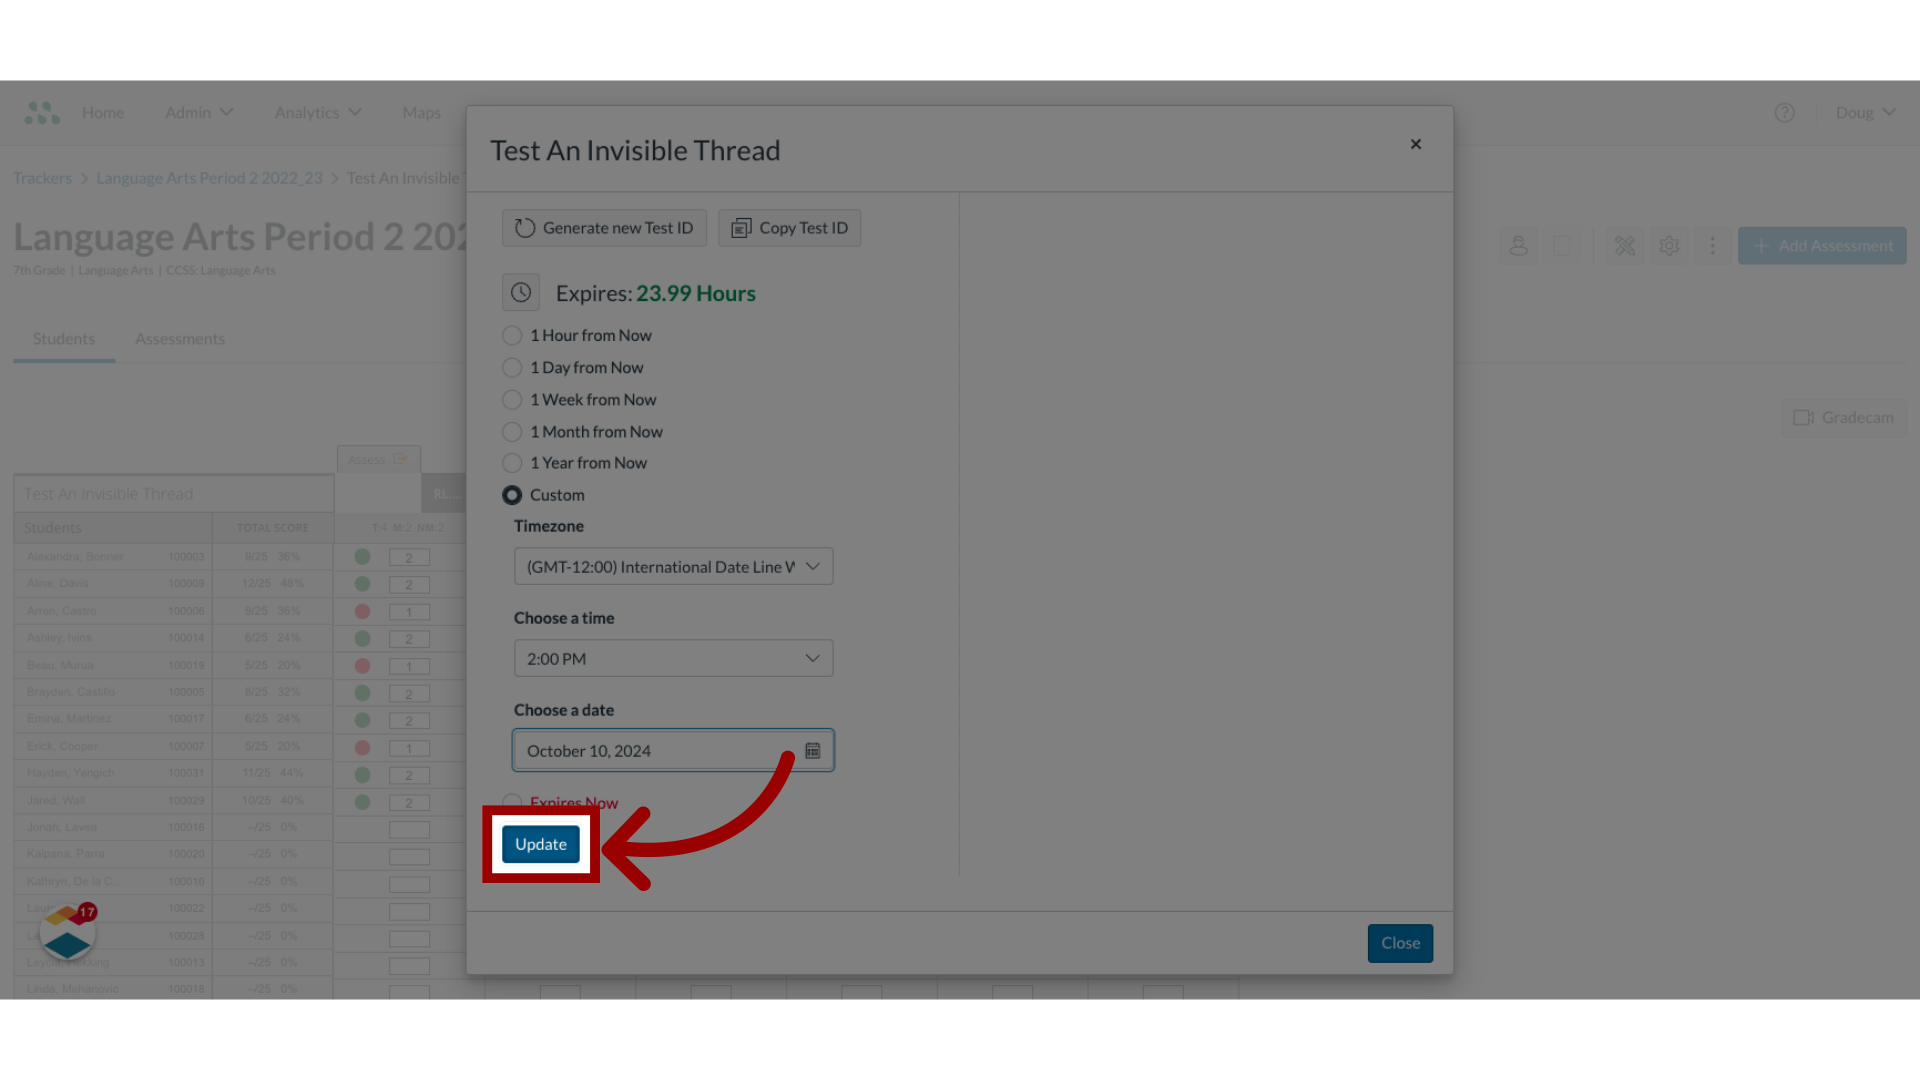
12. Update changes
Once done, click the Update button.
This guide covered how to change the test ID expiration date, time, or time zone.

