How do I embed a support article from an external web page in the Impact Dashboard?
With Impact, you can create support articles by embedding external web pages. This article will focus on how you can create a support article using an embedded external webpage.
This type of article creation can be an easy method of providing support for your users with content that is already published on an external web page (minimizing the amount of time of manual rewriting or copying the information).
Note: Any page that is dynamic and/or requires authentication cannot be used with this feature.
How do I embed a support article from an external web page in the Impact Dashboard?
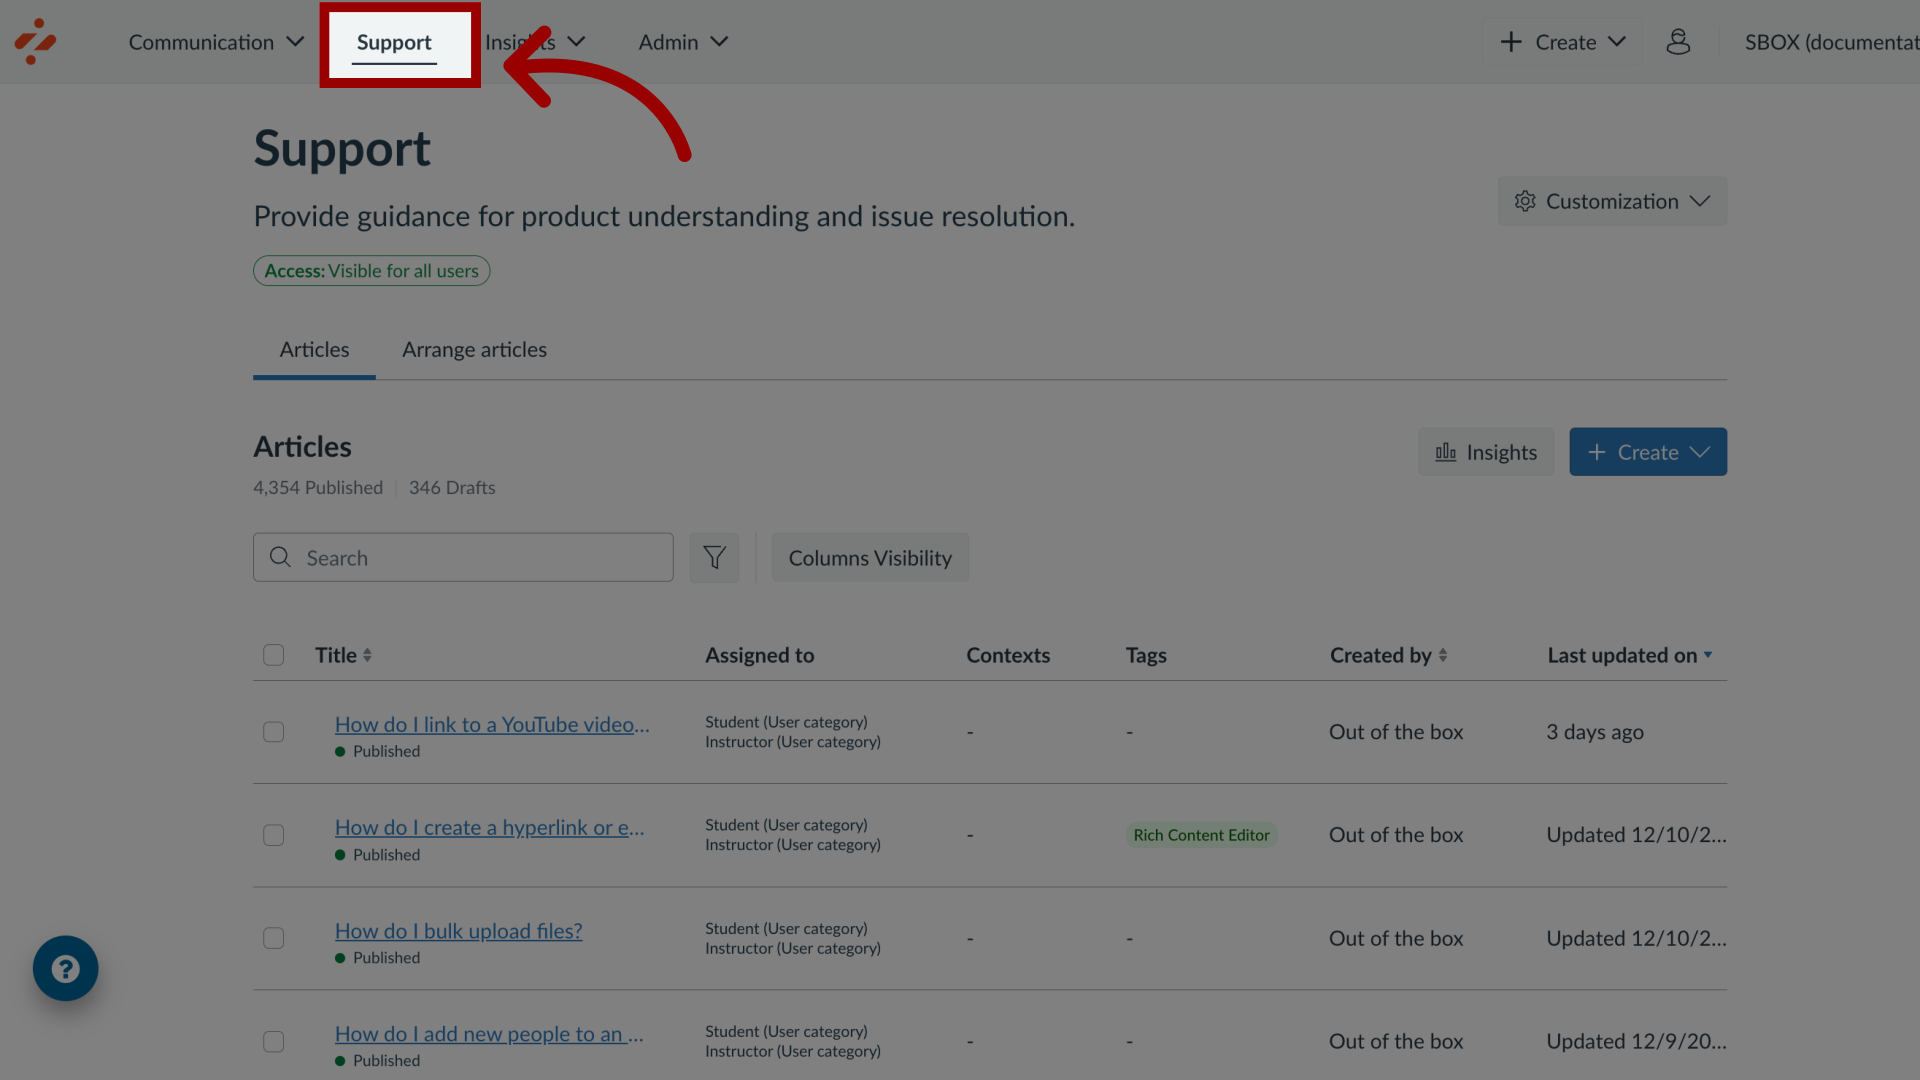
1. Open Support
In Global Navigation, click the Support link.
2. Manage Articles
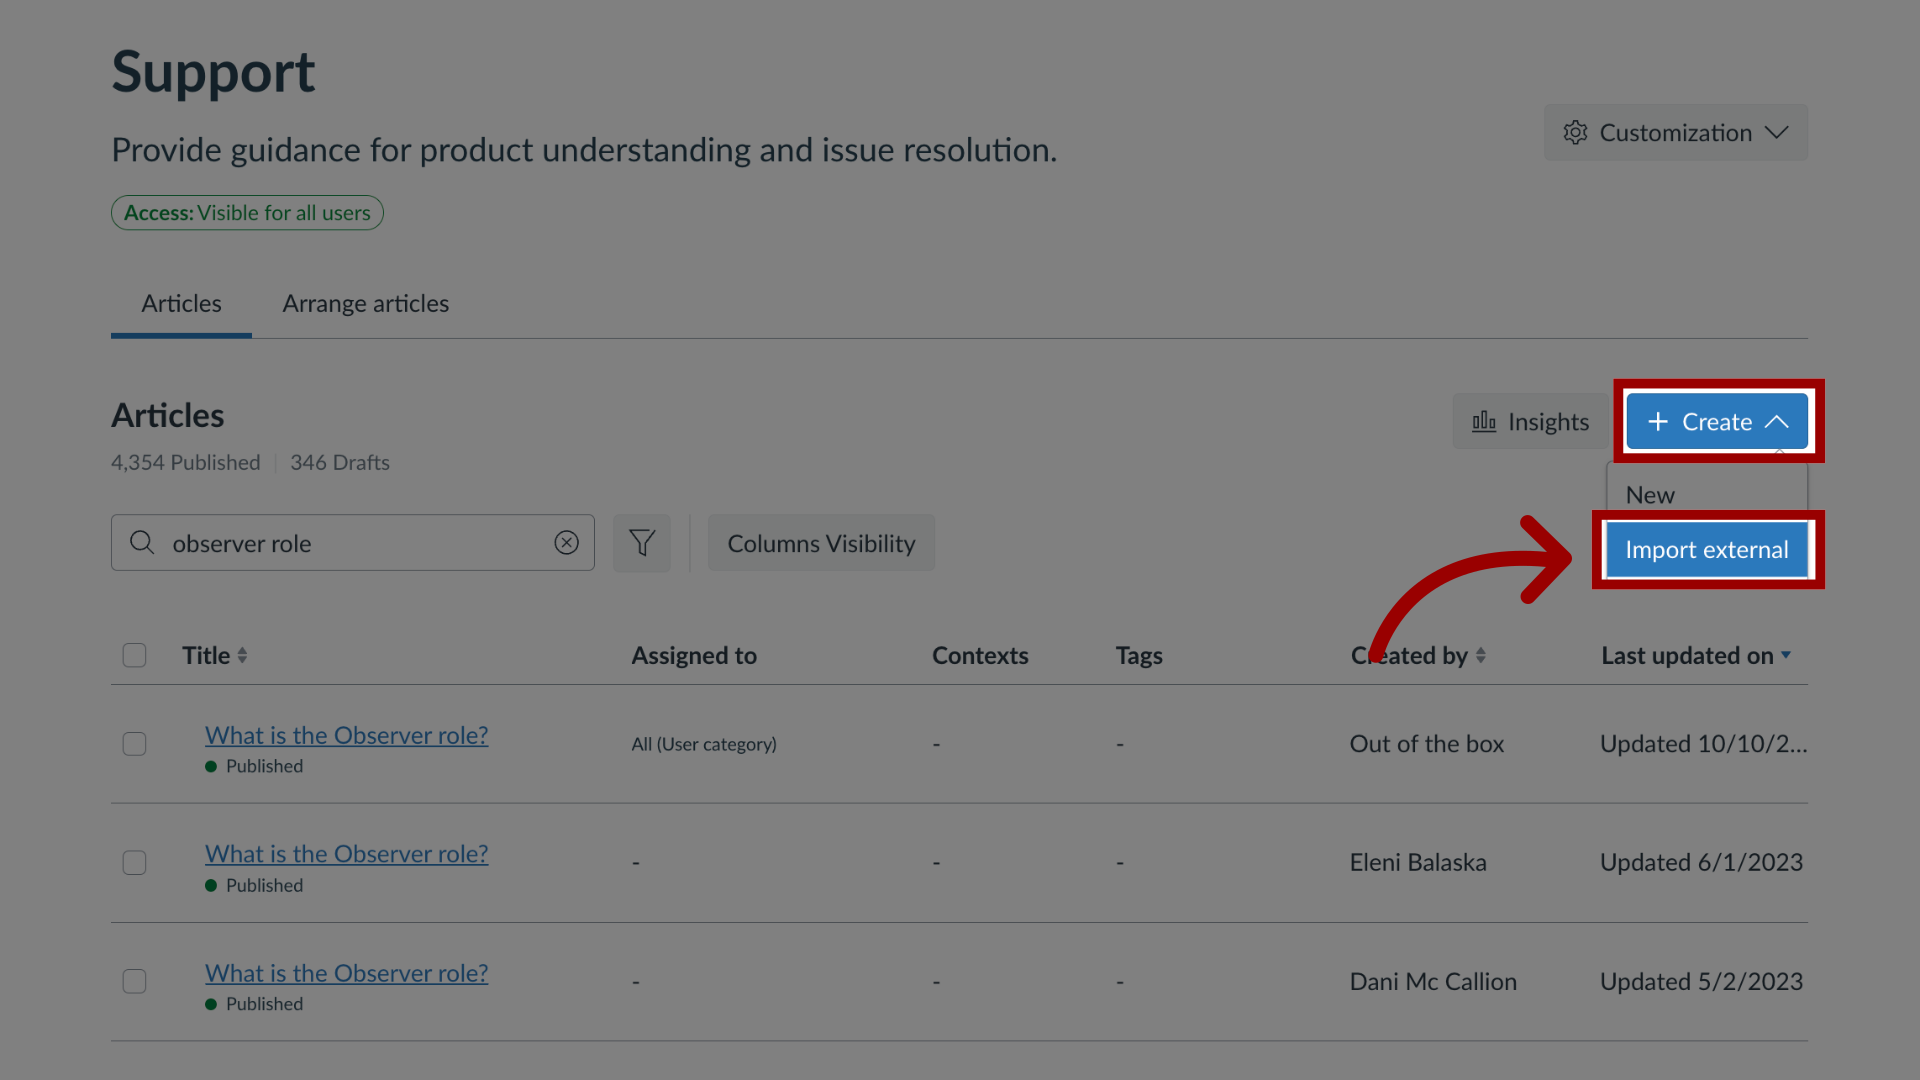
To add a new support article, click the Create drop-down menu and click the Import external link.
3. Create Support Article
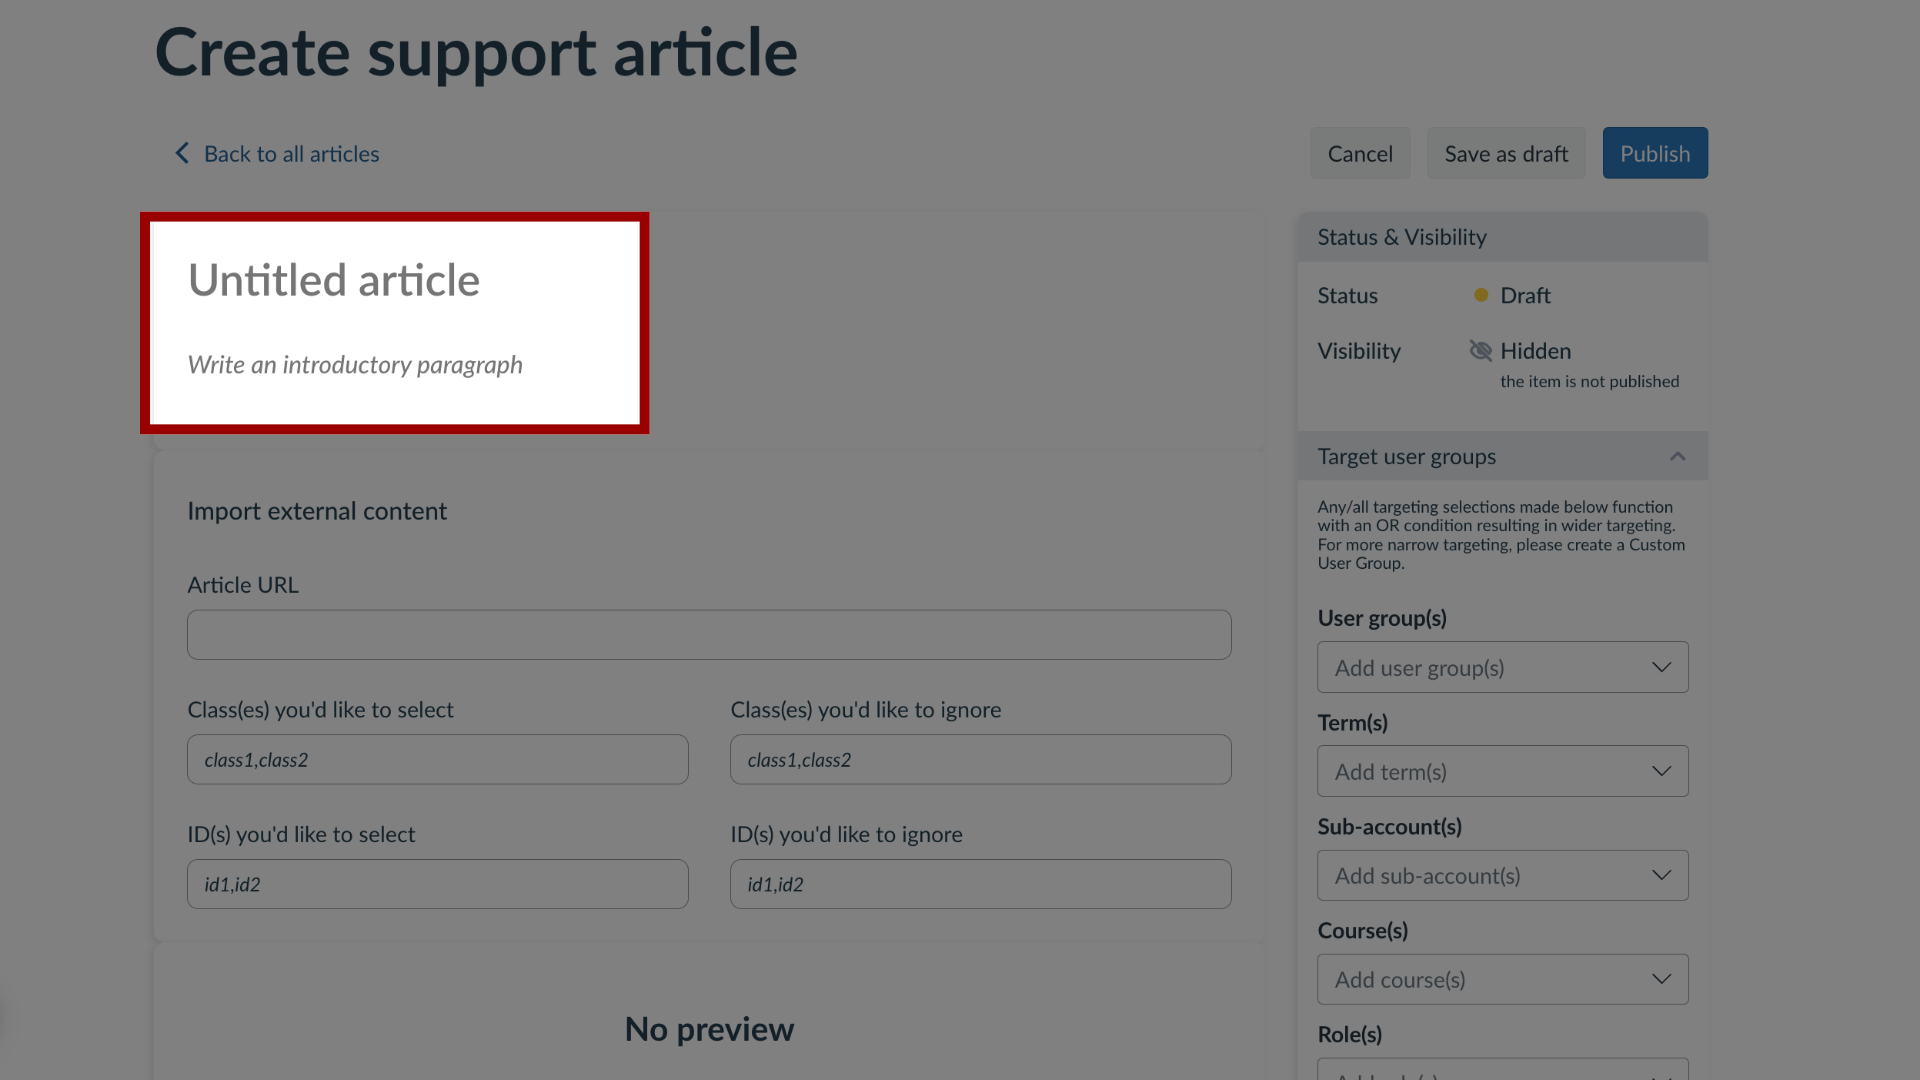
In the title field, enter a title for the support article and add content in the Write an introductory paragraph field.
4. Import External Content
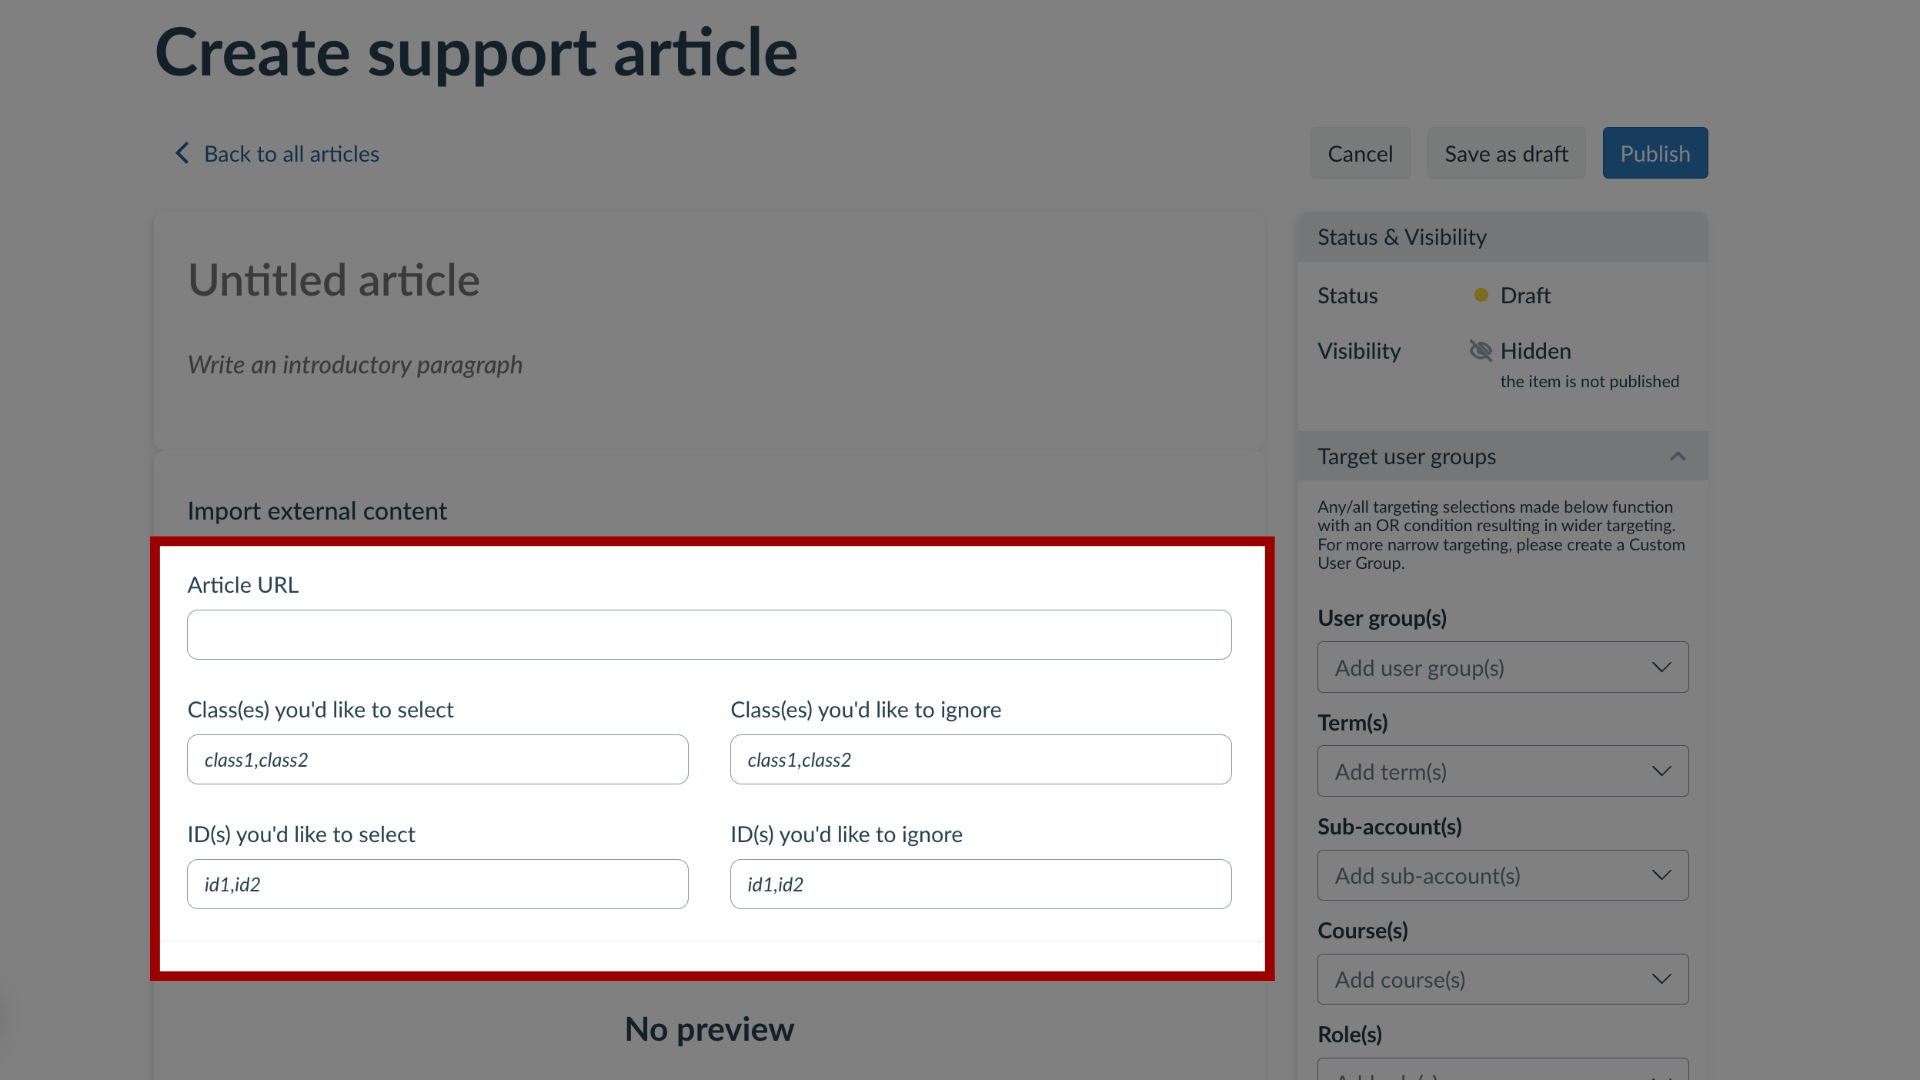
Enter the following support article details:
URL for your external site in the Article URL field
Class tags in the Class(es) you'd like to select field
Class tag in the Class(es) you'd like to ignore field
ID tags in the ID(s) you'd like to select field
ID tags in the ID(s) you'd like to ignore field
5. Inspect Content
In order to correctly embed the content from the external web page, you need to select which class(es) or ID(s) you want to include or ignore.
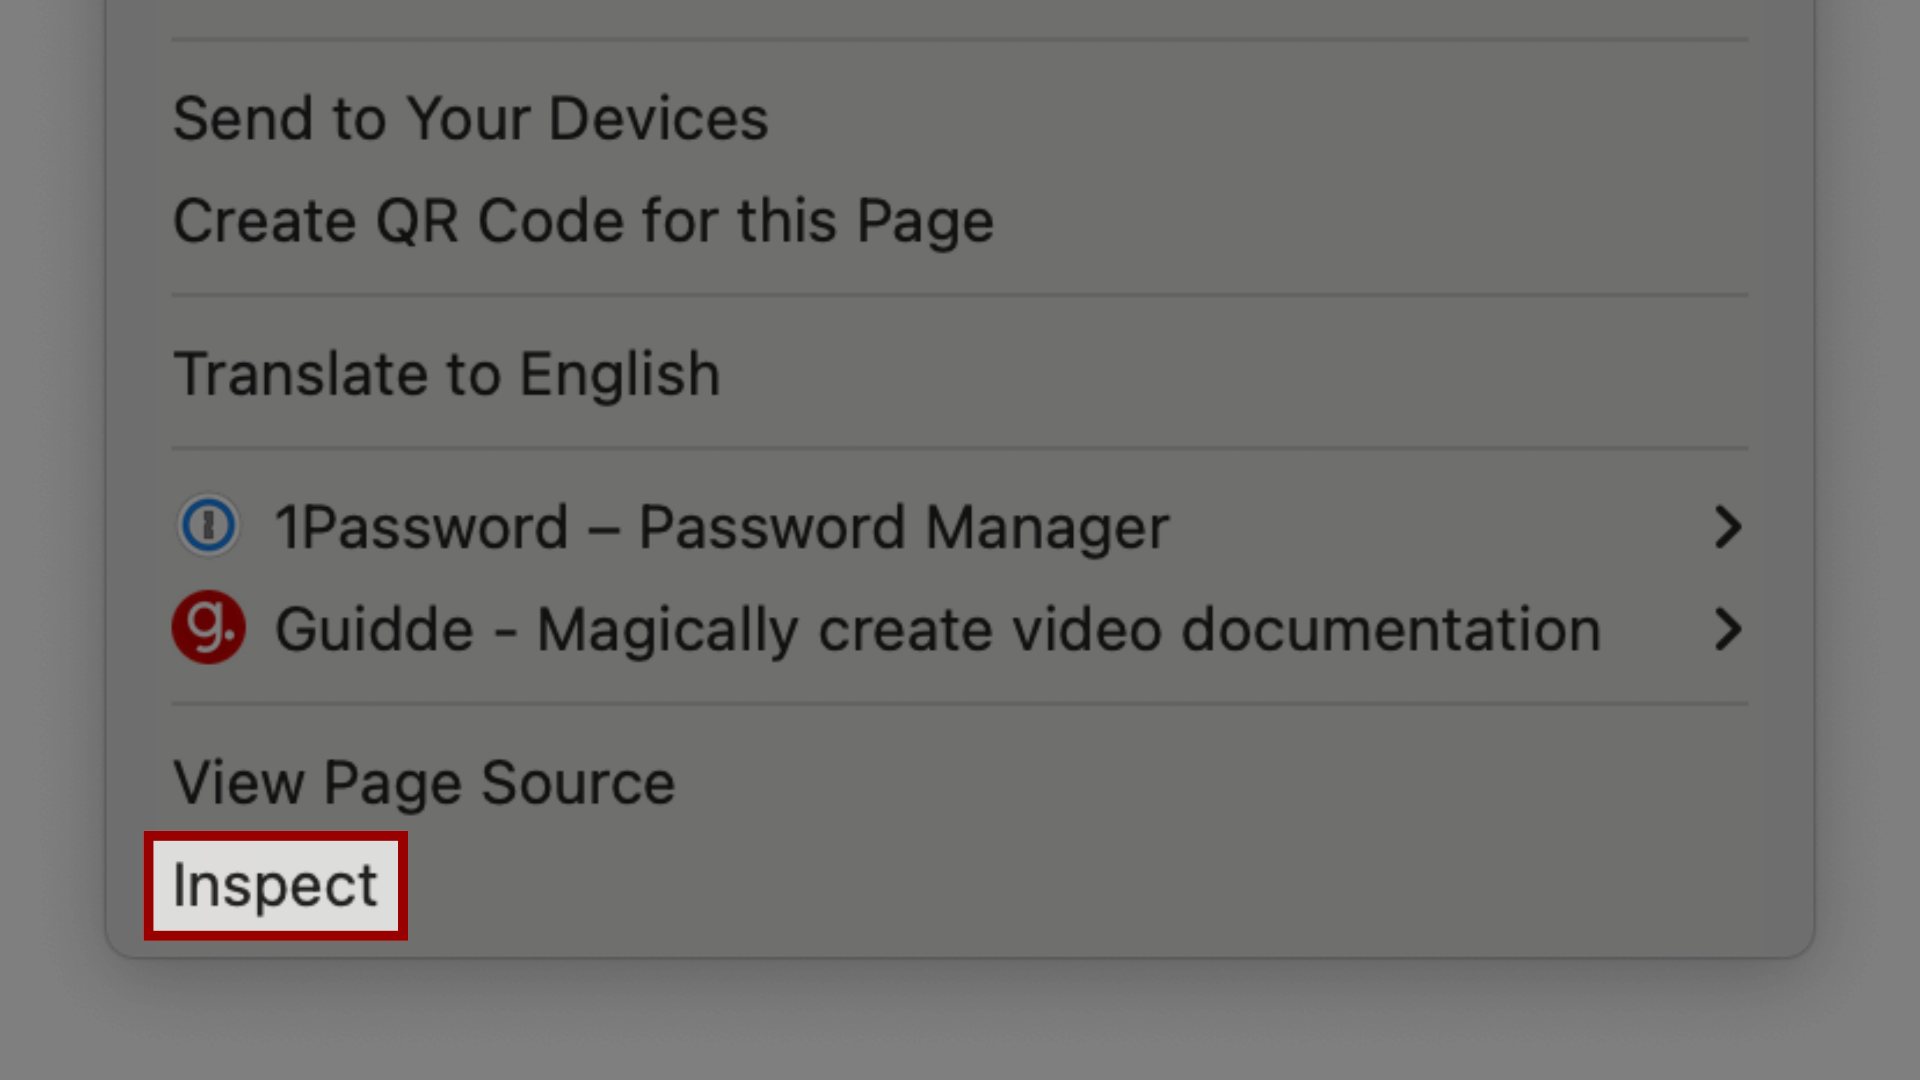
When you are viewing the external web page, right-click anywhere on the webpage, and at the very bottom of the popup menu, click the Inspect link.
6. Find the Class(es) or Id(s)
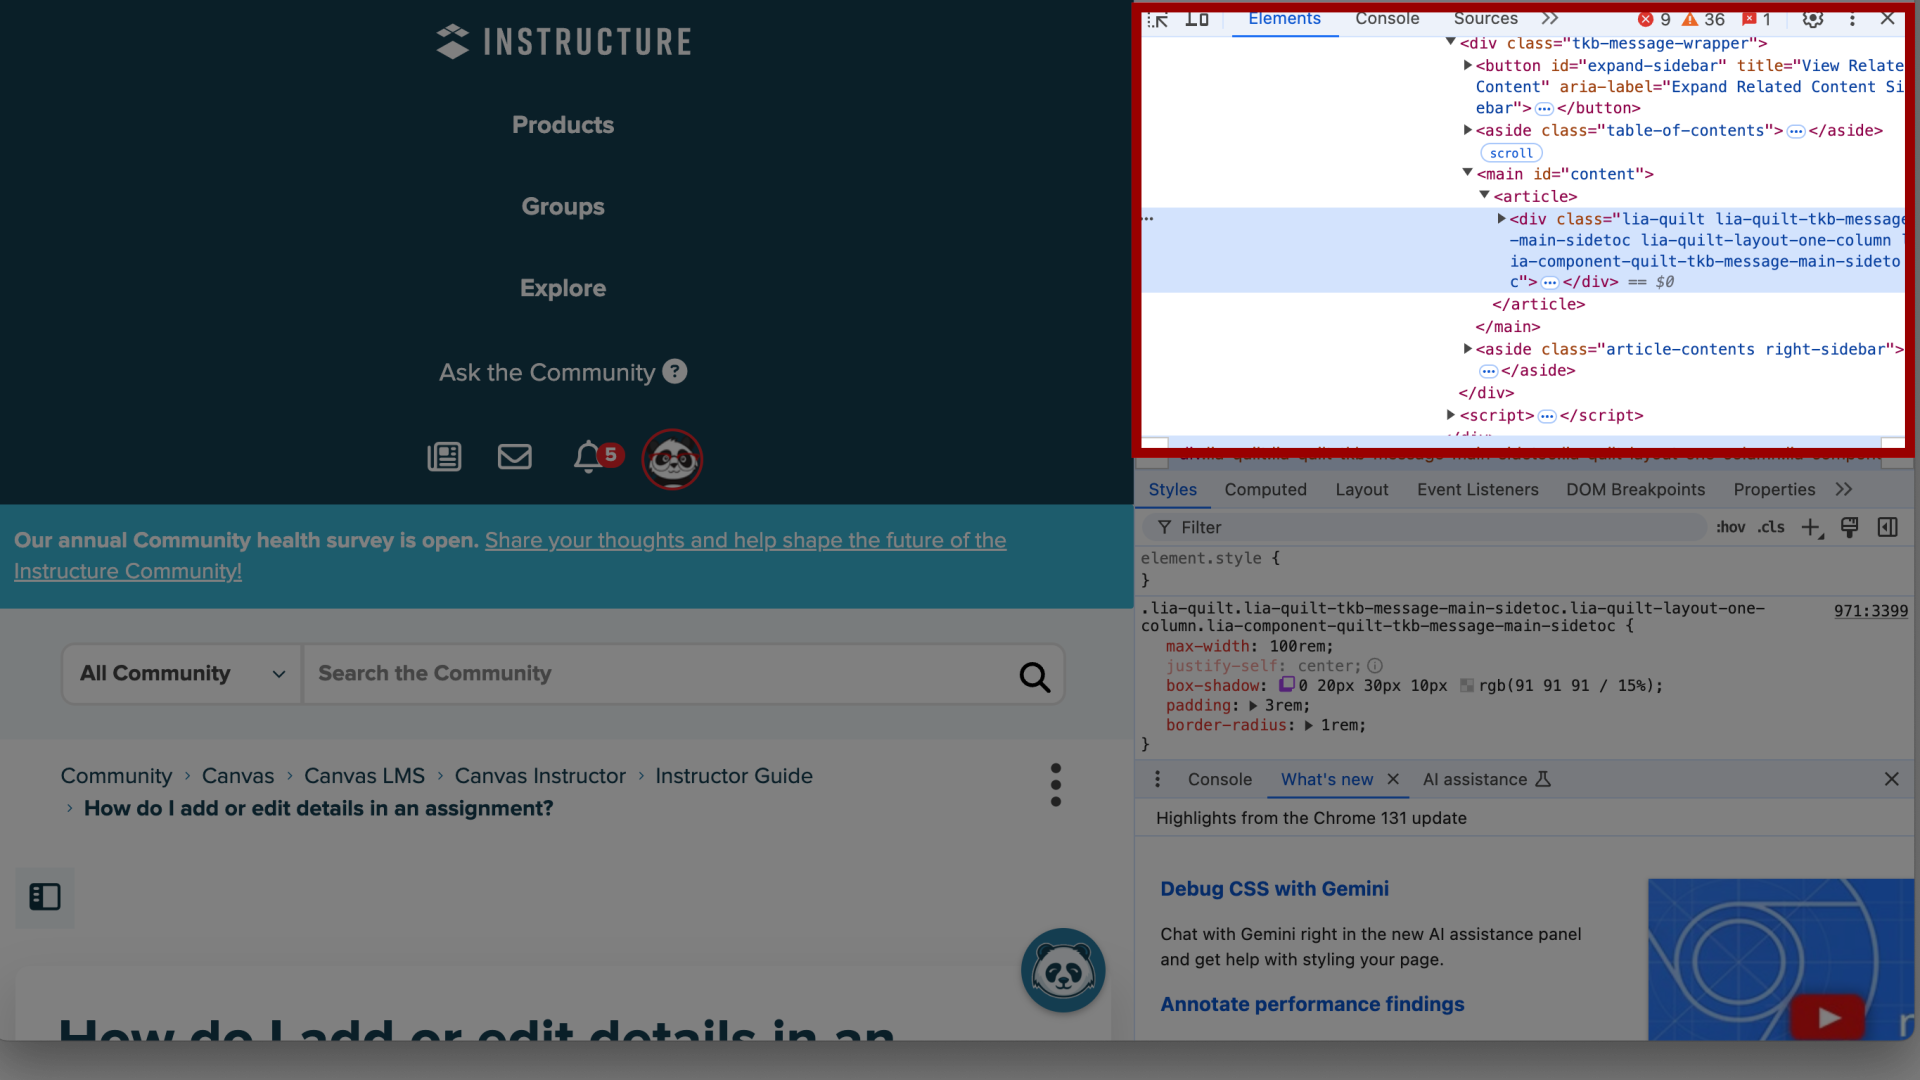
A side pop-out window appears and now see the web page’s source code, images, CSS, etc.
Click the cursor in the inspector window and hover over the different elements of the webpage.
Once you locate which element you want to include or exclude, click it and the information will be highlighted in the inspector. Then copy the class or ID from the inspector and paste it into your support article.
7. Preview Article
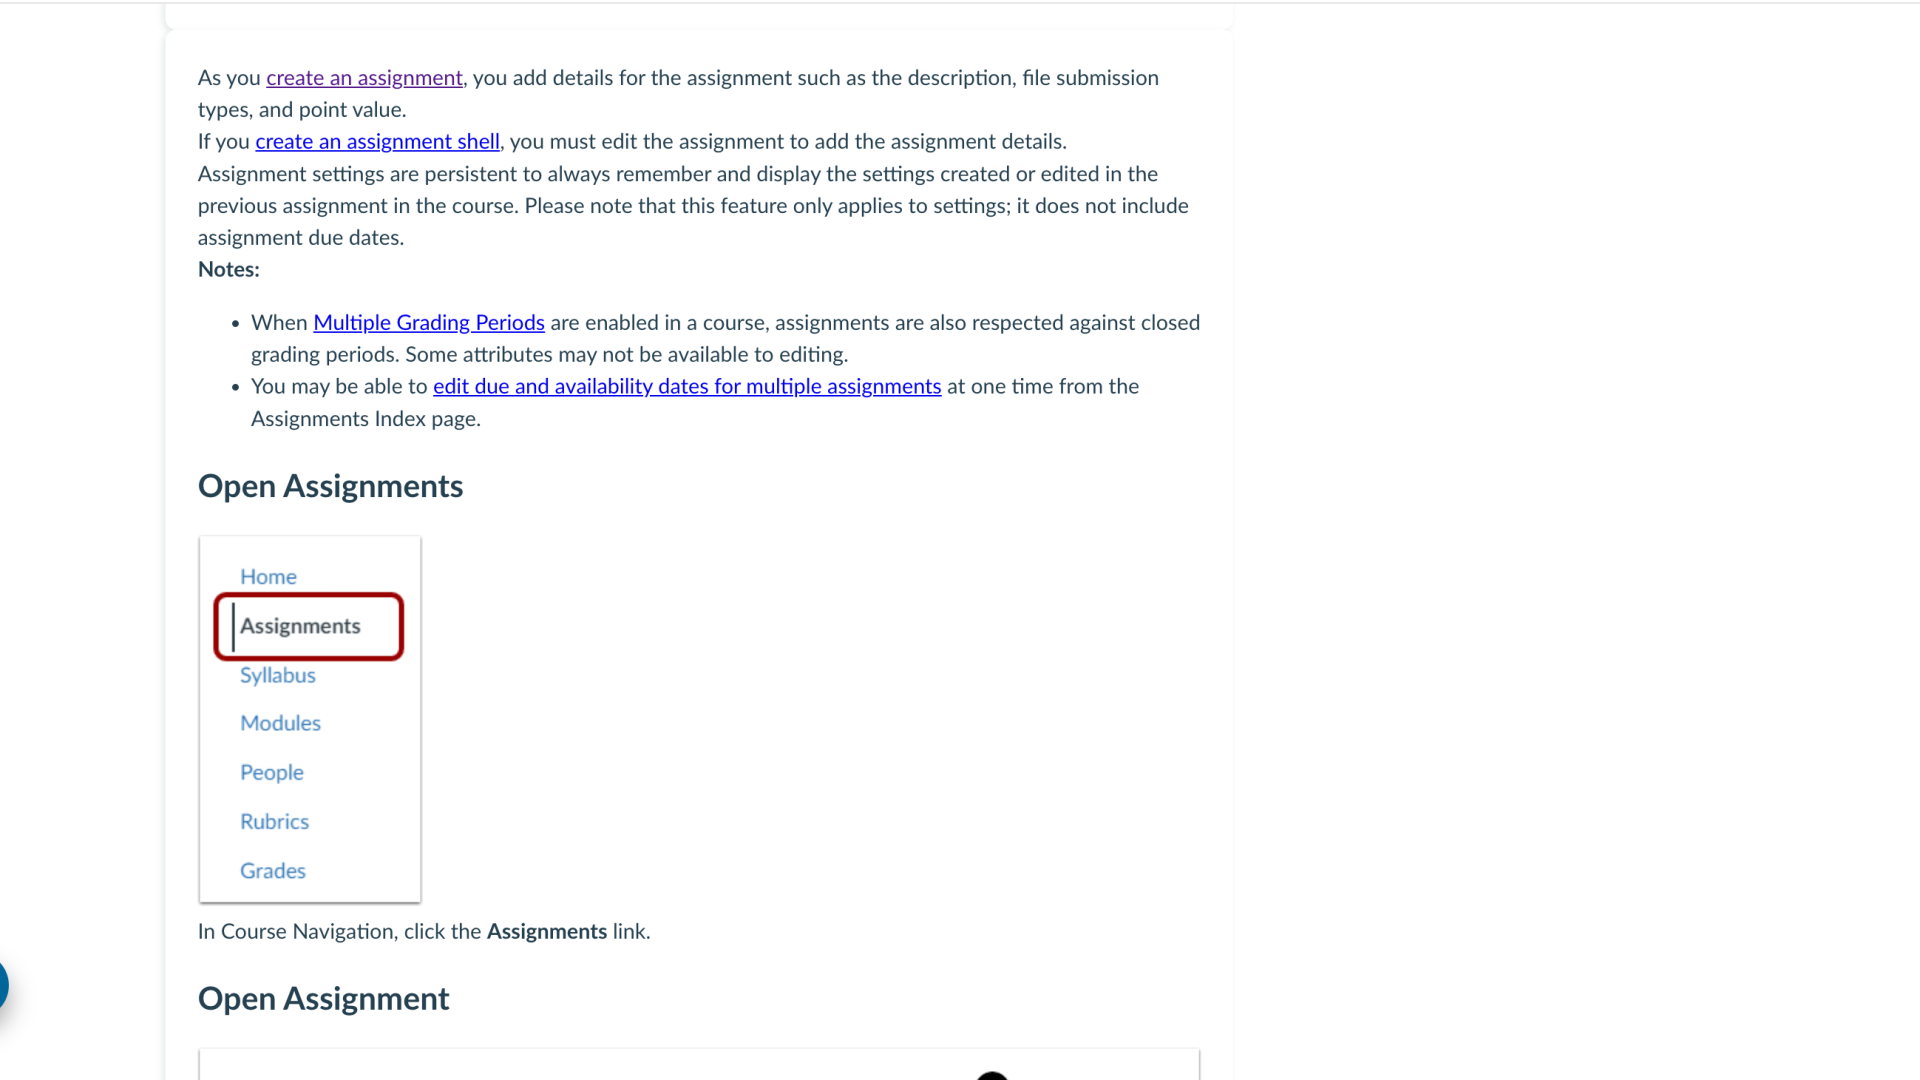
The preview shows what information it is embedding.
8. Add Support Article Details
Add your support article details for Target User Groups, Contexts, Support Center Categories, Visibility, Advanced Settings, and Translations.
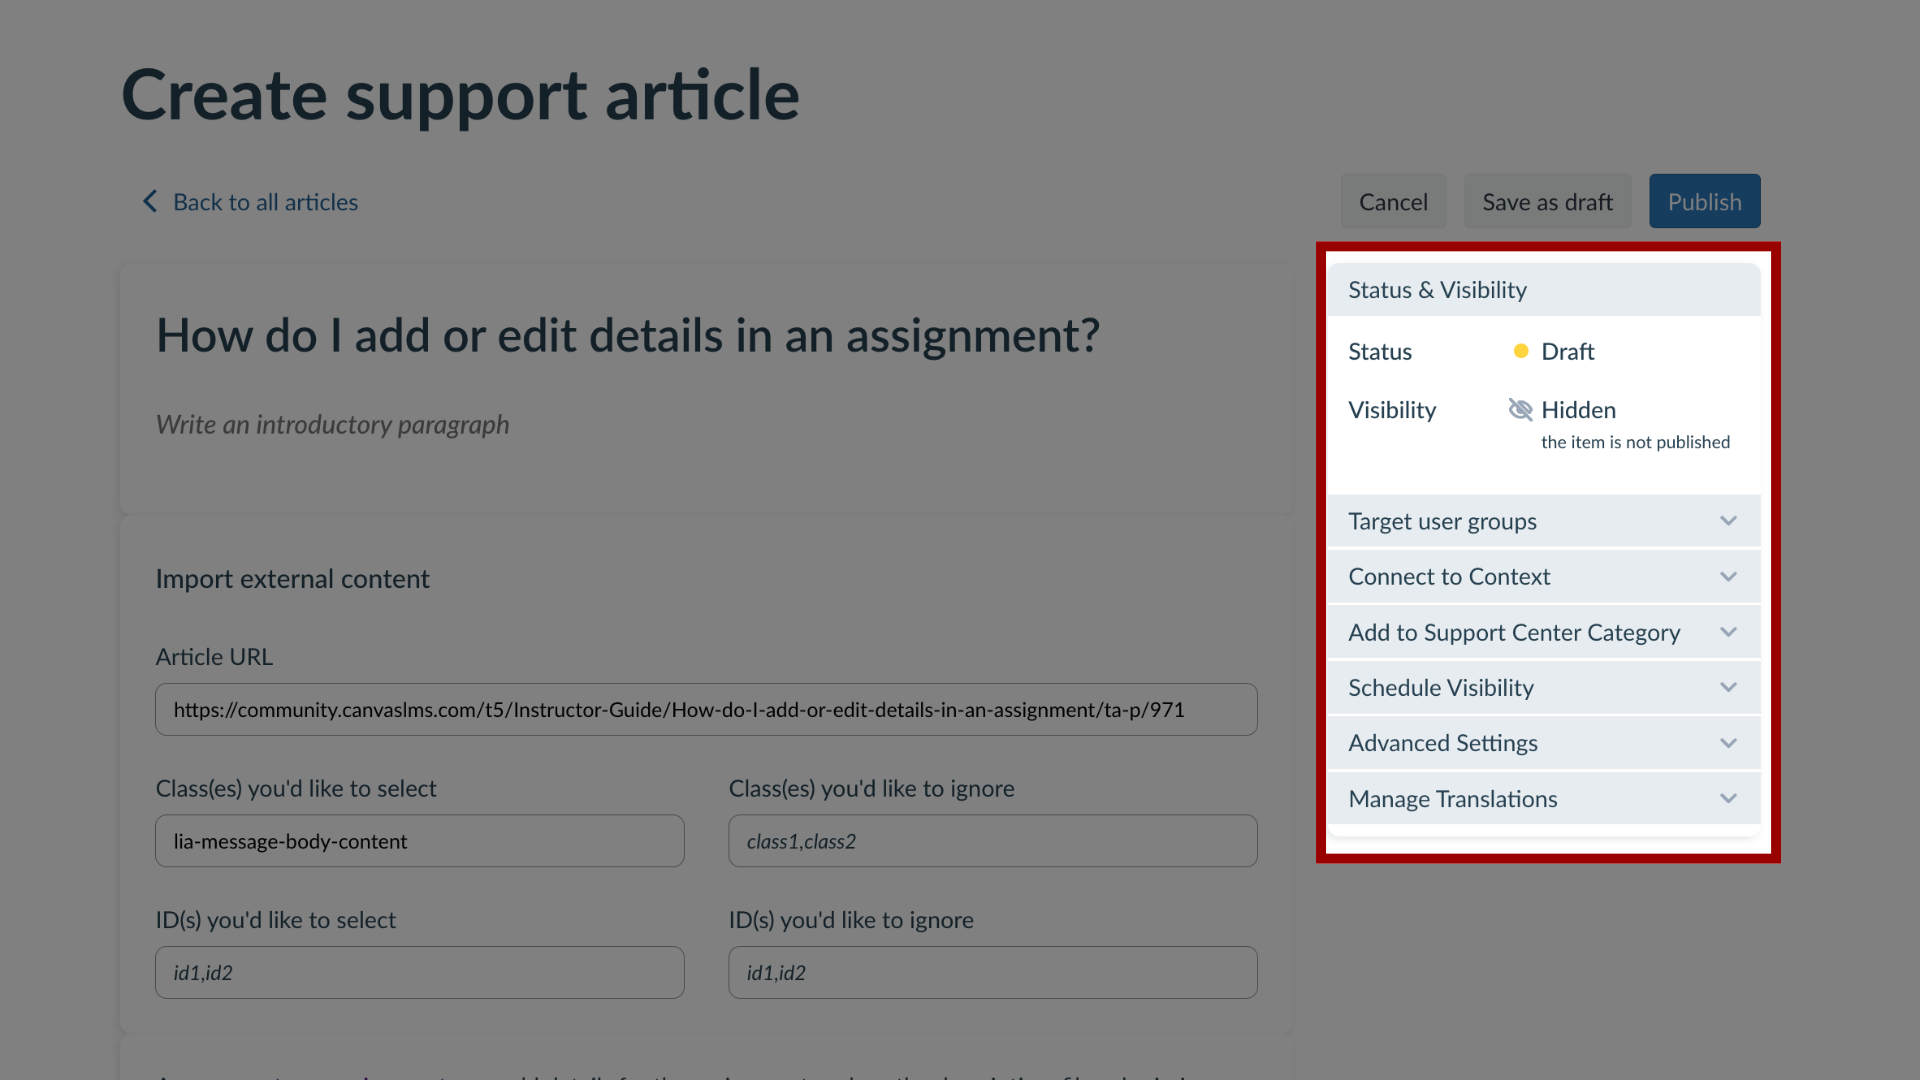
9. Publish Article
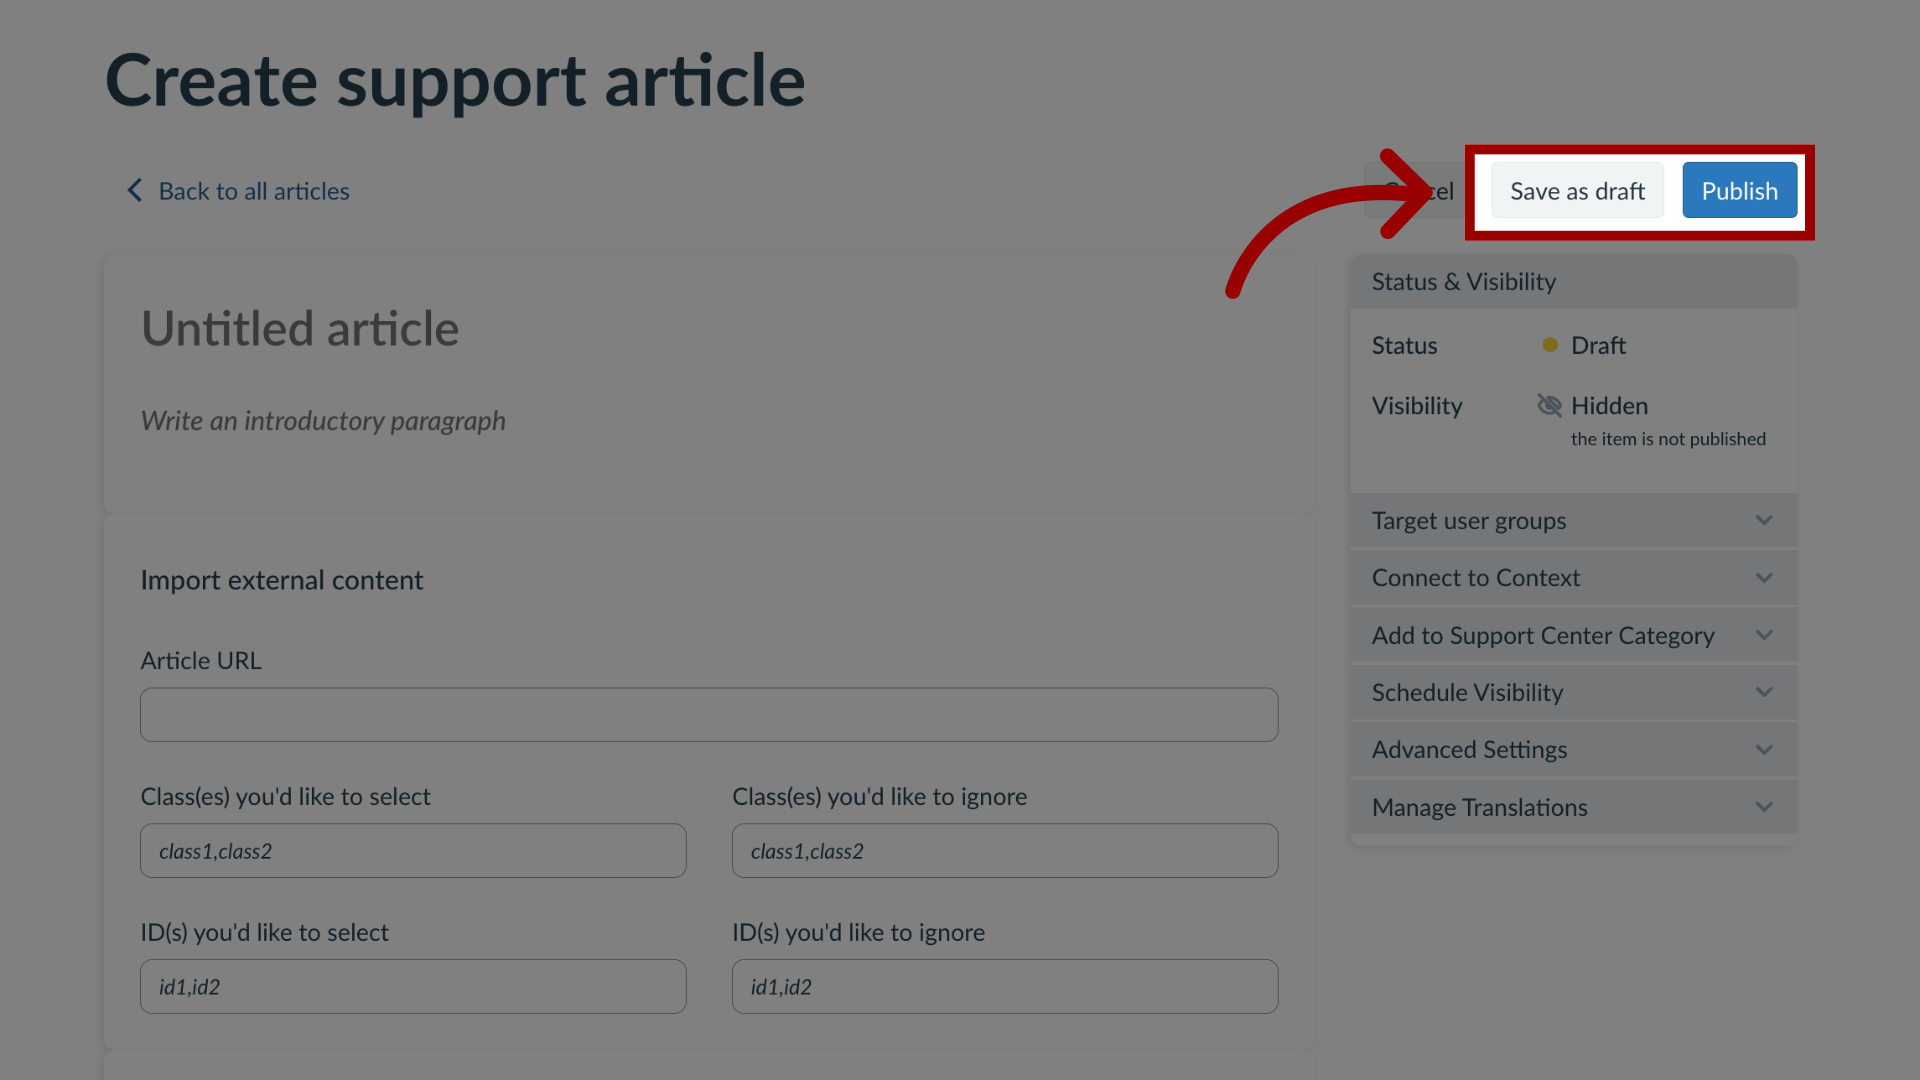
The Save as Draft button will create a draft of your support article so you can publish it later. If you would like to make it visible, click the Publish button.
